DopamineKart · Legit

How to Arrange a Family Photo Wall That Feels Collected Instead of Crowded

Define the display’s boundaries, choose a layout and edit every frame into a balanced family photo wall with consistent visual structure.

By the DopamineKart editors
How to Arrange a Family Photo Wall That Feels Collected Instead of Crowded

How to Plan and Hang Your Family Photo Wall

1

Define the Wall Footprint

Set a clear visual boundary for the complete arrangement before choosing individual positions. Keeping every frame within that footprint gives the wall a readable silhouette and makes it easier to identify pieces that push the display toward clutter.

Planning diagram
Wall footprint
Define a Clear Visual BoundaryKeep every frame inside the planned footprint
2

Choose a Layout Structure

Use a grid when you want stronger order and a more limited set of frame sizes. Choose a linear arrangement for a smaller group organized along one clear alignment line. An organic gallery layout accommodates more variation in frame size and orientation, but it needs a firm outer boundary and consistent gaps to remain cohesive.

Layout comparison
Grid, line and gallery
Compare Three Layout StructuresMatch frame quantity and variety to the structure
3

Edit the Photos, Then Choose a Focal Point

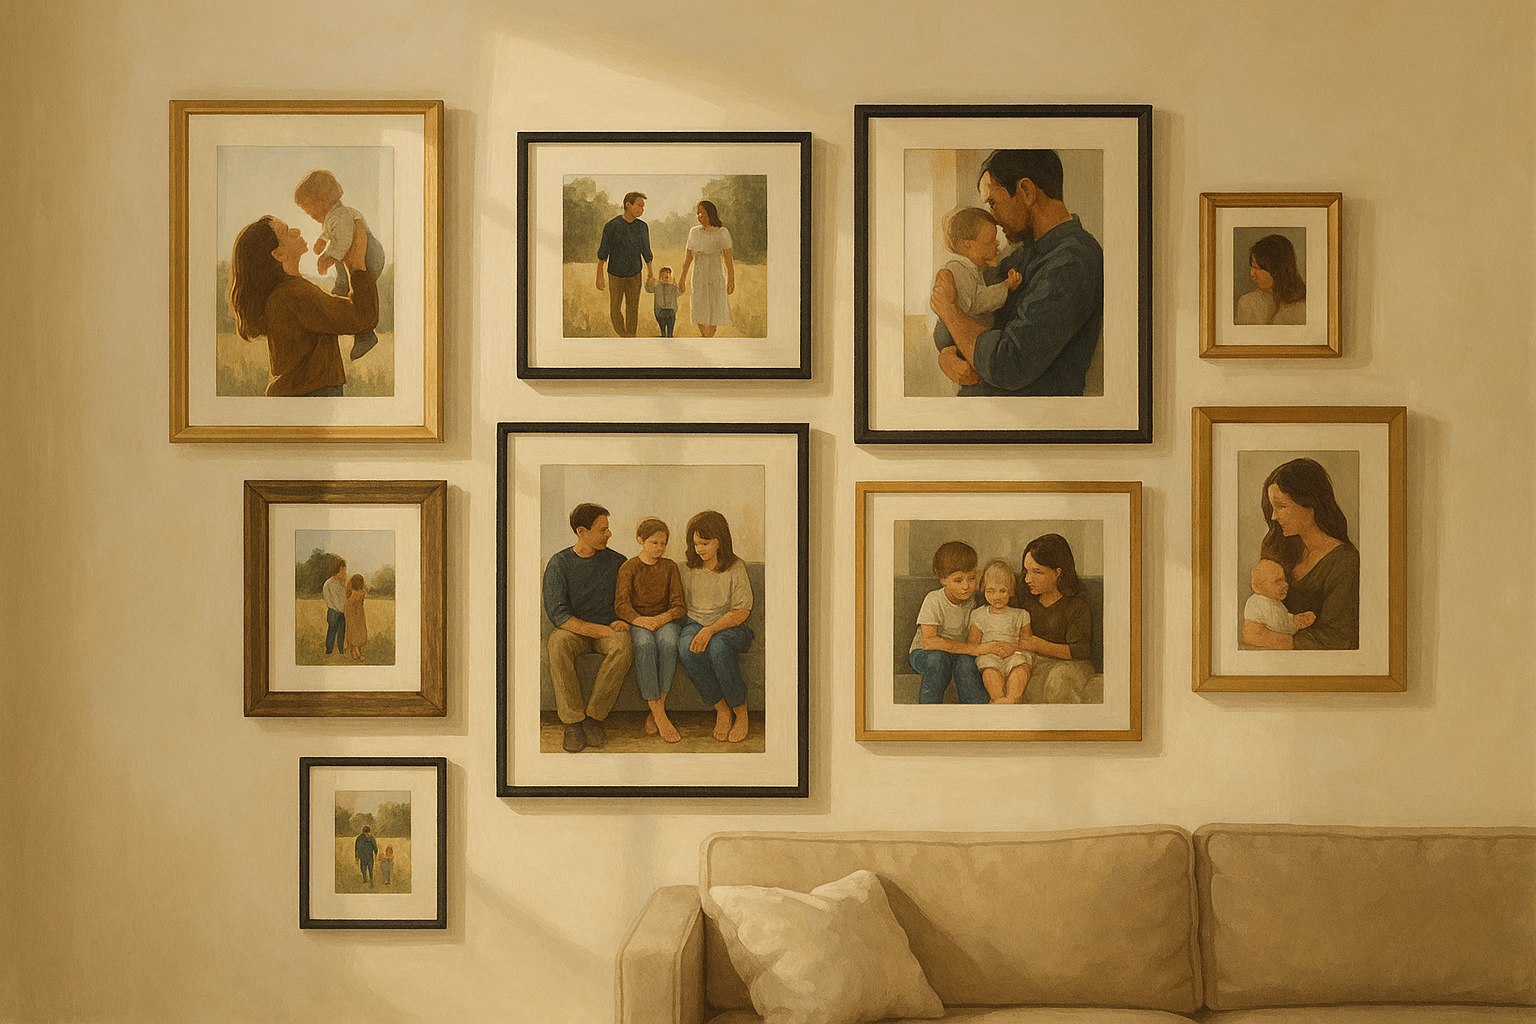
Select a balanced mix of portraits, candid shots and landscapes, removing any image or frame that disrupts the planned silhouette. Once the selection is edited, designate a central piece or larger-format photo as the focal point and arrange smaller frames around it.

Selection and focal-point diagram
Edited photo group
Edit the Selection and Establish a Focal PointRemove pieces that break the overall silhouette
4

Unify the Frames and Mats

Repeat at least one characteristic across the display, such as a frame color, frame style or matting treatment. That repeated element connects different photo types, sizes and orientations without requiring every frame to match.

Frame-unifying diagram
Repeated frame detail
Repeat One Frame or Mat CharacteristicConnect varied photos with a consistent visual element
5

Test Spacing and Alignment

Lay the frames on the floor and use one consistent gap throughout. As you vary frame sizes and portrait or landscape orientations, maintain intentional alignment lines along selected edges or centers. Check the outer silhouette again and remove any piece that makes it feel crowded or uneven.

Spacing and alignment diagram
Consistent gaps
Test One Gap and Clear Alignment LinesBalance varied sizes and orientations before hanging
6

Hang With Paper Templates

Cut paper templates to the size of each frame and tape them within the planned wall footprint. Recheck the consistent gaps, alignment lines and overall silhouette, then adjust the templates before committing to nails or picture hangers.

Template-hanging diagram
Paper frame templates
Transfer the Final Layout to the WallAdjust templates before installing picture hangers

The Anti-Crowding Framework

Do
  • Do keep the complete arrangement inside one clear visual boundary and repeat at least one frame or mat characteristic.
  • Do use one consistent gap and preserve intentional alignment lines while varying frame sizes and orientations.
Avoid
  • Don’t keep adding frames after the arrangement fills its planned footprint; remove pieces that disrupt the silhouette.
  • Don’t vary frame positions without structure; connect different heights, sizes and orientations through deliberate edge or center alignments.

Before You Hang

Confirm that the arrangement stays within its boundary, follows a grid, linear or organic structure, has an edited photo selection and clear focal point, repeats a frame or mat detail, uses one consistent gap and preserves intentional alignment lines. Remove anything that breaks the silhouette, then transfer the final plan with paper templates.

FAQ

What types of photos work best for a family photo wall?

A mix of portraits, candid shots and travel or landscape photos provides variety. Edit the group to fit the chosen layout and remove images that make the overall silhouette feel crowded.

How can I maintain consistency across different frames?

Repeat at least one characteristic, such as frame color, frame style or matting, and use consistent gaps. This creates cohesion while allowing frame sizes and orientations to vary.

Sources

Editorial disclosure. This article contains no product or affiliate links and no "buy" buttons. Method. It is a researched editorial article, not a hands-on test or firsthand visit unless the article explicitly says otherwise. Claims are based on the sources named in the article and may change.

Corrections: email us