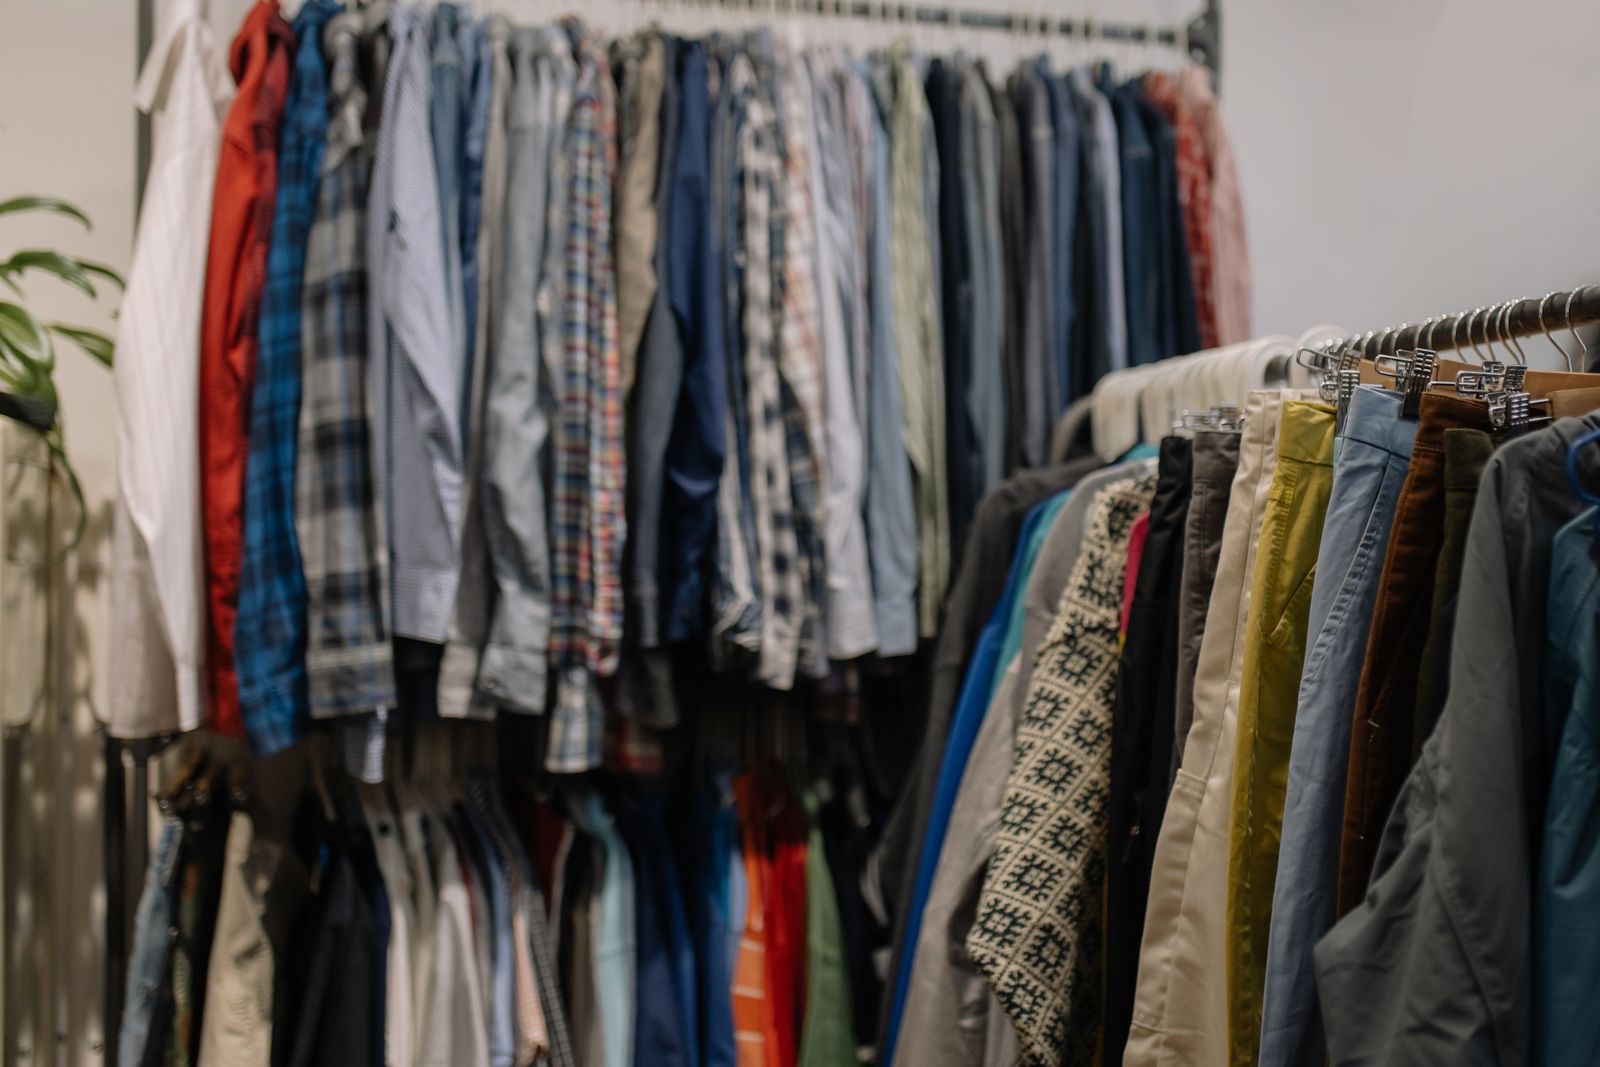
Quick take
- A costume is three things: a silhouette (the shape people read from across a room), a signal (the one detail that says who you are), and a prop. Almost all of it can come from clothes that already exist.
- Work down a ladder: own it, borrow it, thrift it, make it, and only then buy — and buy just one thing.
- Eleven of the twelve recipes below need no sewing: safety pins, hem tape and fabric glue do the job.
- A UK survey found most store-bought costumes are plastic-based fabric, and the safety basics (visibility, short hems, vision, skin-safe makeup) apply to homemade costumes too.
Halloween costumes are one of the most disposable things we buy: built for a single night, sold in thin polyester, and usually packed away or thrown out by November. Making your own is the oldest alternative, and it only got a bad reputation because people imagine it means sewing. It doesn't. It means looking at what you already have a little differently.
The problem with the bag-and-mask costume
In 2019, the UK charity Fairyland Trust surveyed 324 Halloween clothing items from 19 retailers. As reported by FashionUnited, the average item was about 83% plastic-based material, with polyester alone around 69% and cotton only about 10%. The survey estimated roughly 7 million costumes become waste each year in the UK, carrying around 2,000 tonnes of plastic, which it compared to about 83 million plastic bottles by weight. Its advice was blunt: buy from charity shops, reuse costumes, or make them from non-plastic materials.
Two honest caveats. The figures are UK-specific and several years old, and we could not find a newer edition, so treat them as a snapshot of how store costumes are made rather than a measure of this year’s waste. And "homemade" is not automatically greener: a craft-store shopping spree for a one-night costume can be as wasteful as buying one. What actually matters is that you use things that already exist.
The formula: silhouette, signal, prop
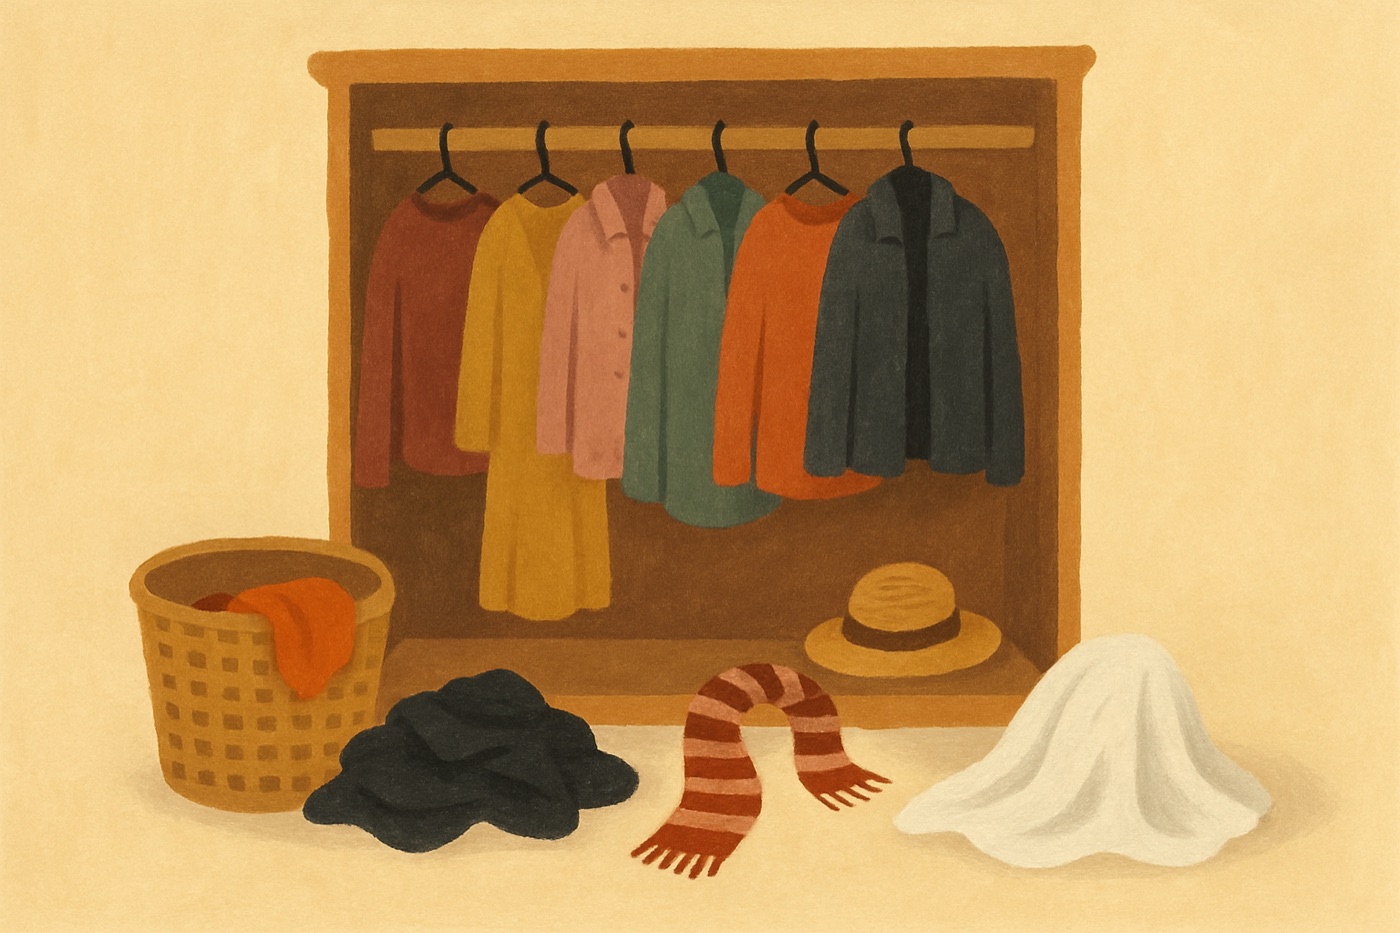
Every recognizable costume, store-bought or homemade, is built from the same three layers. Decide these before you shop or sew, and you will notice how little you need.
The cheapest costume is the one that is already hanging in your closet. The job is to rearrange it, not replace it.
The sourcing ladder
Work down this list and stop as soon as you have what you need. Each step you skip is a thing you did not buy new.
- Own it. Raid your own closet first, then the linen cupboard and the garage. Sheets, striped shirts, black layers, scarves and boots are the raw material of most costumes.
- Borrow or swap it. Ask friends, family and neighbors; check local Buy Nothing and neighborhood groups; and see whether a school, library or community group runs a costume swap. A costume that has already been worn once is the lowest-impact one there is.
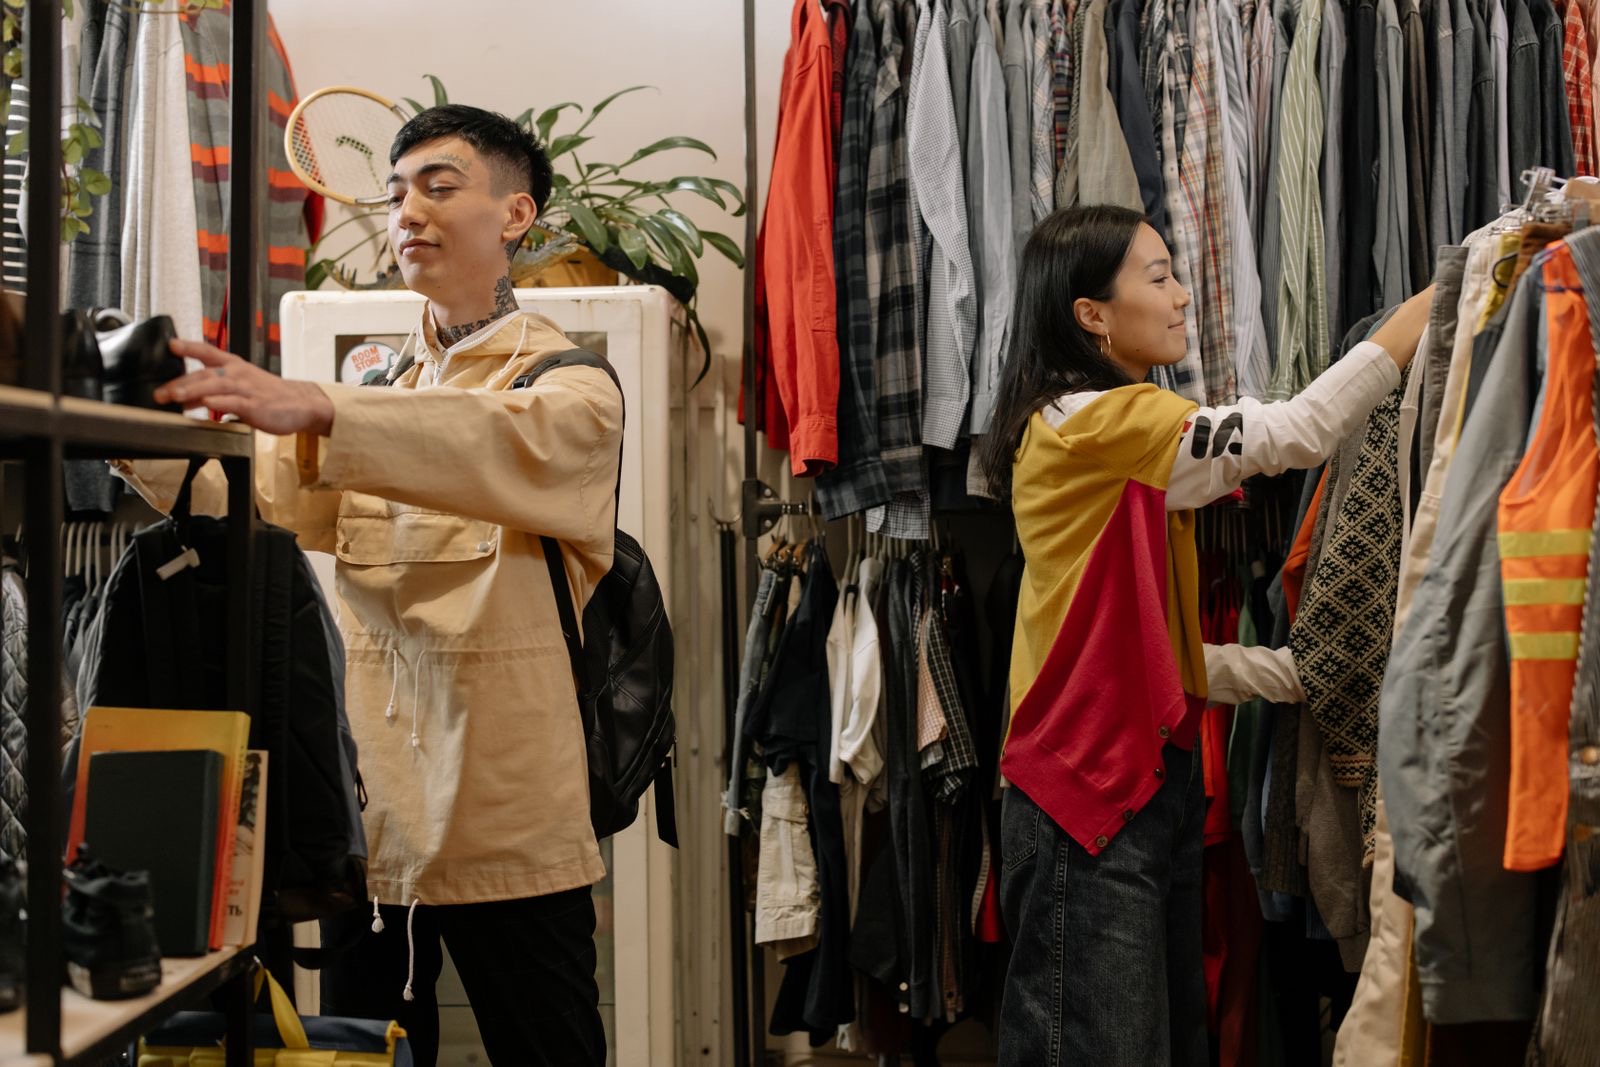
- Thrift it. Charity and secondhand shops are the best source for hats, capes, blazers, boots and plain base layers.
- Make it from scraps. Felt, cardboard, old fabric and string cover ears, patches, eyepatches, cones and wreaths. This is where the no-sew skills below come in.
- Buy one thing, last. If there is one piece you cannot find, buy only that, and choose something you will wear again.

What to look for when thrifting
- Plain, solid-color base layers in black, white, red or denim: they become six different costumes depending on what you add.
- Hats and capes: the two hardest pieces to fake, and the ones that make a costume read instantly.
- Natural or soft fabrics that drape: a sheet, curtain or wool scarf looks better in a costume than stiff, shiny polyester.
- Items you would wear again, so the costume's best pieces stay useful after the 31st.
- Skip anything with strong odors, missing buttons or damage you cannot hide with a patch.
Twelve costumes you can build from this
Each recipe lists what most people already own, what to thrift, borrow or make, one finishing move, and what happens to the pieces afterward. Times are rough estimates for a first attempt.
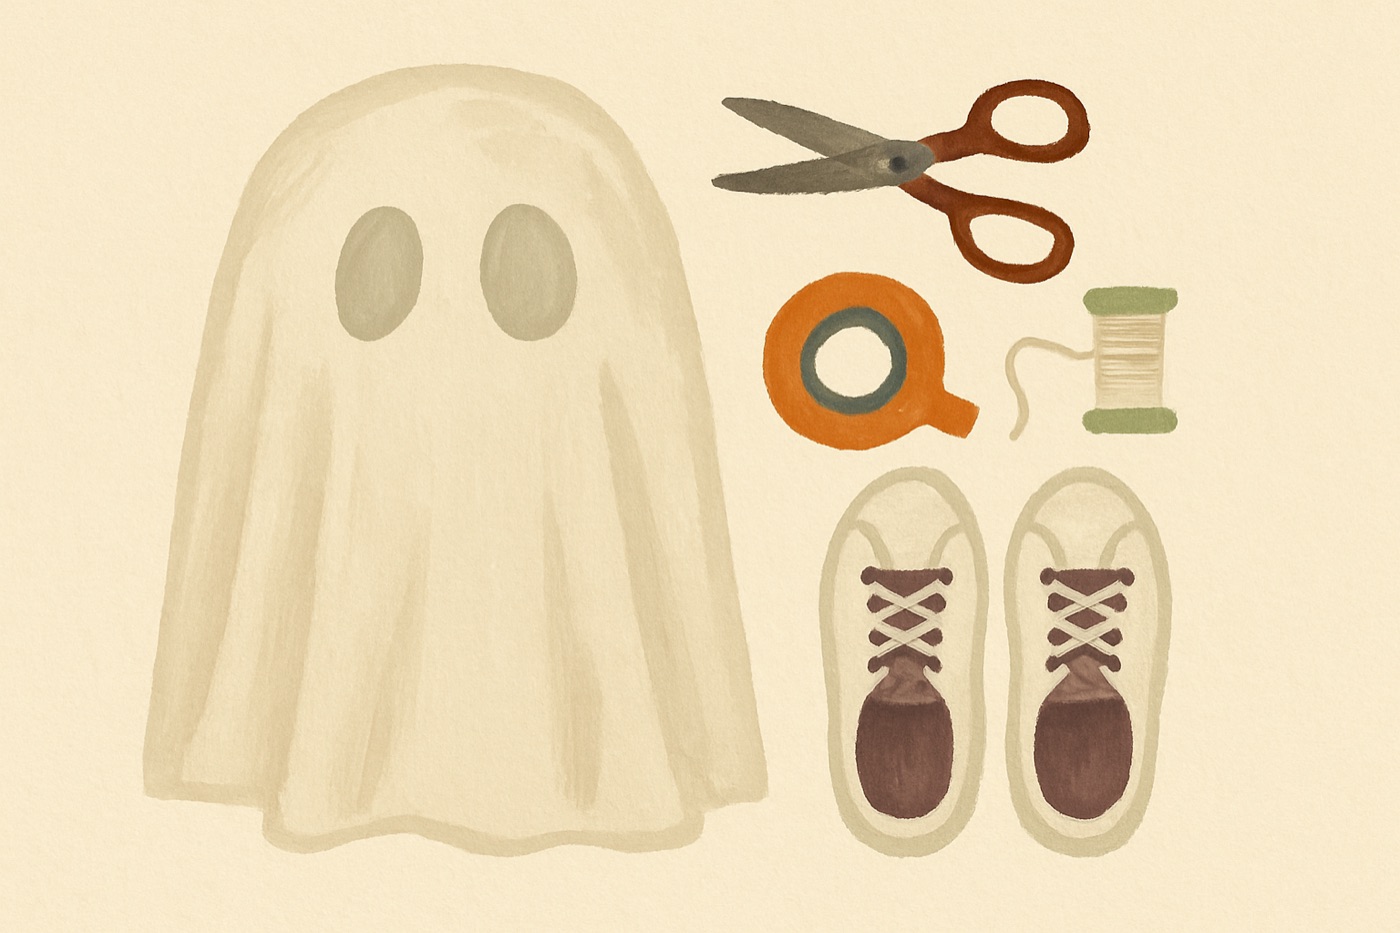 AI-generated illustration (OpenAI gpt-image-1). Not a photograph; shows the kinds of items to gather, not specific products.
The Bedsheet Ghost
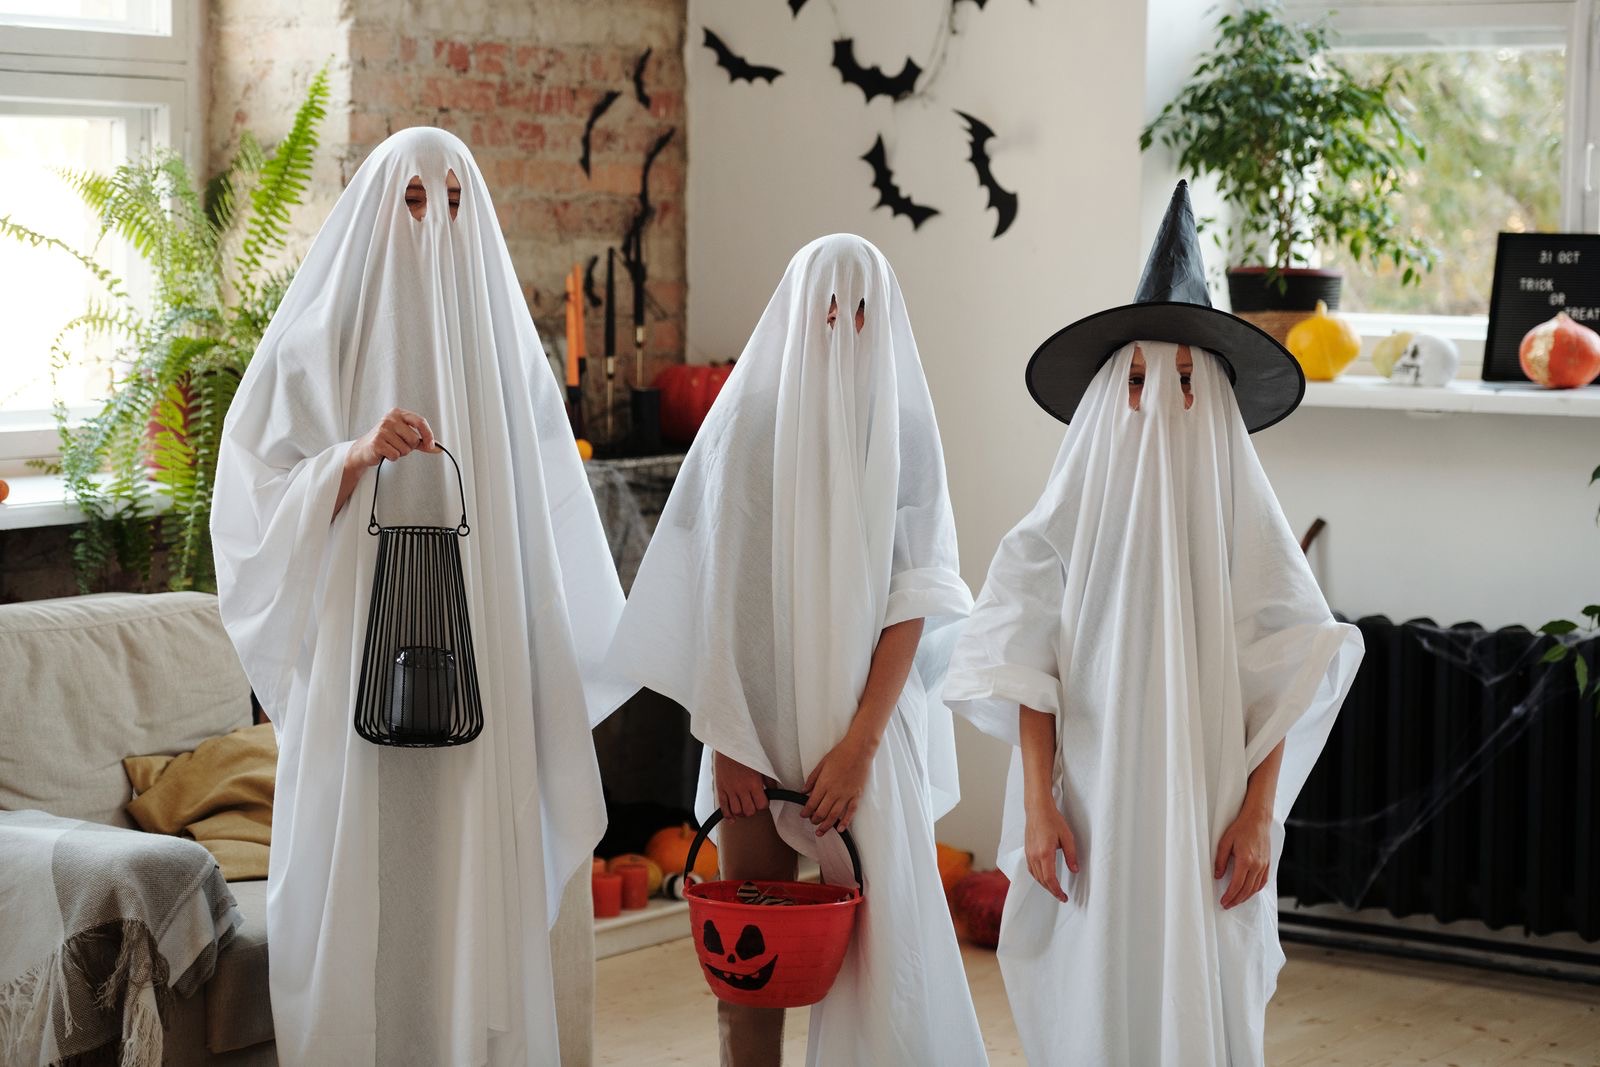
The original zero-cost costume, with one upgrade: cut the eye holes bigger than feels right so you can actually see.
- From your closet
- An old or thrifted flat sheet in white or cream; a snug top and pants underneath; sneakers.
- Thrift, borrow or make
- Reflective tape or a flashlight for dusk; a pencil and sharp scissors.
- The finishing move
- Mark the eye holes with a pencil while the sheet is on your head, then cut. Hem it short enough to clear your ankles.
- After Halloween
- Back to being a sheet. This is the most reusable costume on the list.
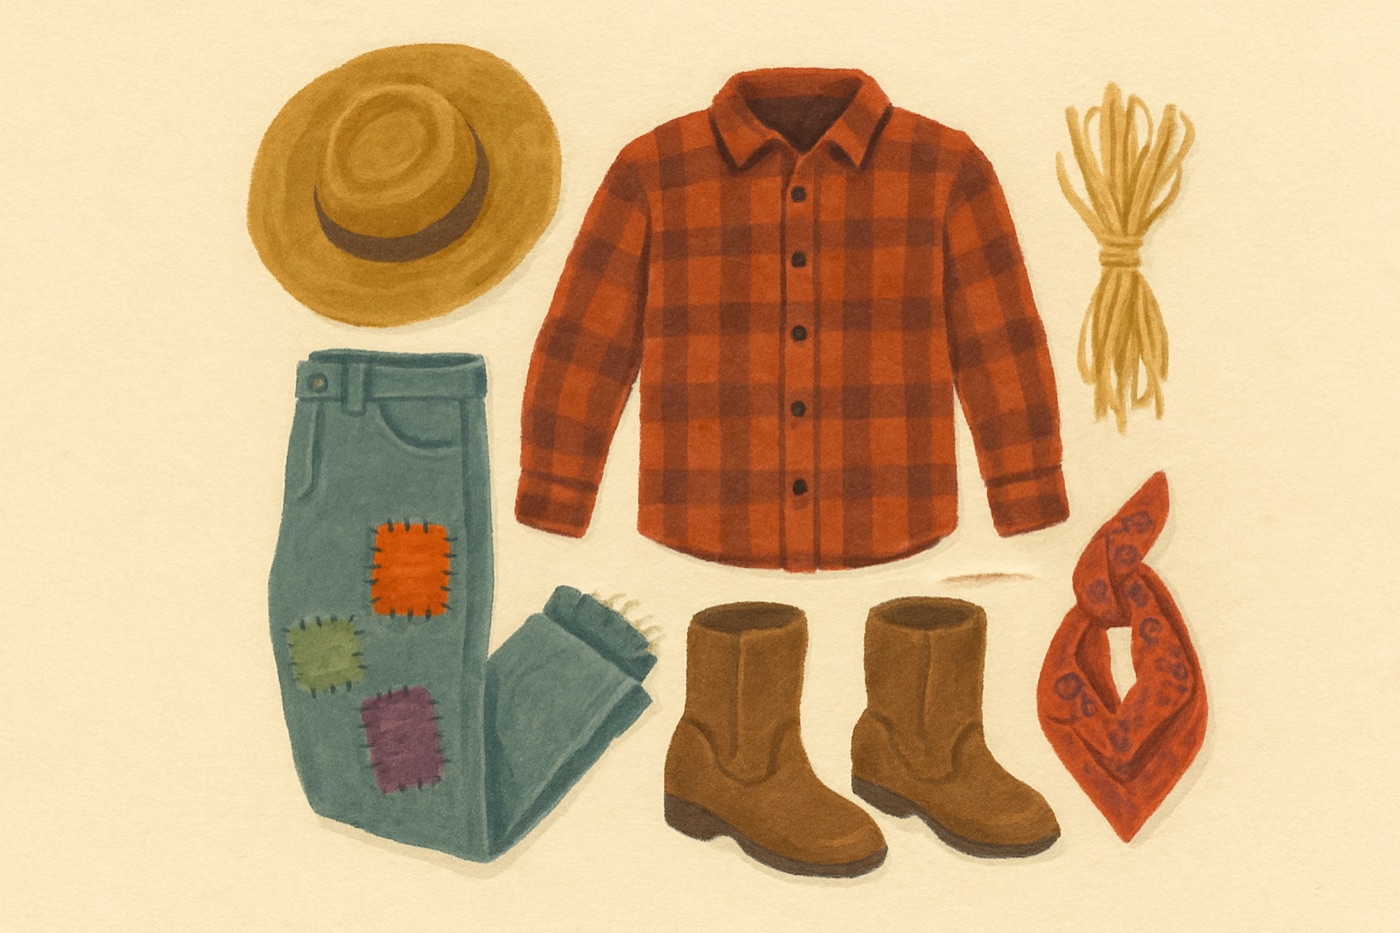 AI-generated illustration (OpenAI gpt-image-1). Not a photograph; shows the kinds of items to gather, not specific products.
The Patchwork Scarecrow
Plaid, denim and straw: nearly everything is already in a closet, and the patches are the whole personality.
- From your closet
- A flannel or plaid shirt; jeans; boots; a bandana.
- Thrift, borrow or make
- A straw hat (thrift or borrow); raffia or yarn for the cuffs; felt scraps for patches.
- The finishing move
- Pin or hem-tape felt patches onto the jeans, fray the cuffs with a few yarn loops, and add freckles with skin-safe makeup.
- After Halloween
- Un-pin the patches and everything goes back in the closet.
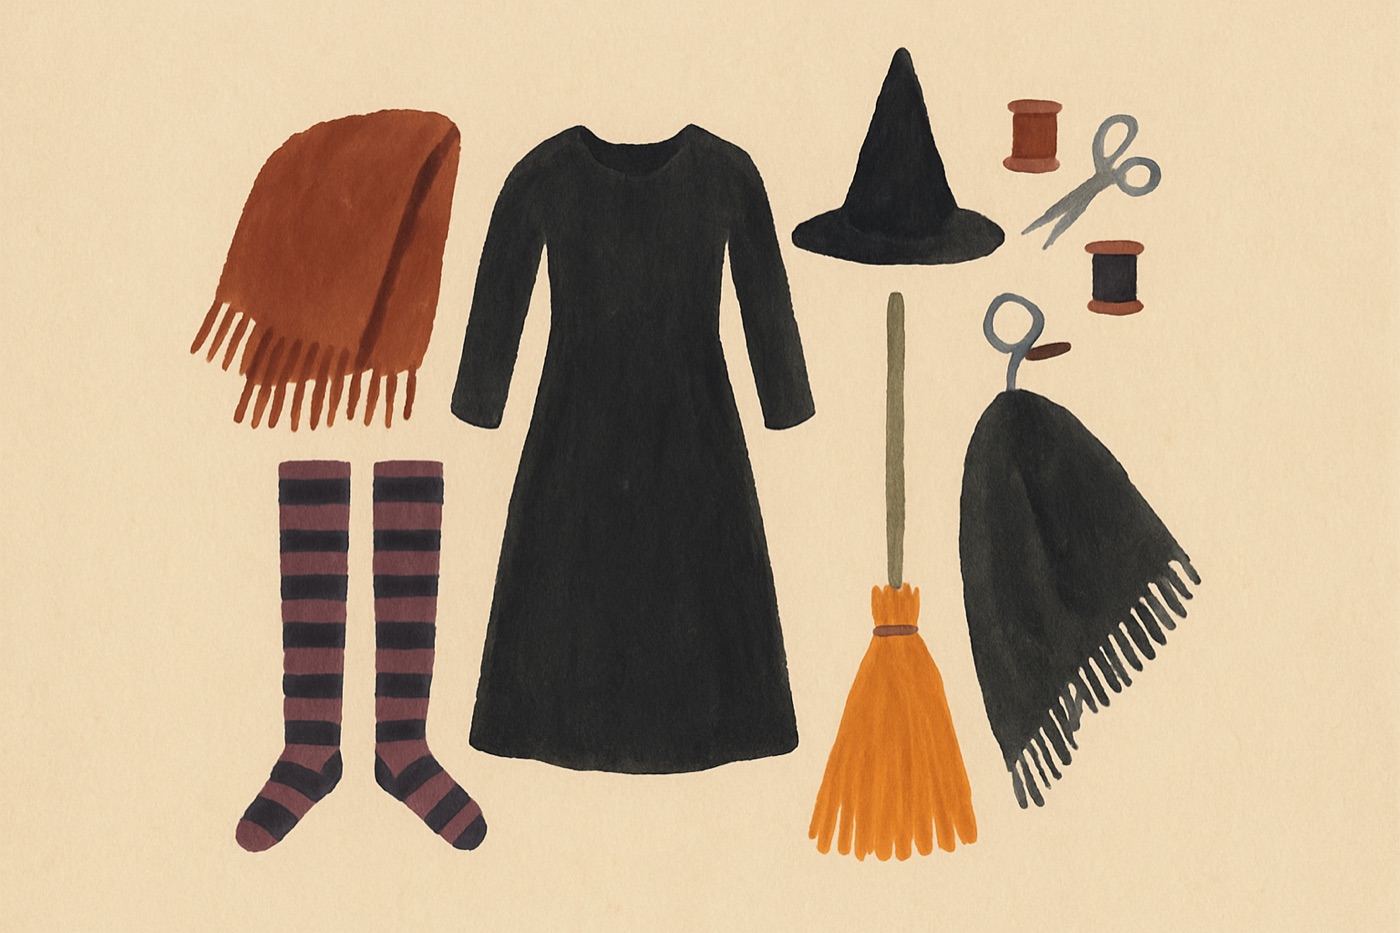 AI-generated illustration (OpenAI gpt-image-1). Not a photograph; shows the kinds of items to gather, not specific products.
The Thrifted Witch
The hat does ninety percent of the work. Find one secondhand, or roll a cone from black cardstock and tape it to a brim.
- From your closet
- A long black dress or skirt and top; striped or dark tights; a shawl or scarf.
- Thrift, borrow or make
- A pointed hat; a real broom from the closet.
- The finishing move
- Tie the shawl low on the hips and add one bold stripe or color in the tights.
- After Halloween
- Black base layers keep working all year; the hat can be reused or passed on.
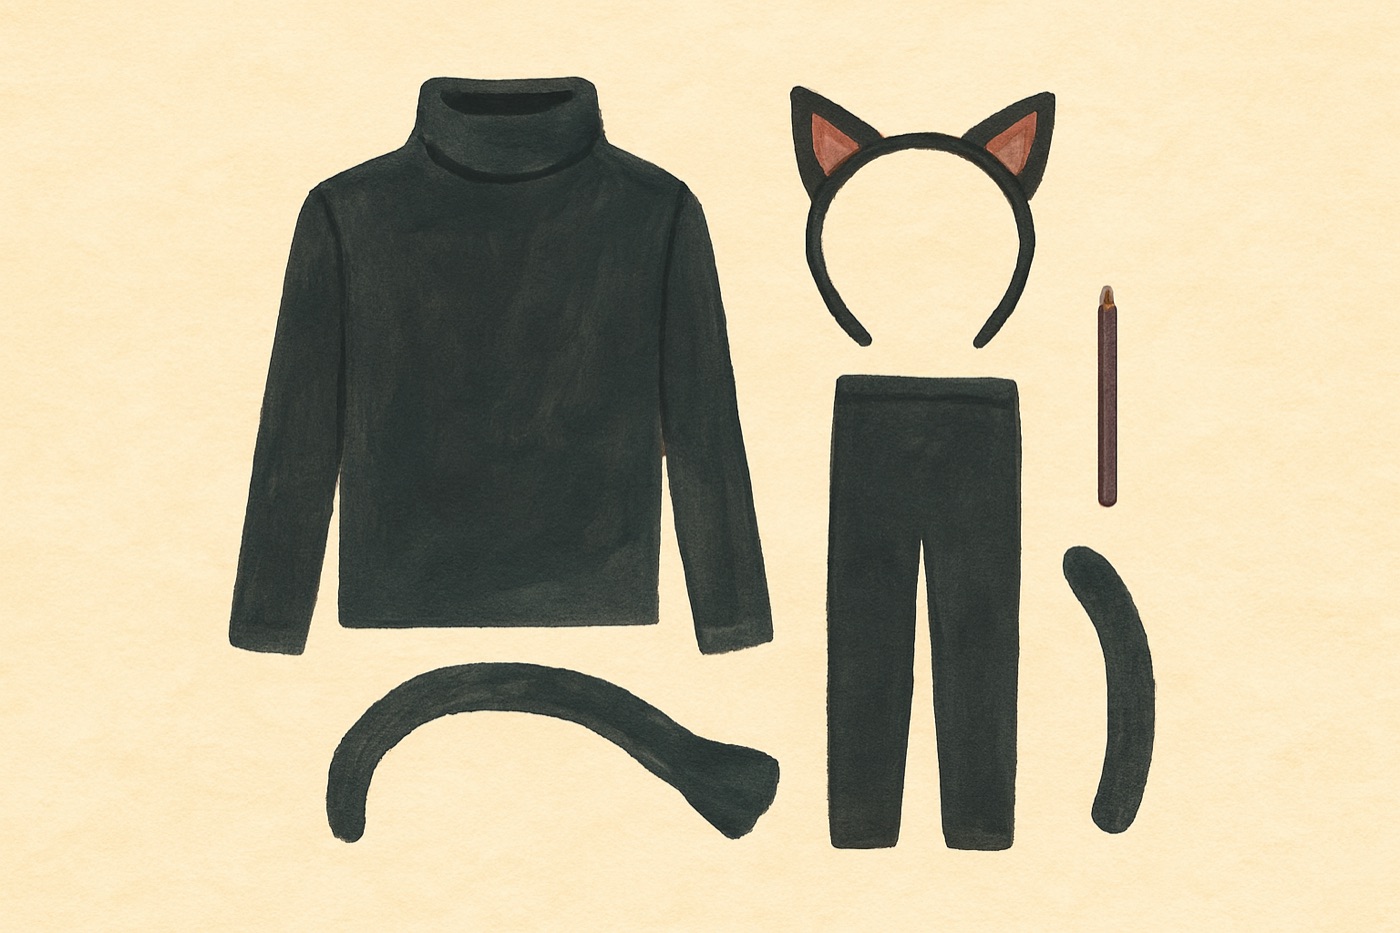 AI-generated illustration (OpenAI gpt-image-1). Not a photograph; shows the kinds of items to gather, not specific products.
The Black Cat
All-black clothes plus two felt ears and a tail is a costume that survives a coat and a cold night.
- From your closet
- A black turtleneck or long-sleeve; black leggings or pants; black shoes.
- Thrift, borrow or make
- A plain headband; black felt for ears; an old black stocking or sock for the tail.
- The finishing move
- Cut two triangles, glue or stitch them to the headband, stuff the stocking and pin it to your waistband. Whiskers go on with the eye pencil you already own.
- After Halloween
- Peel the ears off the headband; keep the tail for next year.
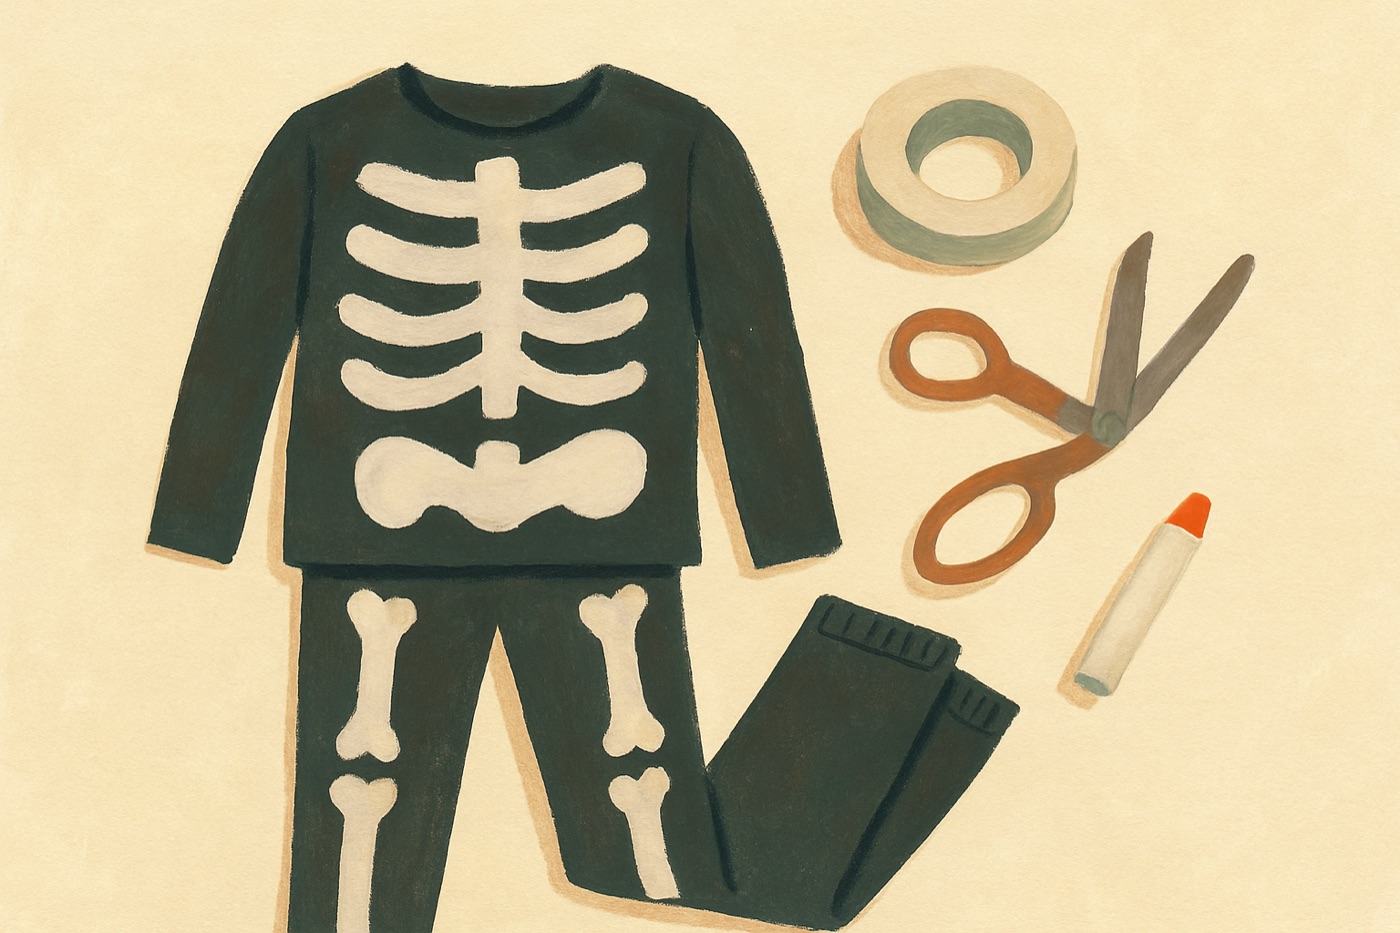 AI-generated illustration (OpenAI gpt-image-1). Not a photograph; shows the kinds of items to gather, not specific products.
The Layered Skeleton
The easiest way to look dramatic: white shapes on dark clothes, and a face to match.
- From your closet
- Black long-sleeve and black pants.
- Thrift, borrow or make
- White felt or old white fabric cut into ribs, a spine and bones; hem tape or safety pins; skin-safe white and black face paint.
- The finishing move
- Lay the bones out on the floor first, photograph the layout, then pin it on. Do a patch test on your skin days before using any face paint.
- After Halloween
- Unpin the bones and keep them in a bag; the black base layer goes back to work.
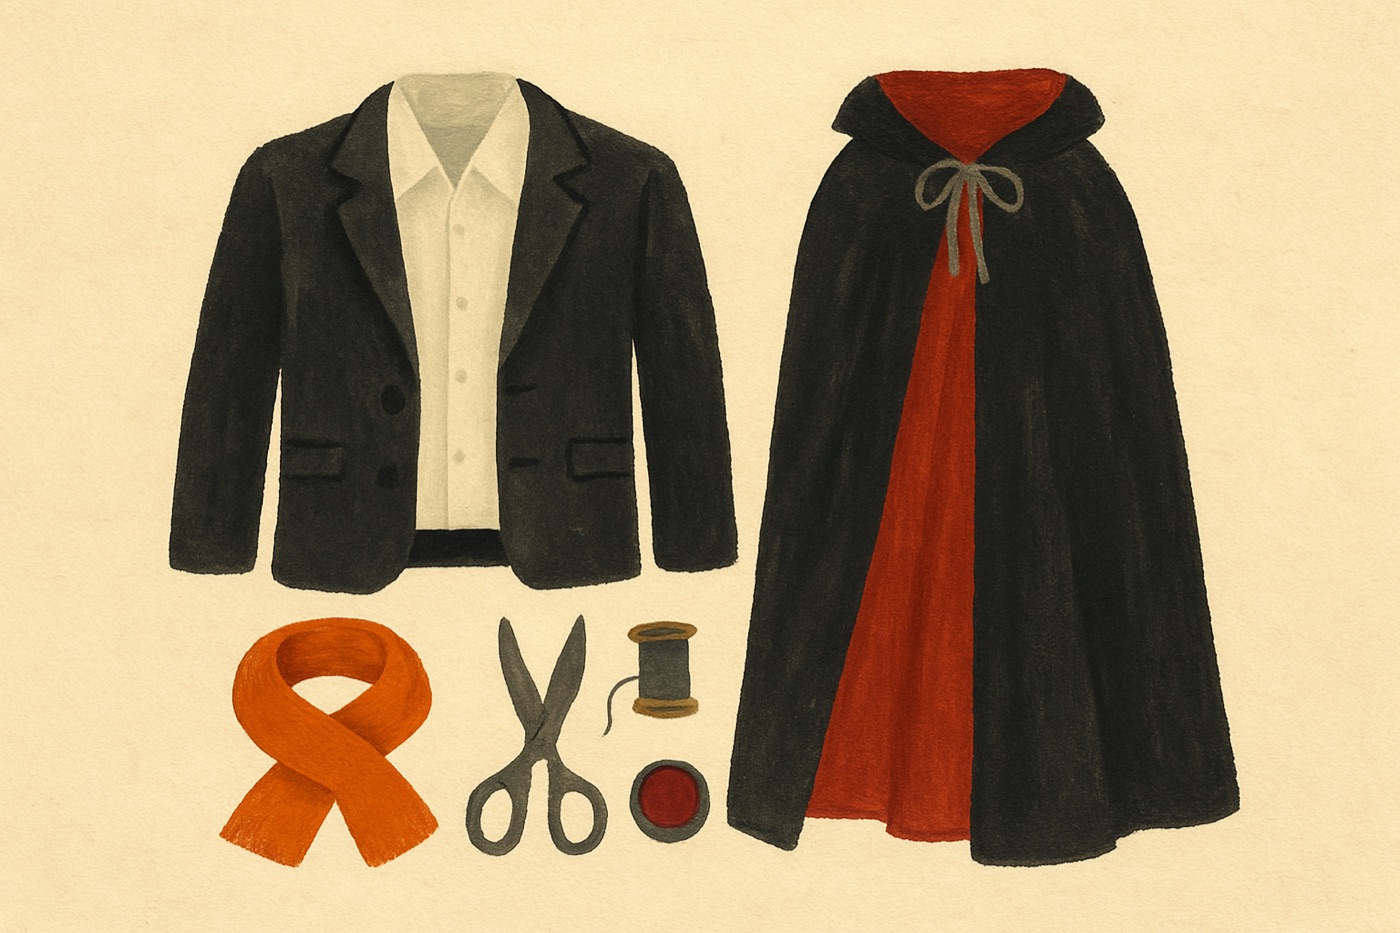 AI-generated illustration (OpenAI gpt-image-1). Not a photograph; shows the kinds of items to gather, not specific products.
The Closet Vampire
A blazer, a white shirt and a cape. The cape can be an old black curtain, a tablecloth, or a thrifted robe worn open.
- From your closet
- A black blazer or jacket; a white collared shirt; dark pants.
- Thrift, borrow or make
- Black fabric for the cape (an old curtain or tablecloth); a scrap of red fabric for the lining; a red scarf.
- The finishing move
- Safety-pin the cape at the shoulders behind the collar, and add deep red lip color. Skip fangs if they don't fit comfortably.
- After Halloween
- Return the curtain or tablecloth to its day job.
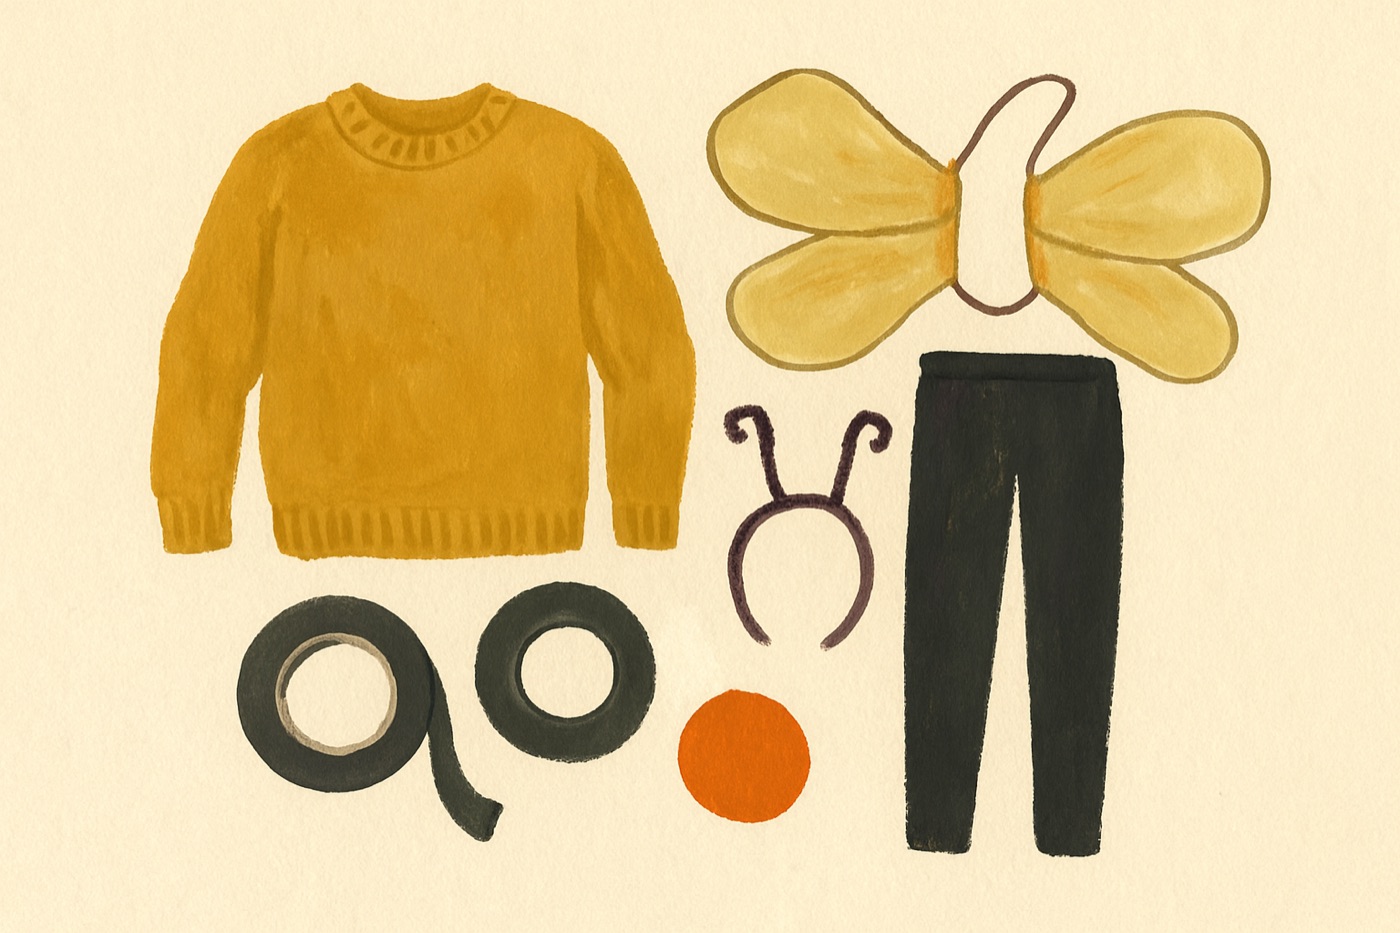 AI-generated illustration (OpenAI gpt-image-1). Not a photograph; shows the kinds of items to gather, not specific products.
The Bumblebee
Yellow, black stripes, and wings you make from tights stretched over bent craft wire.
- From your closet
- A yellow top; black leggings.
- Thrift, borrow or make
- Black tape or black felt strips for stripes; a headband and pipe cleaners for antennae; craft wire and sheer tights for wings.
- The finishing move
- Cover every cut wire end with tape, and keep the wings small enough to get through doorways. Stripes pin or tape on.
- After Halloween
- Peel the stripes; the yellow top is a good top again.
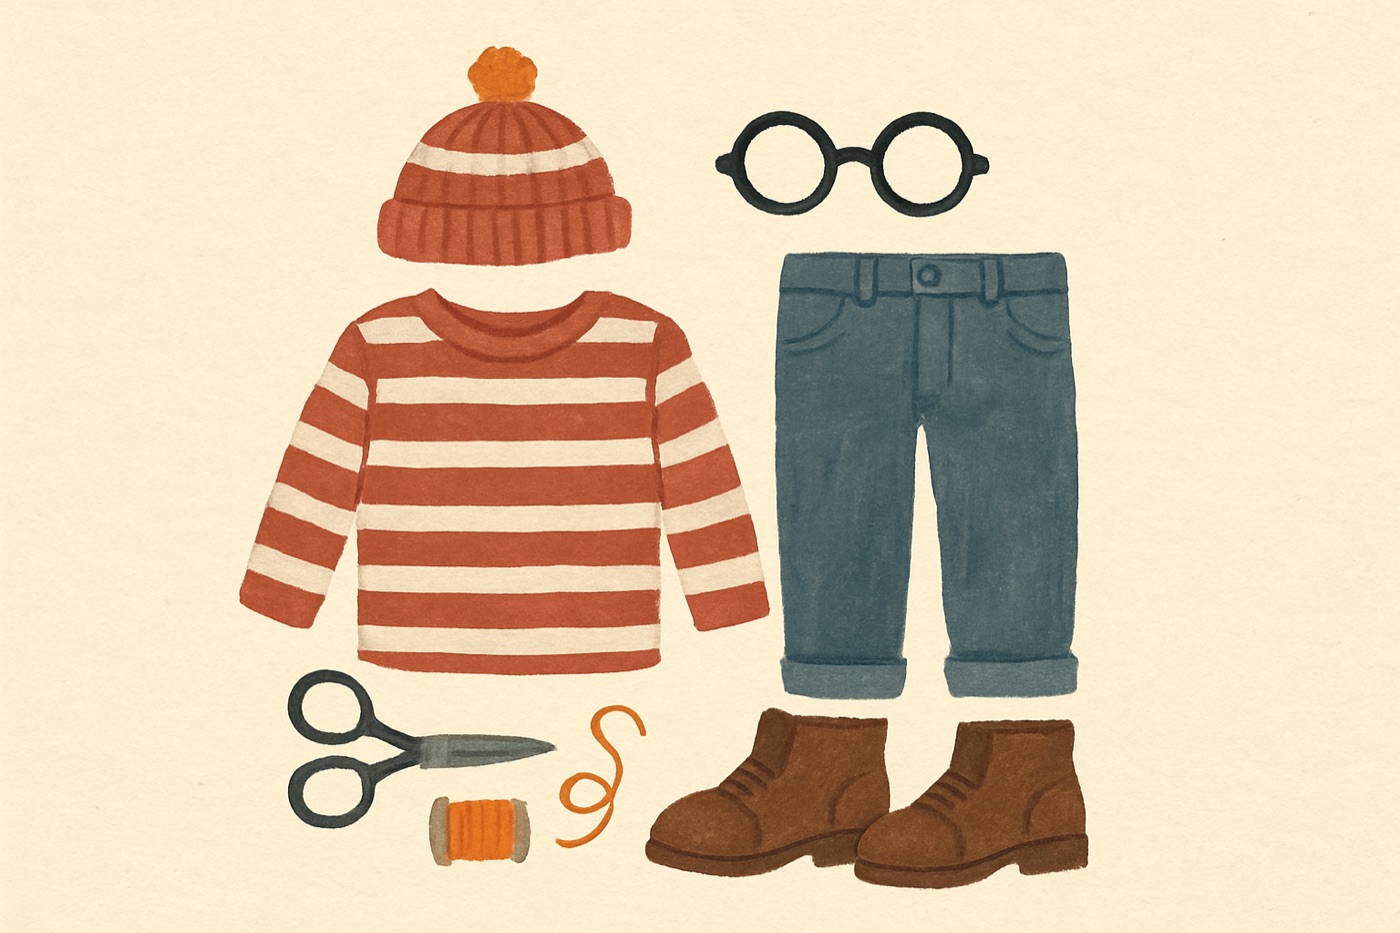 AI-generated illustration (OpenAI gpt-image-1). Not a photograph; shows the kinds of items to gather, not specific products.
The Red-and-White Wanderer
A classic 'Where's Waldo'-style outfit: red-and-white stripes, round glasses and jeans. Easy to spot, which is the point.
- From your closet
- A striped shirt; jeans; boots; round glasses if you have them.
- Thrift, borrow or make
- A striped beanie (thrift or borrow). If you don't own round glasses, draw them on cardboard.
- The finishing move
- Stripes everywhere is the whole look; skip anything extra.
- After Halloween
- Every piece is ordinary clothing.
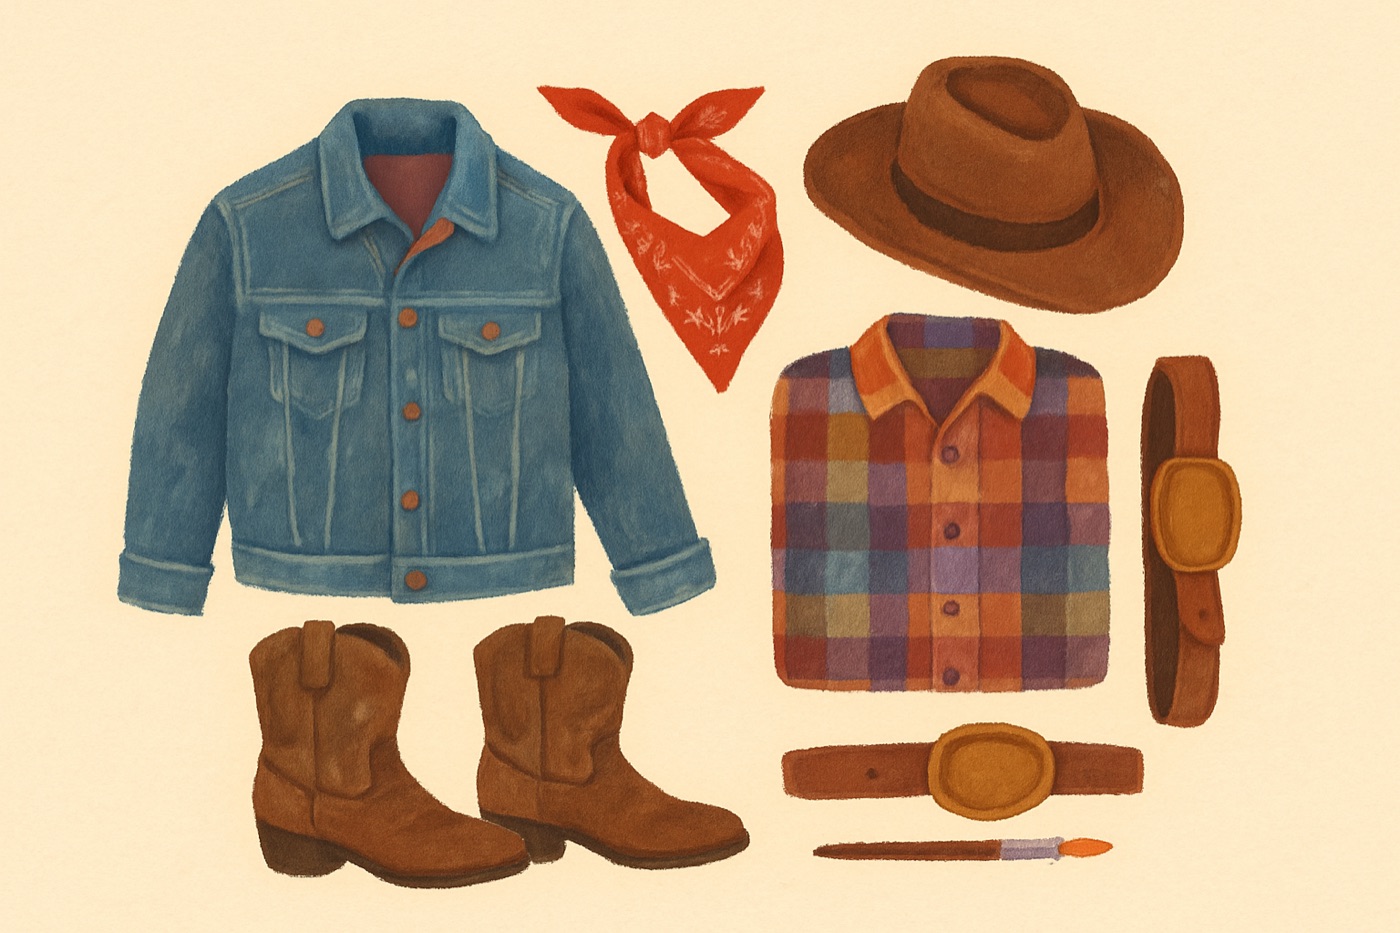 AI-generated illustration (OpenAI gpt-image-1). Not a photograph; shows the kinds of items to gather, not specific products.
The Cowboy or Cowgirl
Denim, a bandana, a hat and boots. The one costume most people can assemble without buying anything.
- From your closet
- A denim jacket or shirt; jeans; boots; a belt.
- Thrift, borrow or make
- A hat (borrow one); a bandana.
- The finishing move
- Roll the cuffs, tie the bandana low, and use the biggest belt buckle you can find.
- After Halloween
- It's just clothes.
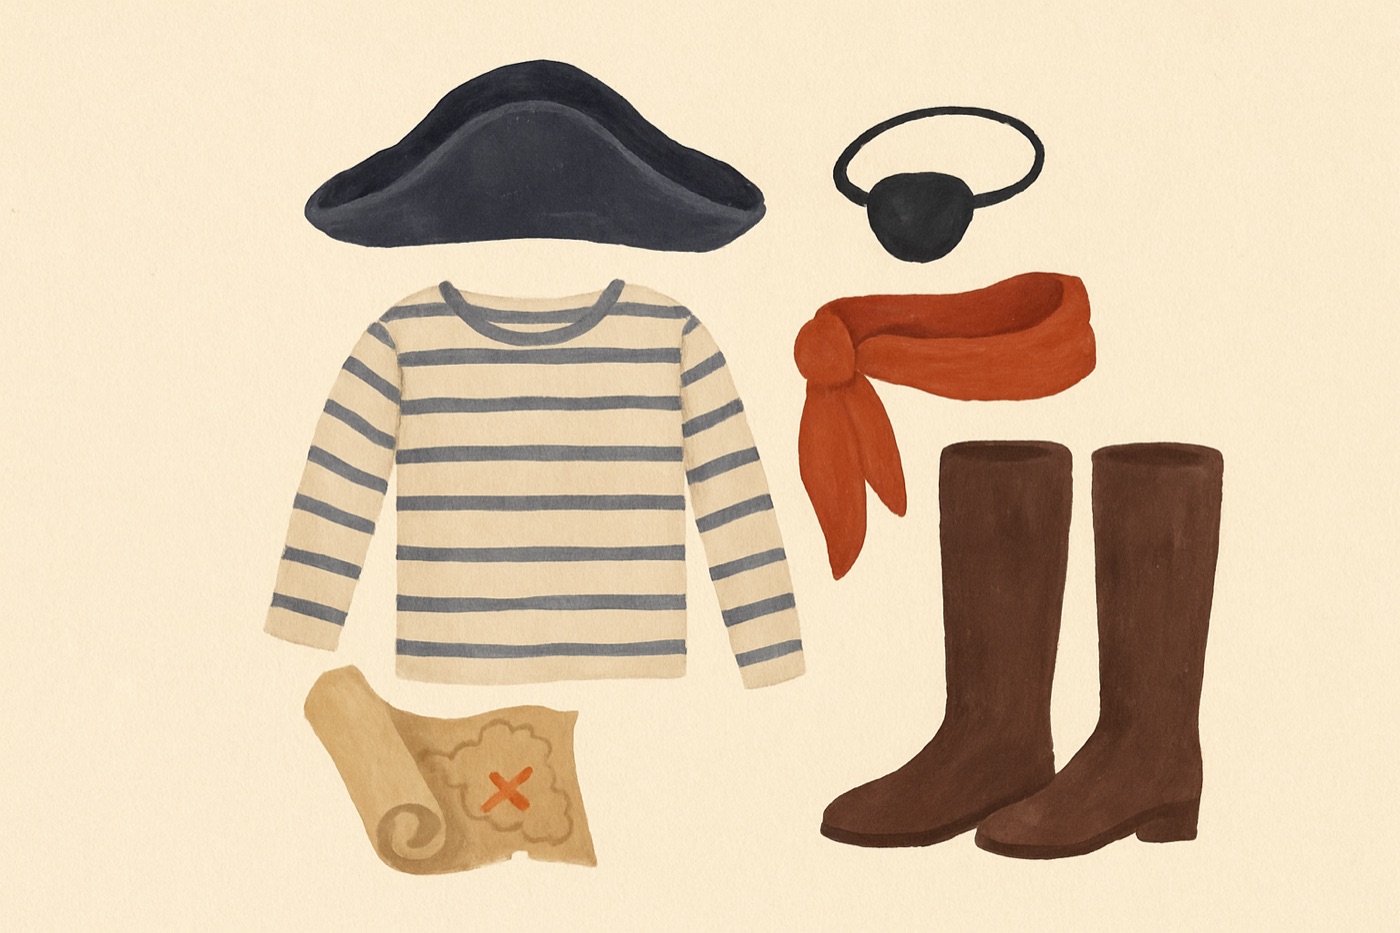 AI-generated illustration (OpenAI gpt-image-1). Not a photograph; shows the kinds of items to gather, not specific products.
The Scarf Pirate
A striped shirt, a red sash from a scarf, and an eyepatch and hat cut from black felt.
- From your closet
- A striped or white loose shirt; dark pants; tall boots or any boots.
- Thrift, borrow or make
- Black felt for the eyepatch and tricorn hat; a long scarf for the sash; elastic or string for the patch.
- The finishing move
- Cut a rounded patch, thread the string through two holes, and glue the hat from folded felt.
- After Halloween
- Keep the felt pieces for another costume.
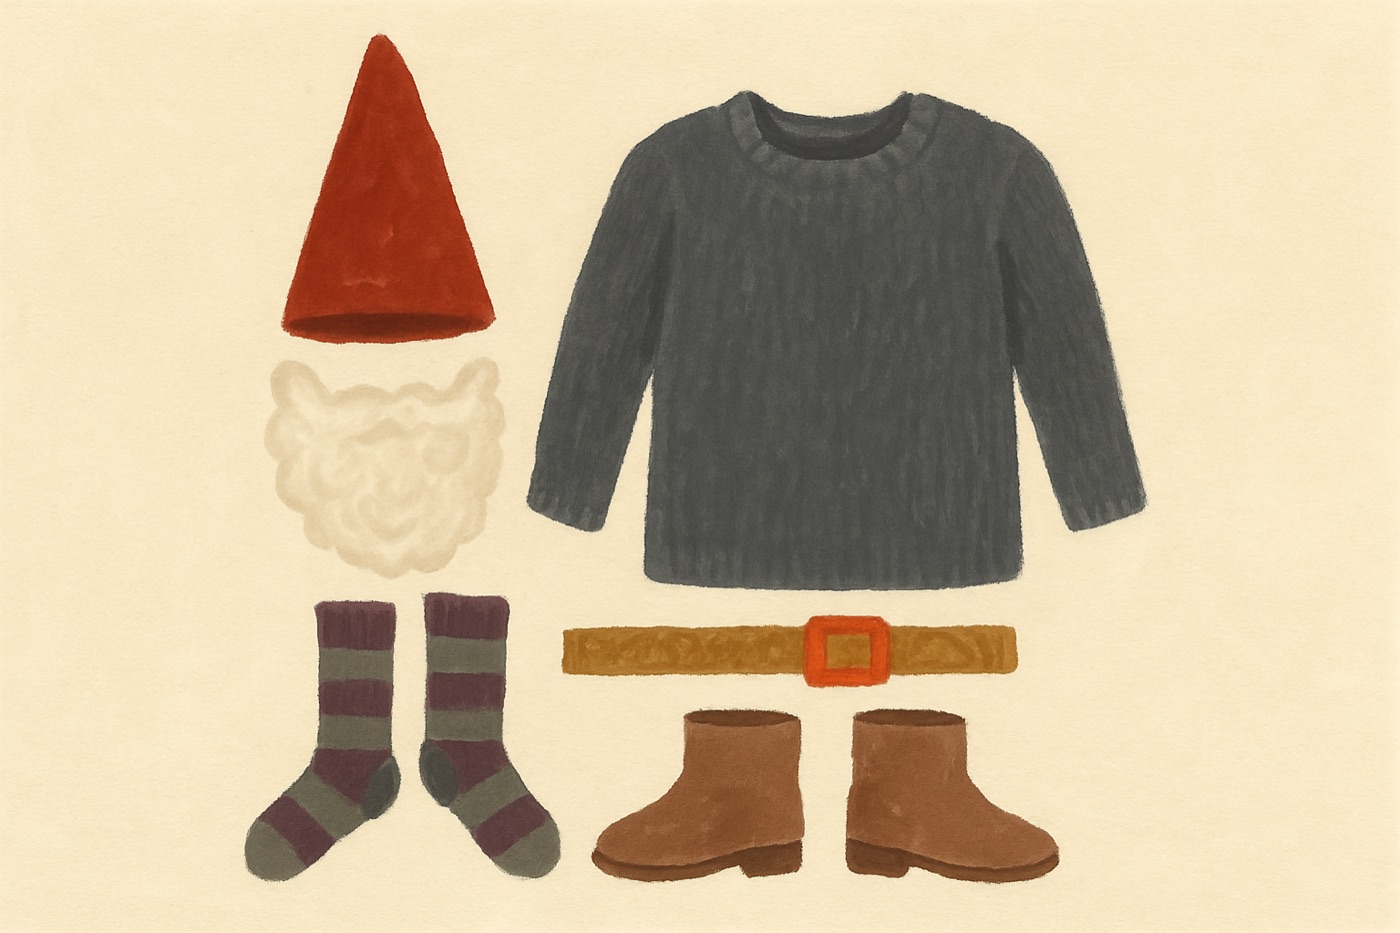 AI-generated illustration (OpenAI gpt-image-1). Not a photograph; shows the kinds of items to gather, not specific products.
The Garden Gnome
A tall red cone hat, a big fluffy beard, and a knit sweater. Warm and absurdly cheerful.
- From your closet
- A gray or blue sweater; striped socks; boots; a belt.
- Thrift, borrow or make
- Red felt rolled into a cone; cotton batting or wool roving for the beard; elastic.
- The finishing move
- Glue the felt cone, add an elastic strap under the chin, and attach the beard with an elastic loop over the ears.
- After Halloween
- Save the hat and beard for next year, or pass them on.
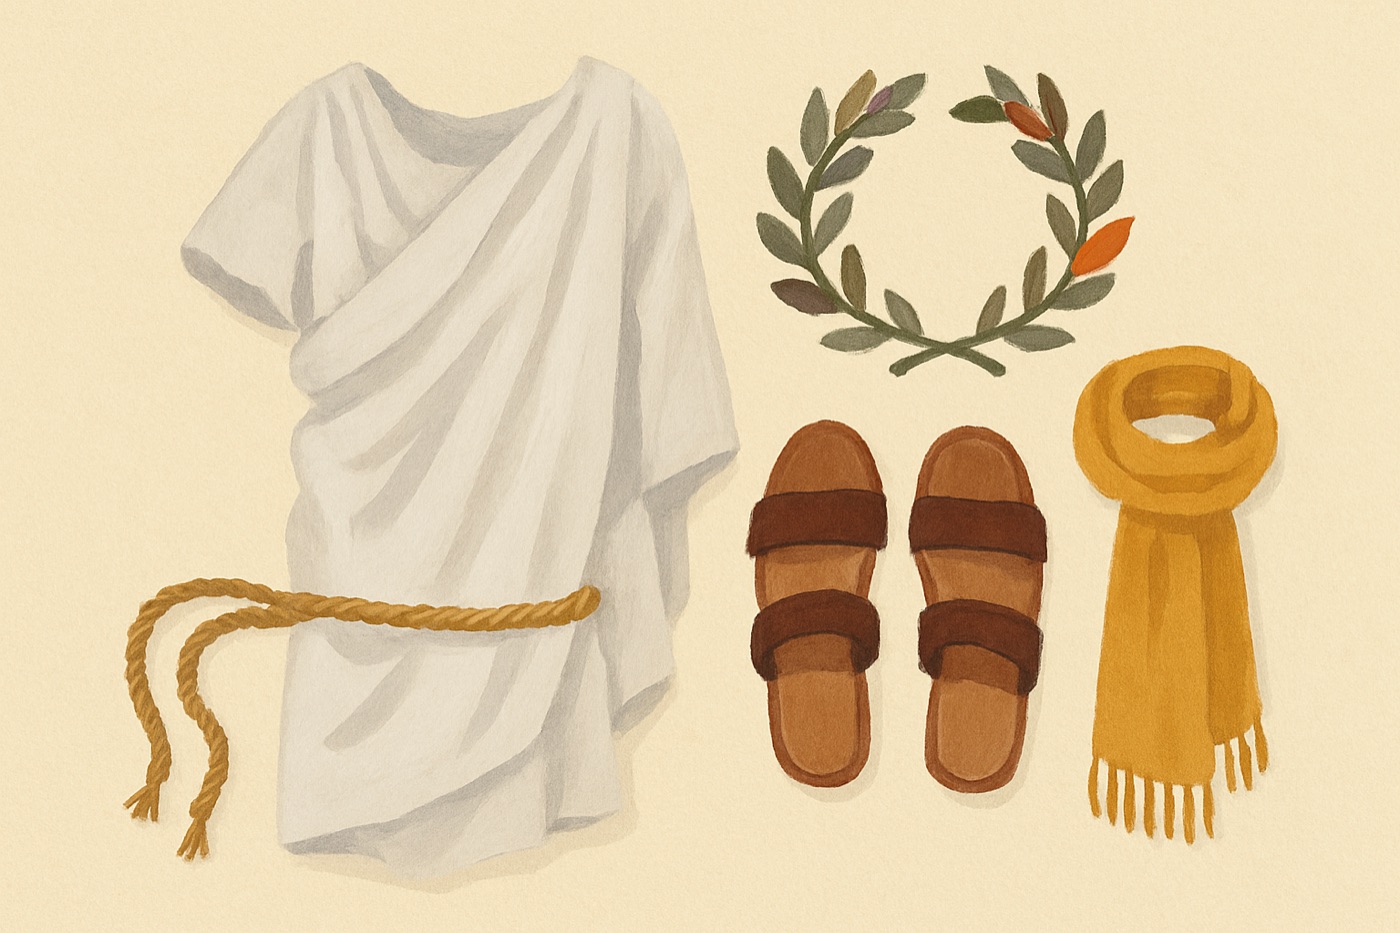 AI-generated illustration (OpenAI gpt-image-1). Not a photograph; shows the kinds of items to gather, not specific products.
The Sheet-Toga Goddess
A bed sheet draped and pinned over one shoulder, a rope belt, and a wreath of craft leaves.
- From your closet
- A flat sheet; a long scarf or cord for the belt; sandals or flat shoes.
- Thrift, borrow or make
- Craft leaves or real fall leaves for a wreath; a gold scarf for a sash.
- The finishing move
- Pin the sheet where it crosses the shoulder and keep the hem above the ankle so you don't trip. Wear shorts underneath.
- After Halloween
- The sheet goes back on the bed.
Three skills that make everything work
1. Attach without sewing
Safety pins, double-sided hem tape and fabric glue handle almost every job in the recipes above. Pins are the best choice for anything you want to remove cleanly; hem tape is best for a temporary hem or patch; glue is for felt details that do not need to come off. Do a test on a scrap first.
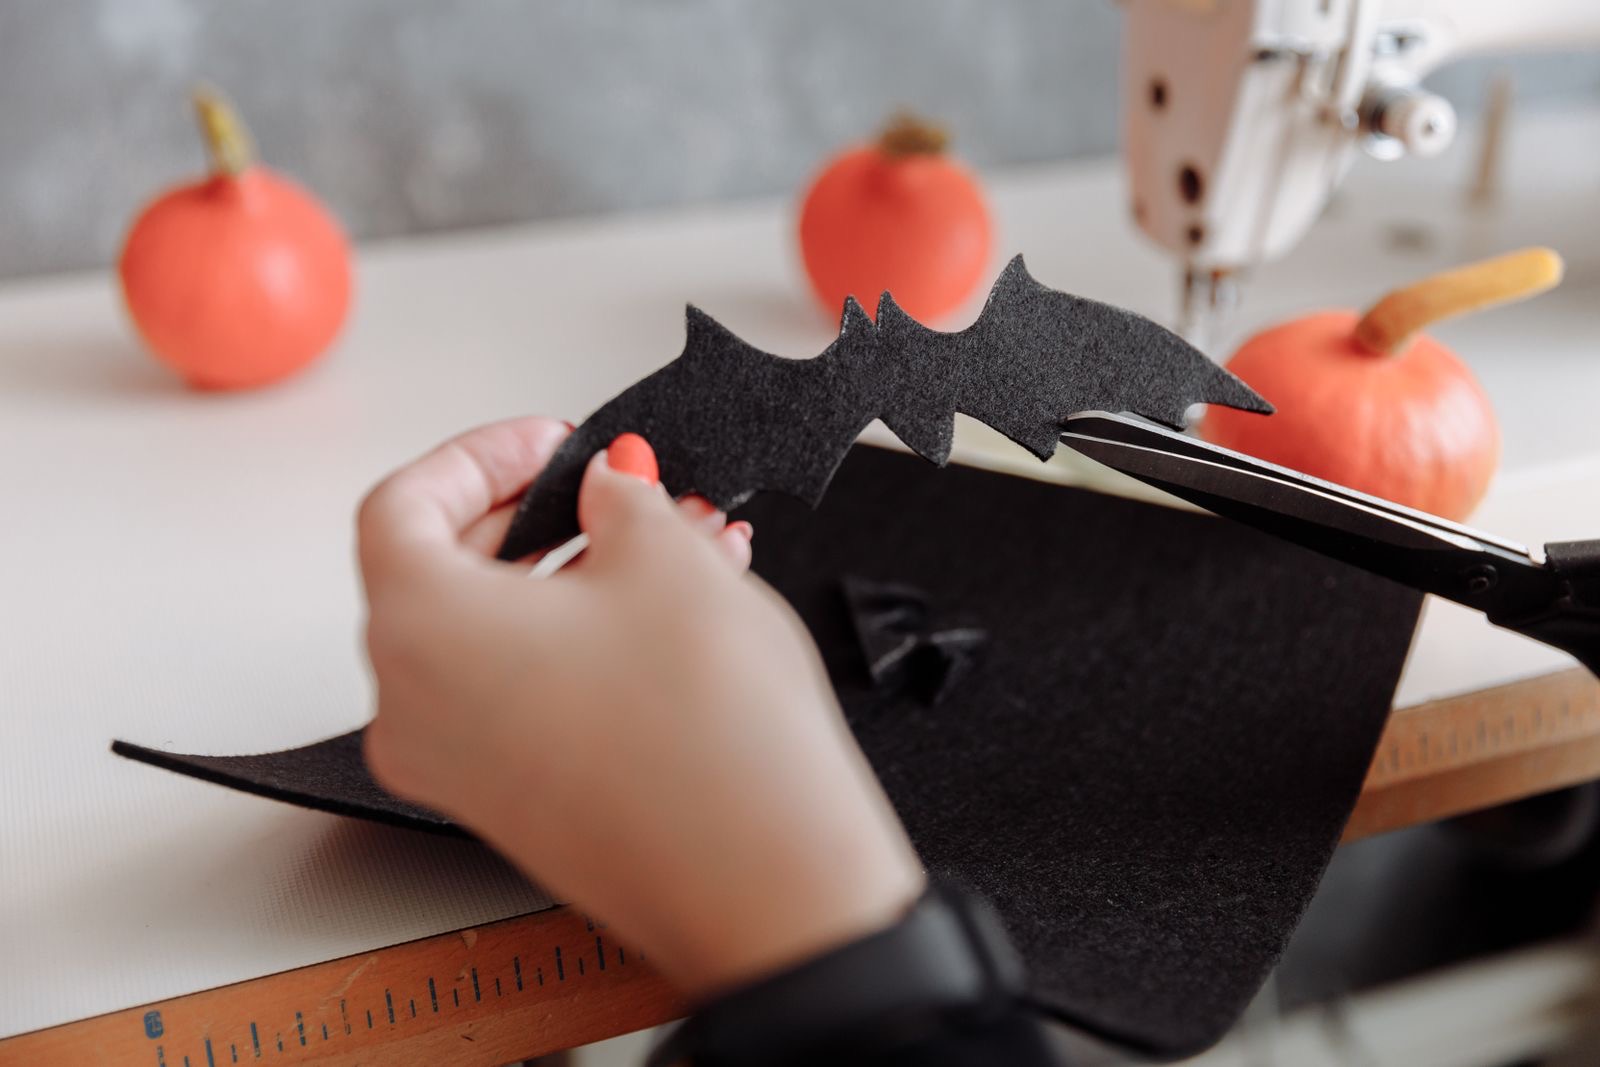
2. Cut felt
Felt does not fray, cuts cleanly with household scissors, and holds its shape. Draw a shape on paper, trace it onto the felt, and cut. Ears, patches, eyepatches, hats and leaves are all the same technique.
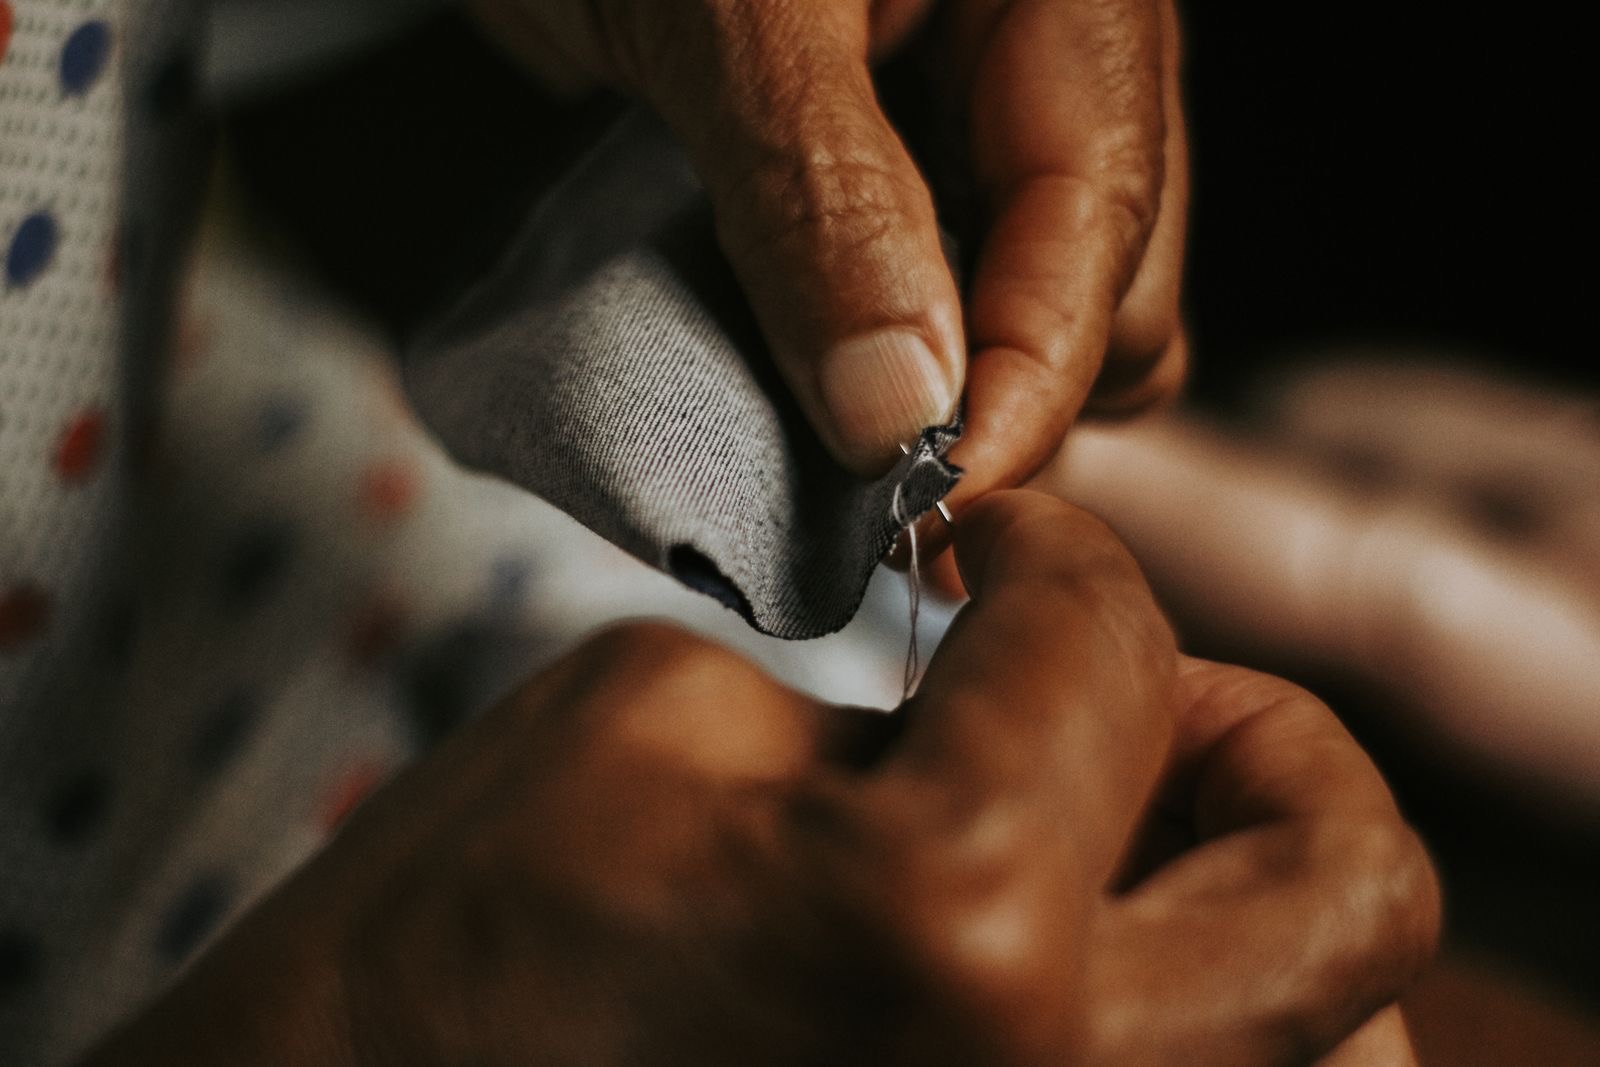
3. Hand-stitch one seam
If something has to stay, a few stitches beat a lot of glue. Thread a needle, knot the end, and sew back and forth through both layers. It does not need to be neat; it needs to hold.
Keep it safe
Homemade costumes need the same safety checks as bought ones. The U.S. Consumer Product Safety Commission’s Halloween guidance and the FDA’s Halloween safety update cover the basics.
- Be visible. CPSC recommends bright, light-colored costumes and reflective tape so drivers can see you; a flashlight helps too.
- Watch the hem and the fit. Keep hems short enough not to trip on, and wear sturdy shoes. CPSC warns against baggy sleeves and billowing skirts near flames, and we would also swap real candles in pumpkins for LED ones.
- Let people see out of it. CPSC and FDA both favor makeup and hats over masks that block vision. Cut eye holes large, and make sure hats and wigs are secure.
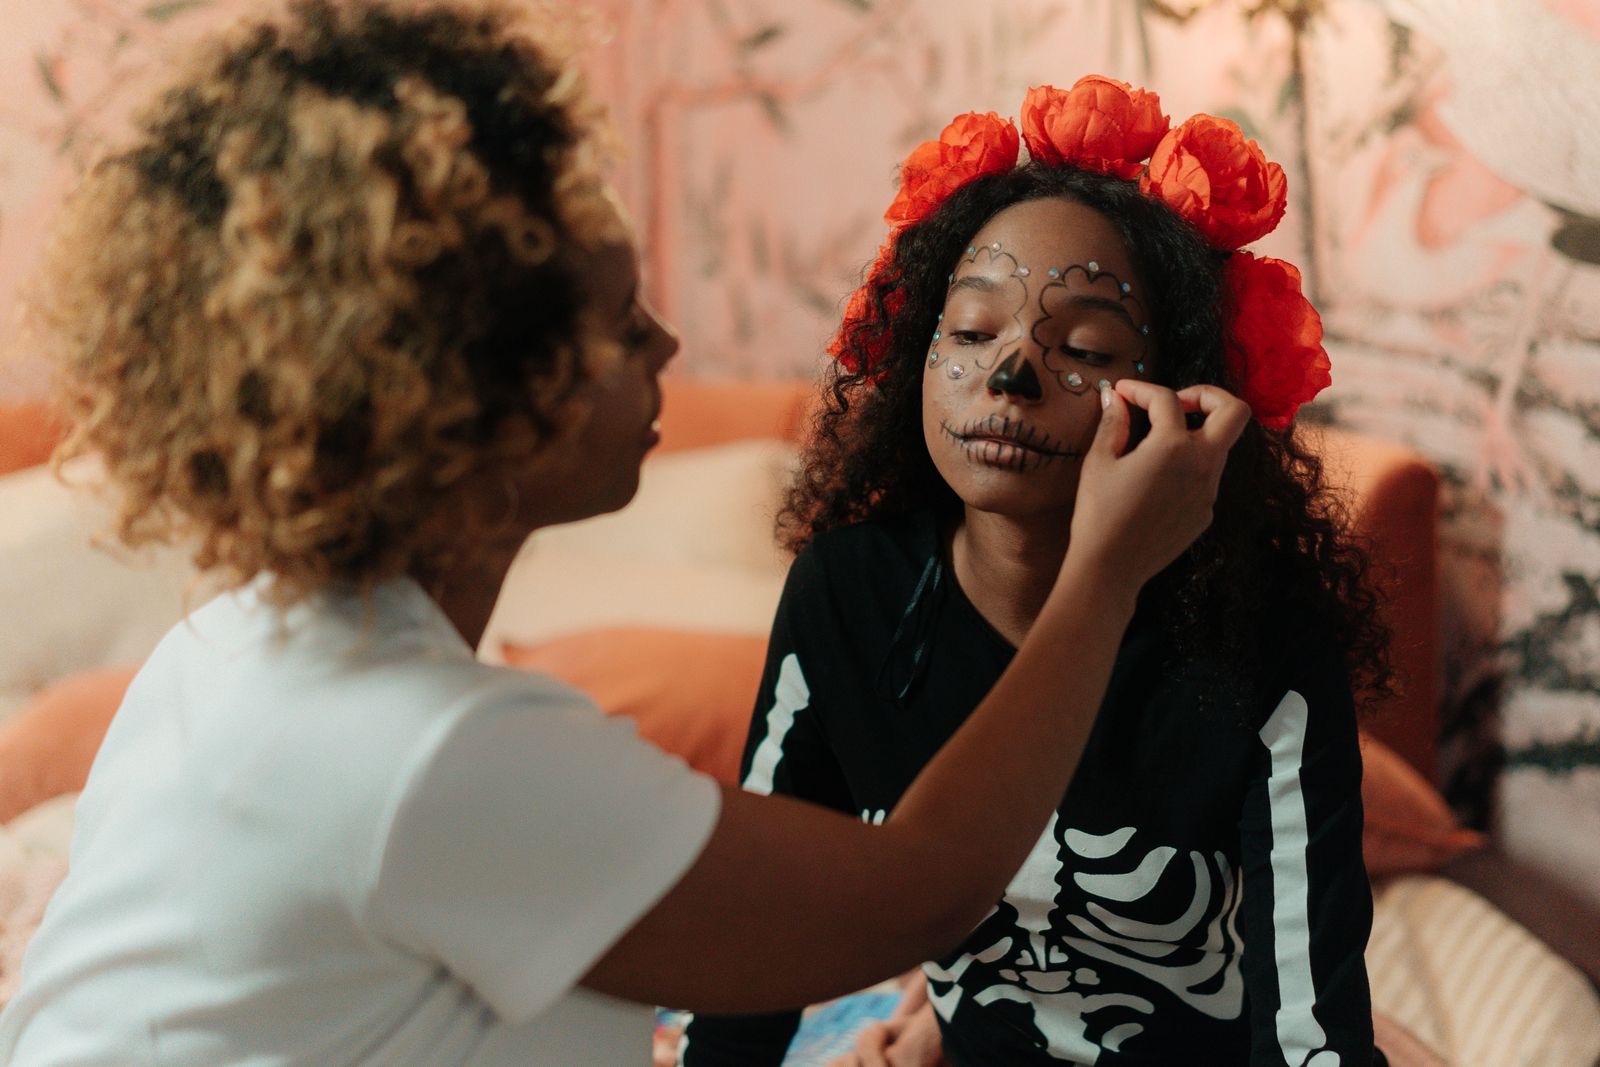
- Patch-test face paint. The FDA advises testing makeup on your arm 24 to 48 hours ahead, looking for redness, swelling or a rash. It also advises checking that the colors are FDA-approved for their intended use, especially around the eyes.
- Keep props soft. Swords, brooms and wings should be flexible and short enough for crowded doorways.
One honest note: for homemade costumes, CPSC’s own suggestion leans toward inherently flame-resistant synthetic fabrics. That sits awkwardly beside a plastic-averse approach, and the practical answer is not to avoid cotton. It is to keep fits close, avoid loose fabric near open flames, and use LED lights.
Make it last
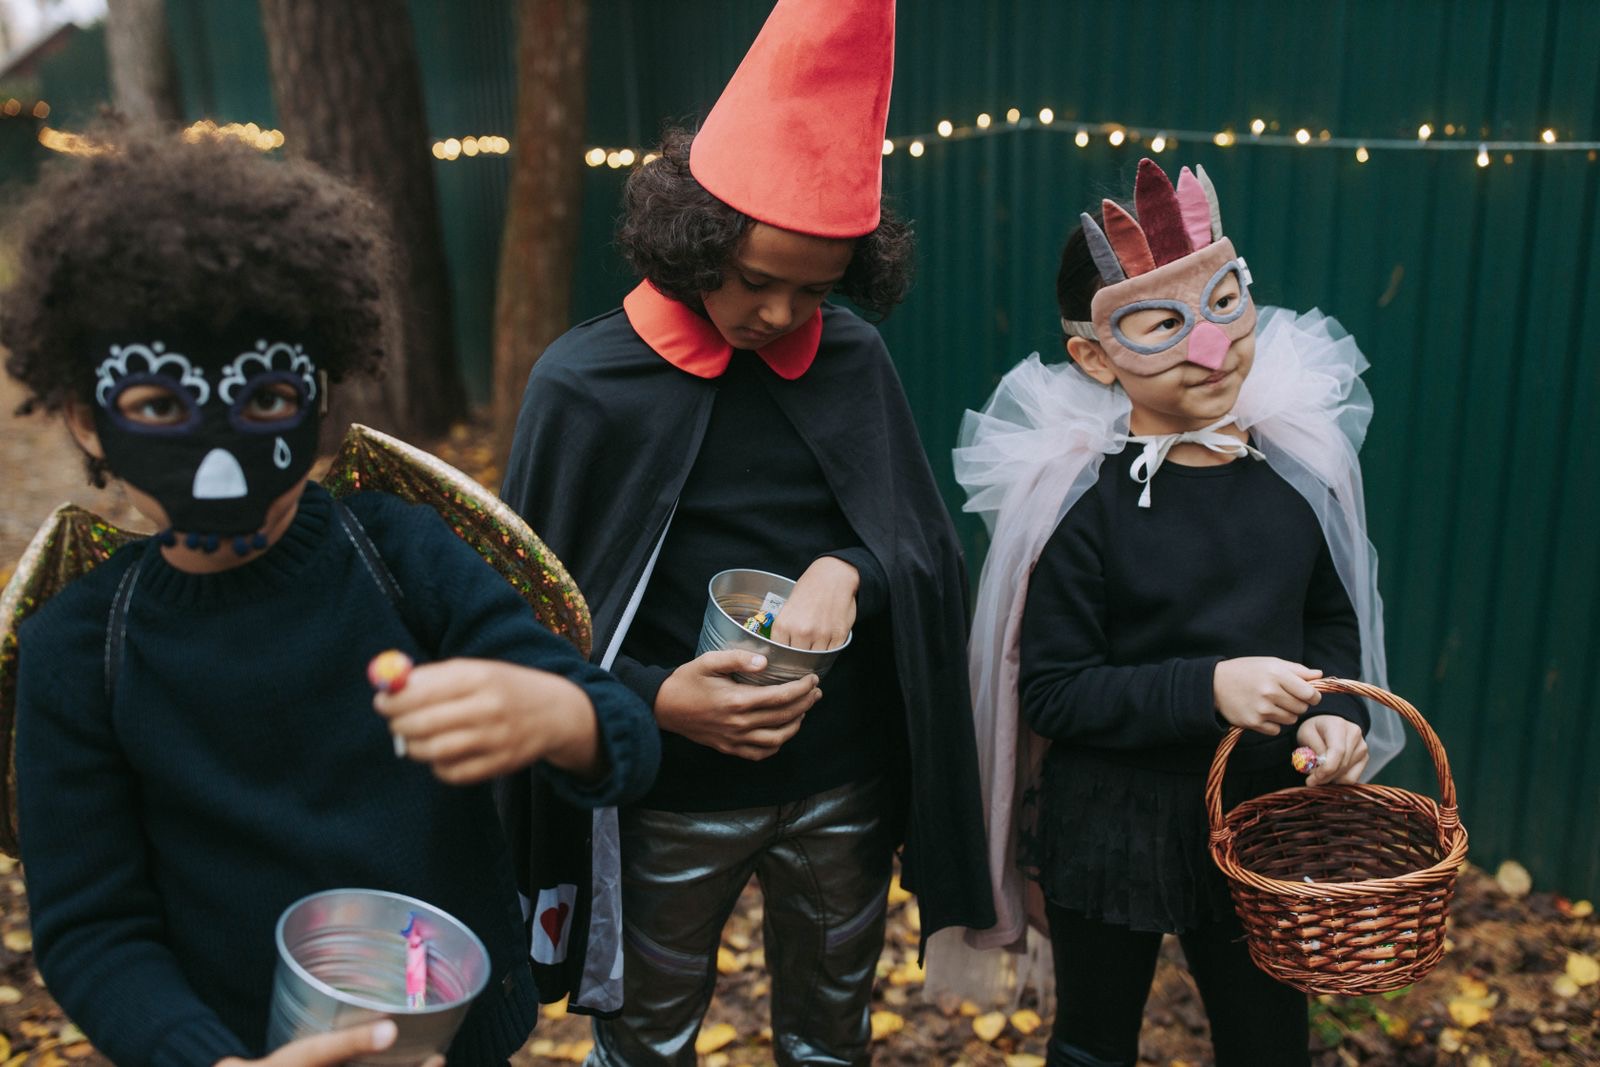
The best part of building a costume from real clothes is what happens on November 1. Un-pin the pieces, return what you borrowed, wash the base layers, and keep the felt and hat for next year. Pass on what you will not use, or swap it with someone who will. A costume that gets worn a second time, by anyone, is already better than one that gets worn once.
A short kit worth owning
You do not need any of this to get started, and you probably own half of it. If you are missing a few basics, these six reusable tools cover every recipe above. They are real Amazon listings, and they are useful long after October.
 Felt sheets, assorted colorsSoft felt for ears, eyepatches, patches and hats. It cuts clean with household scissors and doesn't fray.See it on Amazon →
 HeatnBond iron-on hemming tapeThe no-sew way to hem a sheet or fix a felt patch: place it, press with an iron, done.See it on Amazon →
 Aleene's Fabric Fusion fabric glueA permanent, washable fabric adhesive for felt details and anything the tape can't reach.See it on Amazon →
 Assorted safety pinsThe original no-sew tool, and the easiest way to attach a cape, bones or patches so they come off cleanly.See it on Amazon →
 Sew-on reflective ribbonCPSC suggests reflective trim on costumes and treat bags; a strip of it makes any dark costume visible to cars.See it on Amazon →
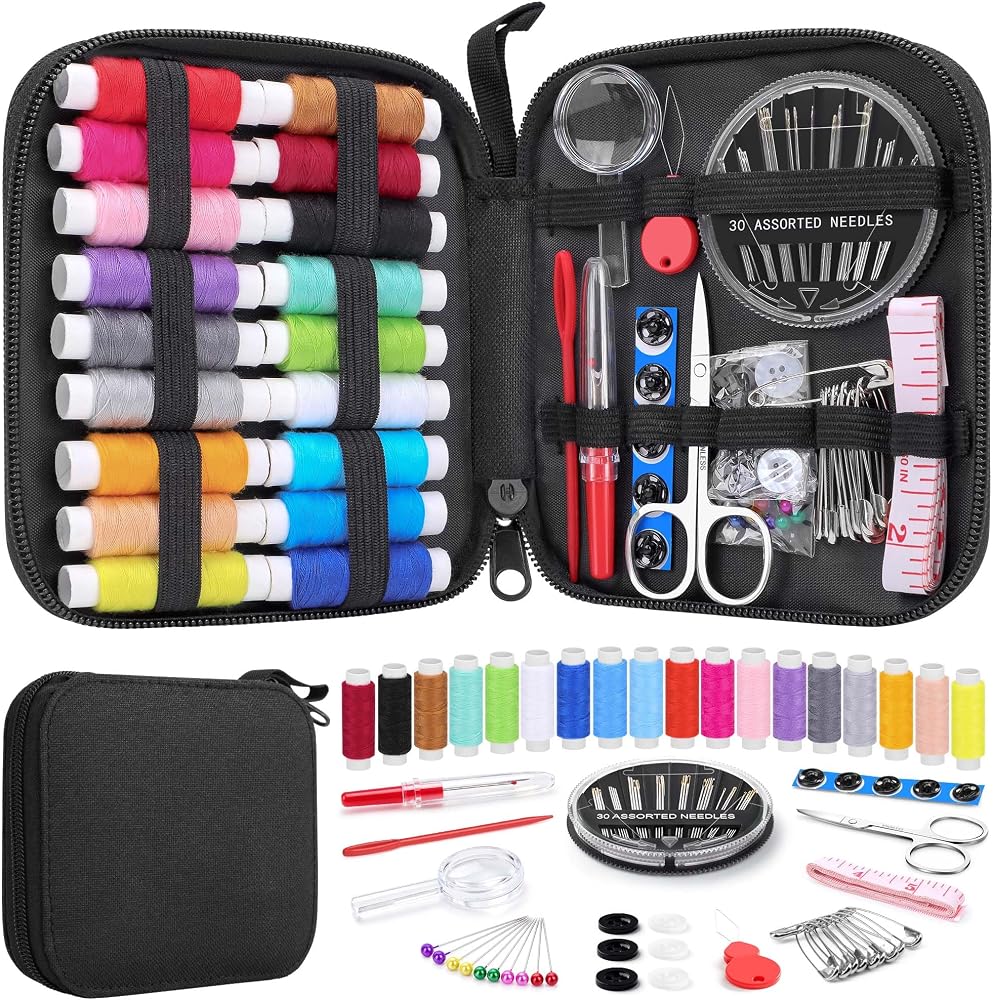 Basic needle-and-thread repair kitFor the one seam that won't stay with tape or glue, and for fixing the clothes you're wearing as the costume.See it on Amazon →
Common questions
Is making a costume really better for the environment?
It can be, but only if you reuse clothes and materials that already exist. A costume built from secondhand and borrowed pieces avoids new production; one built from a pile of newly bought craft supplies may not. Fairyland Trust’s advice was to buy from charity shops, reuse costumes or use non-plastic materials.
I can’t sew. Can I still do this?
Yes. Eleven of the twelve recipes use only safety pins, hem tape, glue and scissors. The twelfth, the bumblebee, can sew or tape its stripes on.
Is it actually cheaper?
Usually, if you begin with what you own, because the costume is mostly clothes you already have. We do not quote prices on this page, and a craft-store spree can erase the savings. The rule that keeps it cheap is the same one that keeps it green: buy at most one thing.
What about kids who outgrow costumes every year?
Swap. Families and schools passing costumes around keeps pieces in use. Black or plain base layers also stretch across many costumes as kids grow.
Where do I find a hat or cape?
Thrift shops, a friend’s closet, and the linen cupboard. A black curtain, a tablecloth or an old robe makes a better cape than most store-bought ones.
The best homemade costume is a rearranged closet with one clear idea: a silhouette, a signal and a prop. Start with what you own, borrow or thrift the rest, make the small details from felt and tape, and keep it safe and visible. If you only buy one thing, buy something you will wear again.
Sources
- FashionUnited: “The high cost of Halloween costumes on the environment” (reporting the Fairyland Trust survey, 2019).
- U.S. Consumer Product Safety Commission: Halloween Safety Tips for Selecting Costumes and Decor (2013).
- U.S. Food and Drug Administration: Halloween safety, costumes, candy and colored contact lenses.
Honesty note. Real photography on this page is free-use Pexels photography, credited under each image, and none of it shows a named person. The costume illustrations are AI-generated (OpenAI gpt-image-1) and are labeled as such; they depict categories of everyday items, never specific products or real people. The six tools in the kit are real Amazon listings with Amazon-hosted product photos; DopamineKart may earn a commission on qualifying purchases at no extra cost to you. No prices, discounts or promotions are quoted anywhere in this guide. Safety guidance is paraphrased from the CPSC and FDA pages above, some of which are several years old; check cpsc.gov and fda.gov for current guidance.
Corrections: email us