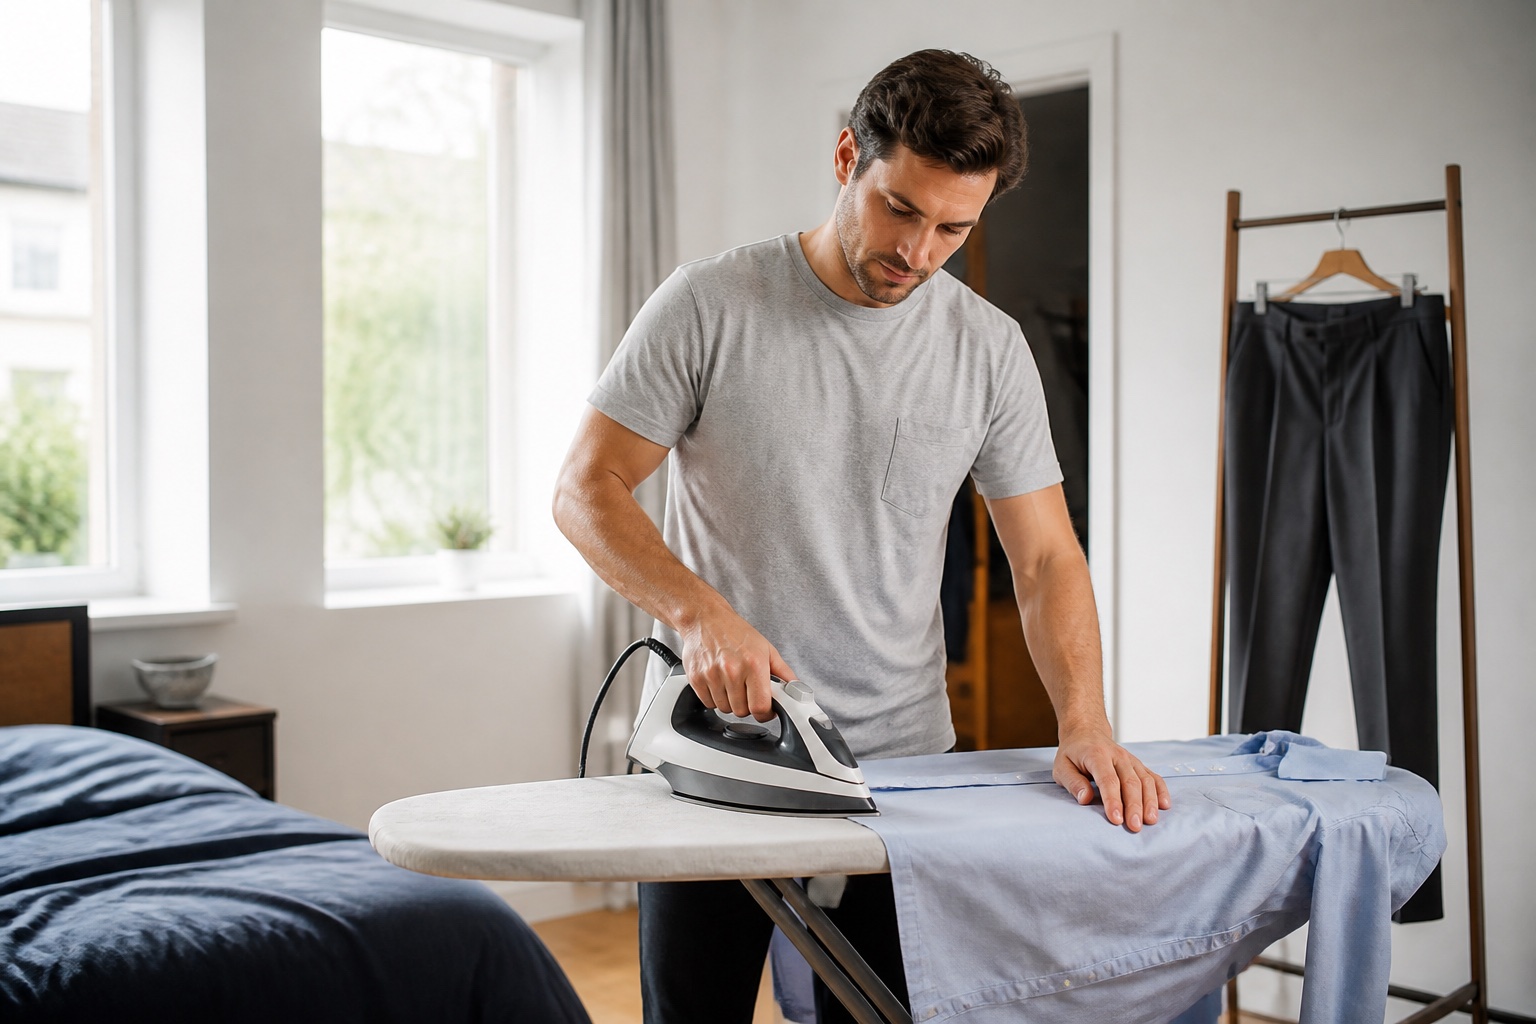
The quick answer
- Start with the care label. Heat that is safe for cotton can permanently mark wool or melt a synthetic blend.
- Iron a shirt from the small, structured parts toward the large panels: collar, cuffs, sleeves, fronts, back.
- For trousers, align the seams and press through a cloth. Lift the iron instead of scrubbing it back and forth.
- A clean tuck begins with the right shirt length. Technique cannot rescue a shirt that barely reaches the waistband.
Looking put together is usually not about owning better clothes. It is about removing the accidental details: the crushed collar, shiny trouser leg, balloon of fabric above the belt and sweater stretched over a hanger.
This guide handles those details one at a time. It is a focused companion to our broader men's grooming and presentation guide, with enough visual instruction to follow while the ironing board is open.
First: read the care label
The label wins over every general rule. An iron symbol with one dot means low heat, two dots means medium and three means high. A crossed-out iron means do not iron. If you cannot identify the fabric or the label is gone, start cool, work from the reverse side and test somewhere hidden.
| Fabric | Starting approach | Main risk |
|---|---|---|
| Cotton | Medium to high heat; slight dampness helps | Setting a crease in the wrong place |
| Linen | Press while damp, usually from the reverse | Expecting every natural wrinkle to disappear |
| Wool trousers | Medium heat through a damp pressing cloth | Shine or scorching |
| Polyester blends | Low heat, reverse side first | Melting, glazing or distorted fibers |
| Silk or delicate fabric | Low heat, reverse side, no heavy steam | Water marks and heat damage |
How to iron a dress shirt
Work while the shirt is slightly damp or mist one section at a time. Let each section lie flat; ironing over a fold creates a new crease you then have to remove.
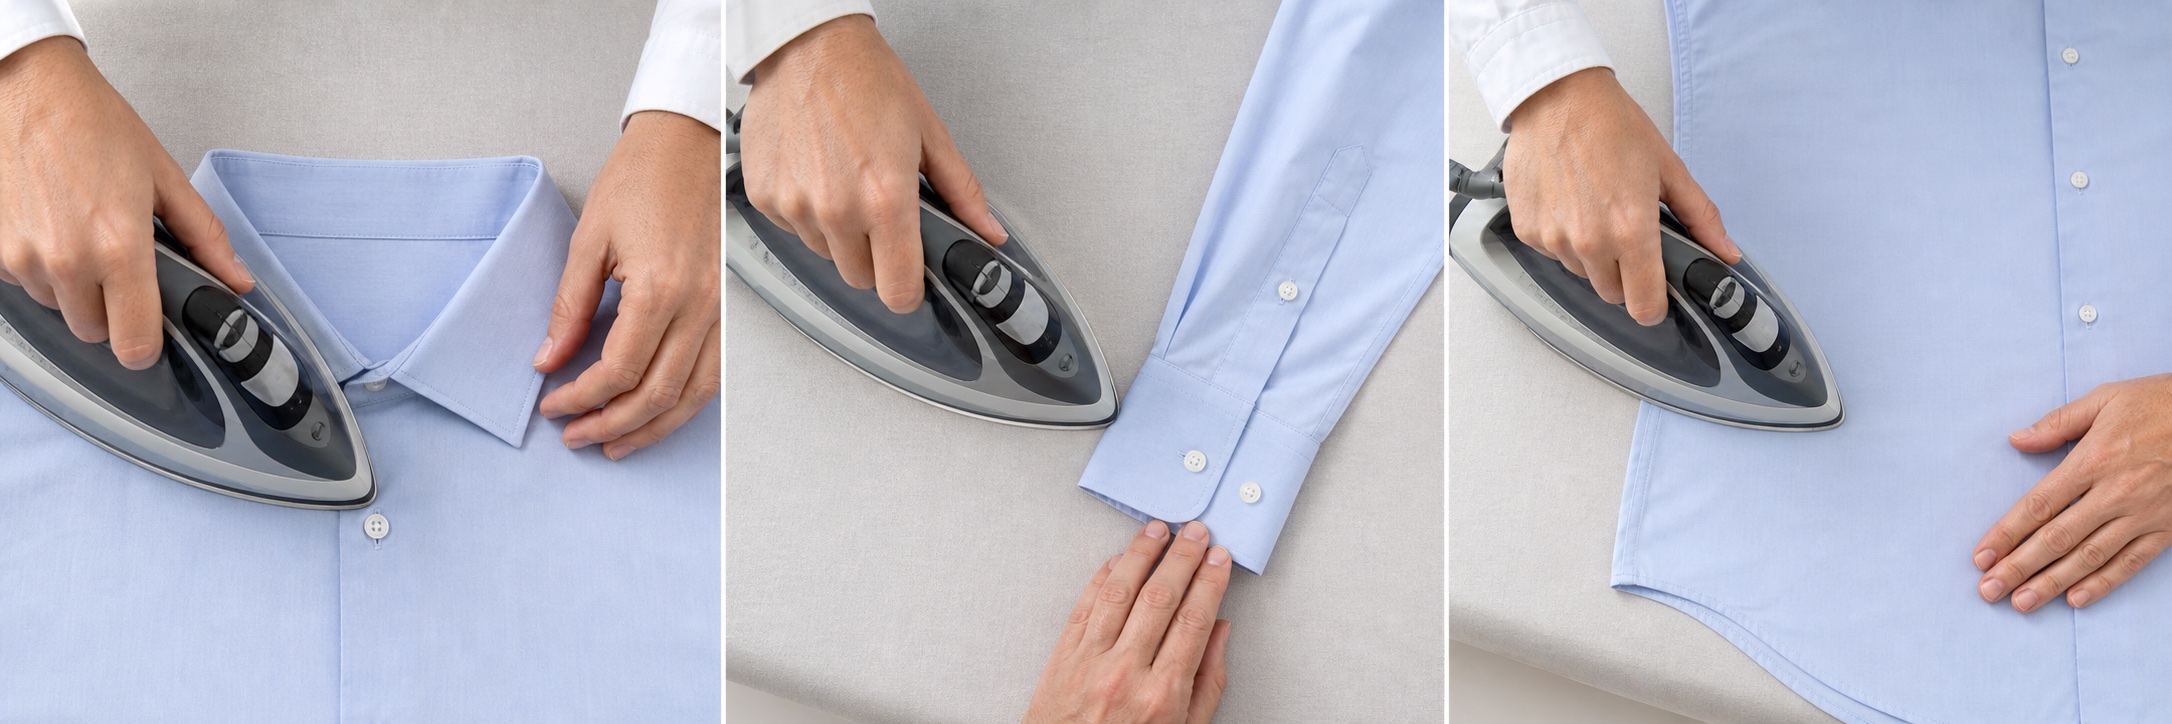
Collar
Open it flat. Press the underside from each point toward the middle, then the outside. Working inward helps prevent the tips from puckering.
Cuffs and sleeves
Unbutton cuffs and press them flat. Smooth each sleeve along its seam. Avoid adding a hard sleeve crease unless that is the look you want.
Fronts and back
Fit one front panel over the board, work carefully around—not over—the buttons, then press the back and finish with the other front.
Hang the shirt immediately and leave the top button open while it cools. Folding warm fabric can put the wrinkles straight back.
How to press trousers without making them shiny
Empty the pockets. Turn the waistband and pocket bags outward and flatten them first. For a traditional crease, place one leg over the other so the inseams and outer seams match; the existing crease should reveal itself. If the trousers were designed without a crease, do not invent one.
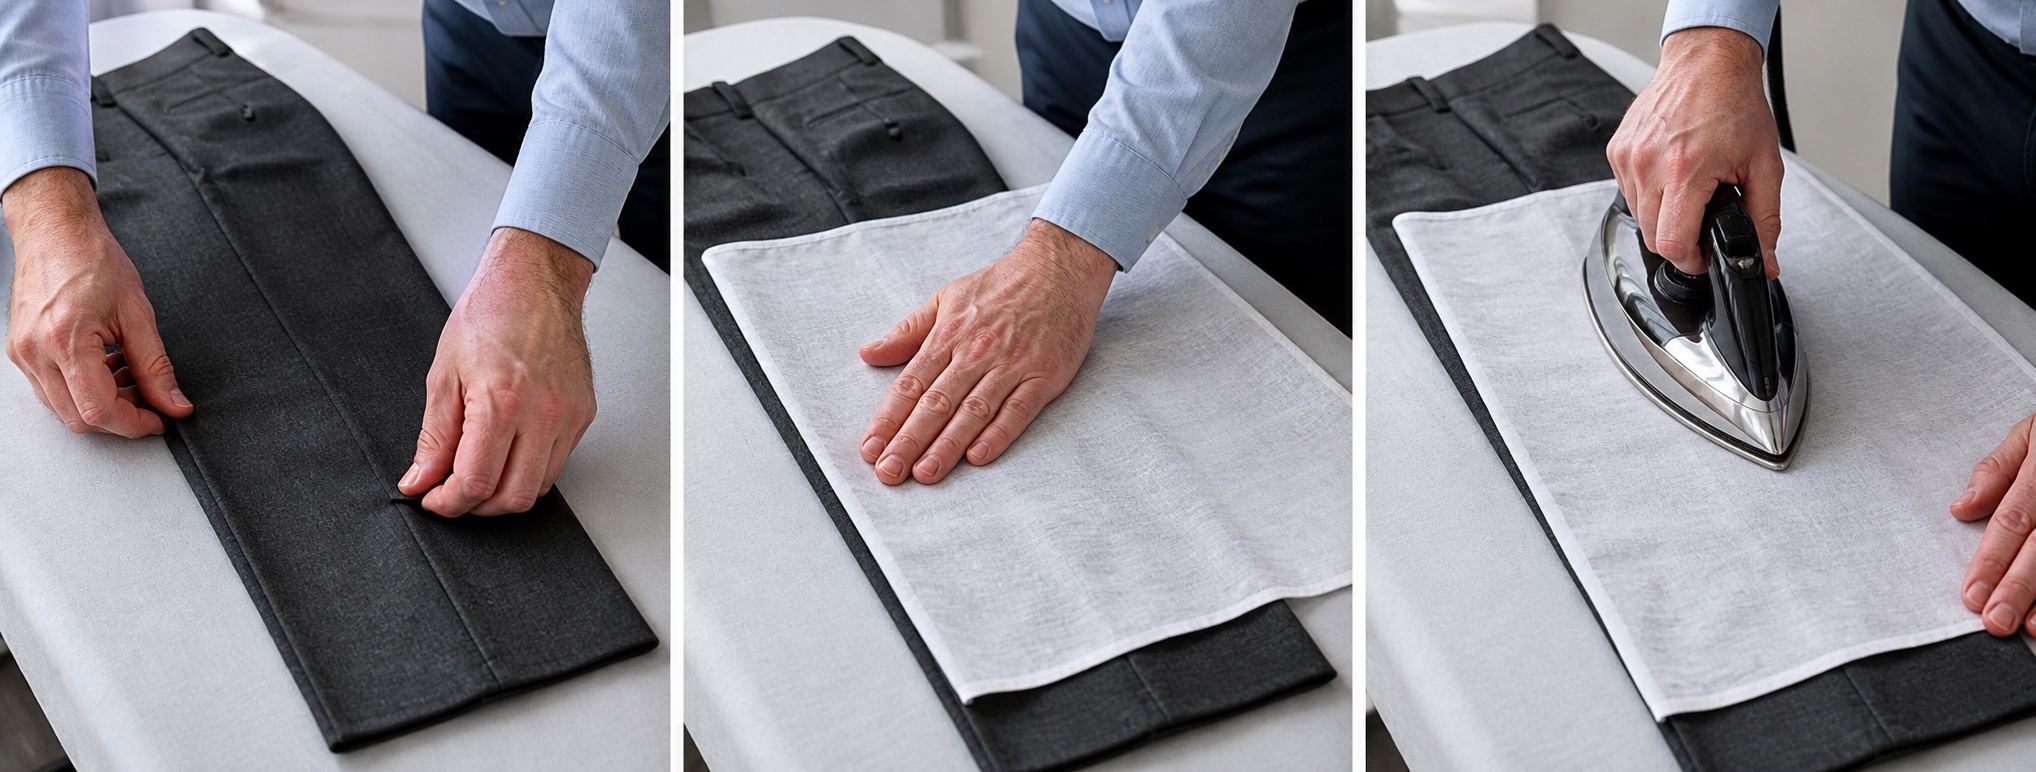
Align
Match the seams and smooth the leg with your hand. Confirm the crease is centered before applying heat.
Protect
Place a thin, clean pressing cloth over the fabric—especially wool, dark colors and anything prone to shine.
Press, then lift
Set the iron down briefly, lift it, and move to the next area. Dragging can stretch fabric and shift the crease.
How to tuck in a shirt cleanly
Button the shirt and trousers, then pull the shirt straight down before fastening the belt. Line up the shirt placket, belt buckle and trouser fly—the simple vertical line often called the gig line. Raise your arms once, then smooth only the fabric that naturally escapes.
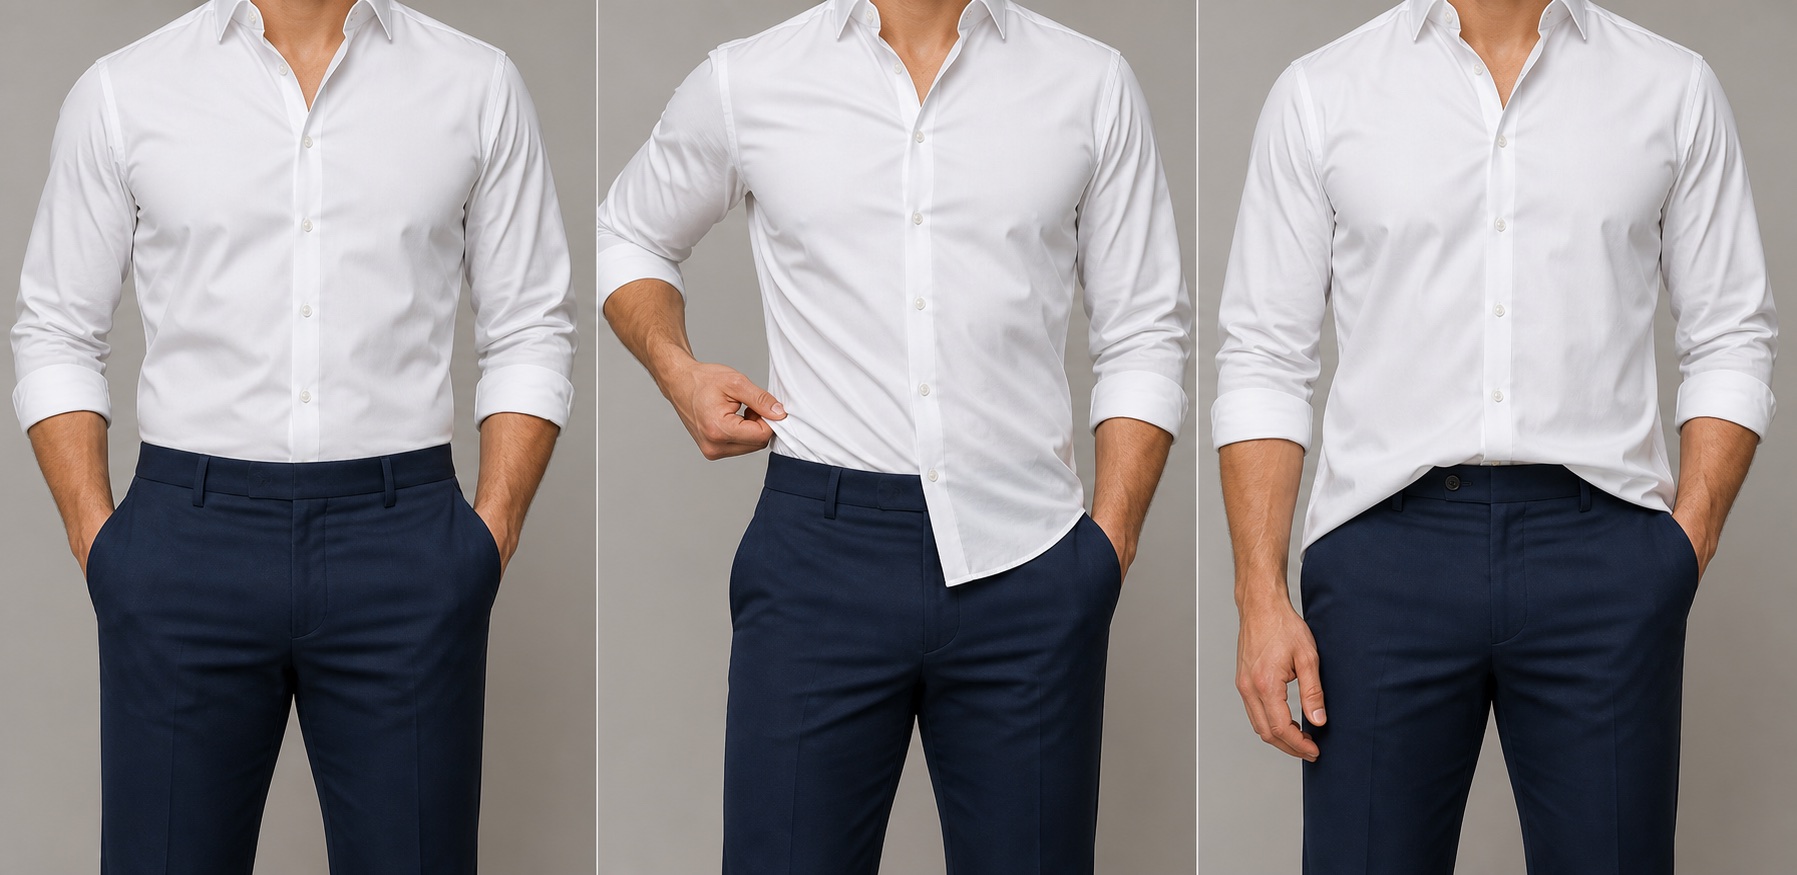
Full tuck
Best for dress shirts and professional settings. Smooth the shirt downward all the way around before closing the trousers; do not stuff a large wad into the front after the belt is fastened.
Military tuck
Pinch the extra fabric at each side seam, fold it backward into a flat pleat, then tuck the pleat into the waistband. It removes volume from the sides without creating a bulky fold at the spine.
Front tuck
Useful for casual shirts with softer fabric. Tuck only the center front near the buckle and let the sides fall naturally. It should look relaxed; a sharply pressed dress shirt usually looks unfinished this way.
Hang, fold, steam or roll?
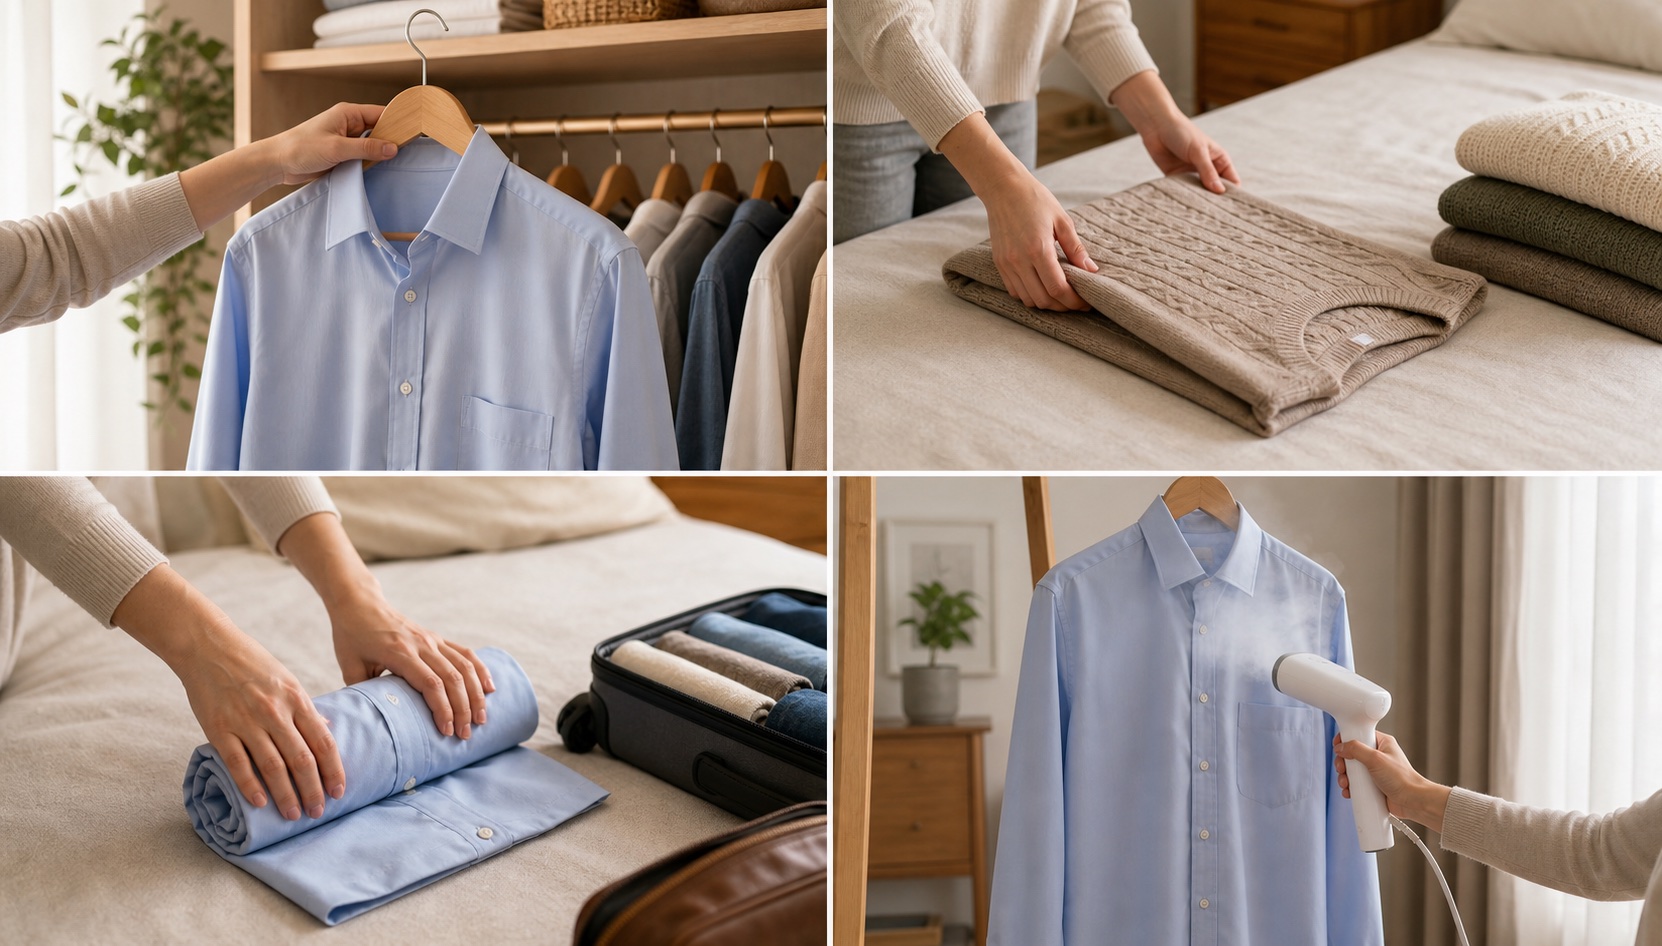
| Garment | Best default | Why |
|---|---|---|
| Dress shirt | Hang on a broad hanger | Supports the shoulders and preserves the press |
| Knit sweater | Fold flat | Hangers can stretch the shoulders and length |
| Dress trousers | Hang by the waistband or over a padded bar | Lets gravity preserve the line without a hard clamp mark |
| Travel shirt | Fold or roll loosely, then hang on arrival | Reduces sharp suitcase creases |
| Suit jacket | Broad, shaped hanger | Protects the shoulder structure |
Optional care tools
These are not required to learn the method. They are direct Amazon product links reused from previously verified Legit listings; choose by format, not by hype.
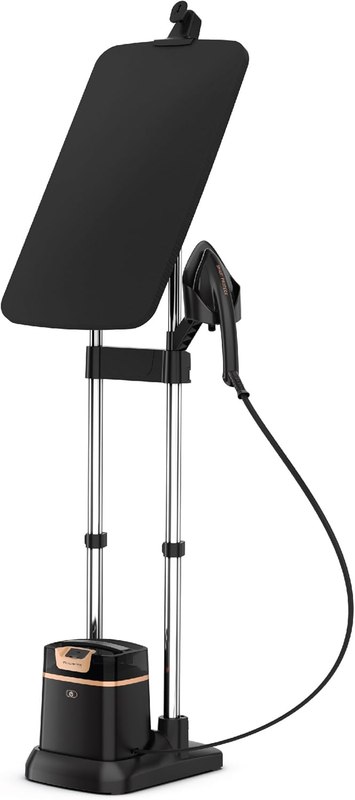
Rowenta IXEO station
A combined 1-liter, 1500-watt steamer and 65-inch adjustable board for people who want one fixed pressing station.
View on Amazon →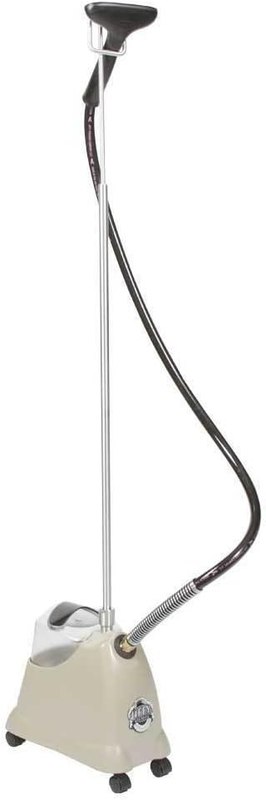
Jiffy J-2000 steamer
A simple freestanding steamer with a single plastic steam head; the listing does not publish tank size or heat-up time.
View on Amazon →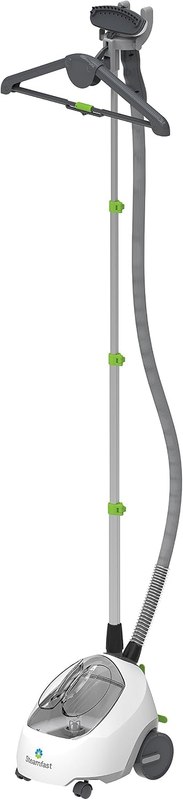
Steamfast SF-520
A full-size steamer listed with a 70-ounce tank, insulated hose, hanger and fabric brush.
View on Amazon →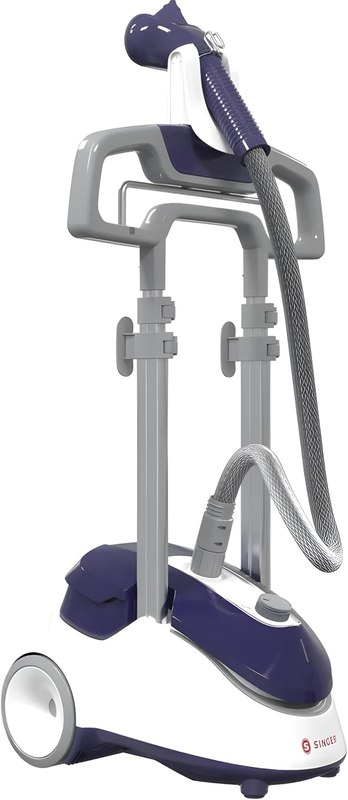
Singer SteamWorks Pro
A standing format listed with four steam settings, a 45-second heat-up and 2.5-liter tank.
View on Amazon →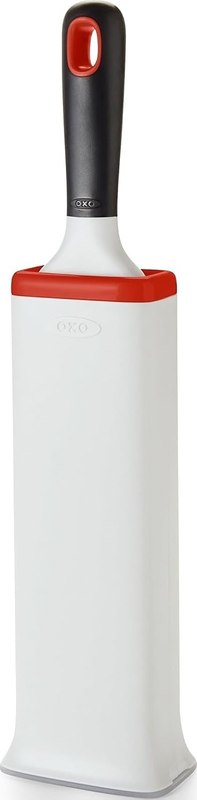
OXO Furlifter brush
A reusable furniture-focused lint brush. For clothing, test gently and avoid delicate or loosely woven fabric.
View on Amazon →Quick questions
Is steaming the same as ironing?
No. Steam relaxes wrinkles while a soleplate plus pressure creates a sharper surface and crease. Steam is excellent for quick touch-ups; pressing is better for collars, cuffs and tailored trousers.
Should a dress-shirt sleeve have a crease?
It is a preference, not a safety rule. A crisp sleeve crease is traditional in some settings, while many people press sleeves smooth without one. Consistency matters more than either choice.
Can I iron clothes while wearing them?
Never. Steam and hot metal can cause serious burns. Put the garment on a stable board or hanger and keep your free hand away from the steam path.
Why did my dark trousers become shiny?
Usually too much direct heat or friction compressed the fibers. Use lower heat, work from the reverse where possible and press through a clean cloth.
Related on Legit
Affiliate disclosure: If you buy through an Amazon link on this page, DopamineKart may earn a commission at no extra cost to you. As an Amazon Associate I earn from qualifying purchases. Products were not hands-on tested for this guide; descriptions are limited to details previously verified from their live listings. No prices are printed because they change. Instructional images are AI-generated by DopamineKart with OpenAI and are labeled as such. Corrections: email us.