The Coastal Tsunami Go-Bag Is Not the Same as a Home Emergency Kit
A home kit can afford to be heavy. A tsunami bag has one job: let you move uphill quickly while helping a child, a pet, or someone with mobility needs. Everything that fights that job comes out.
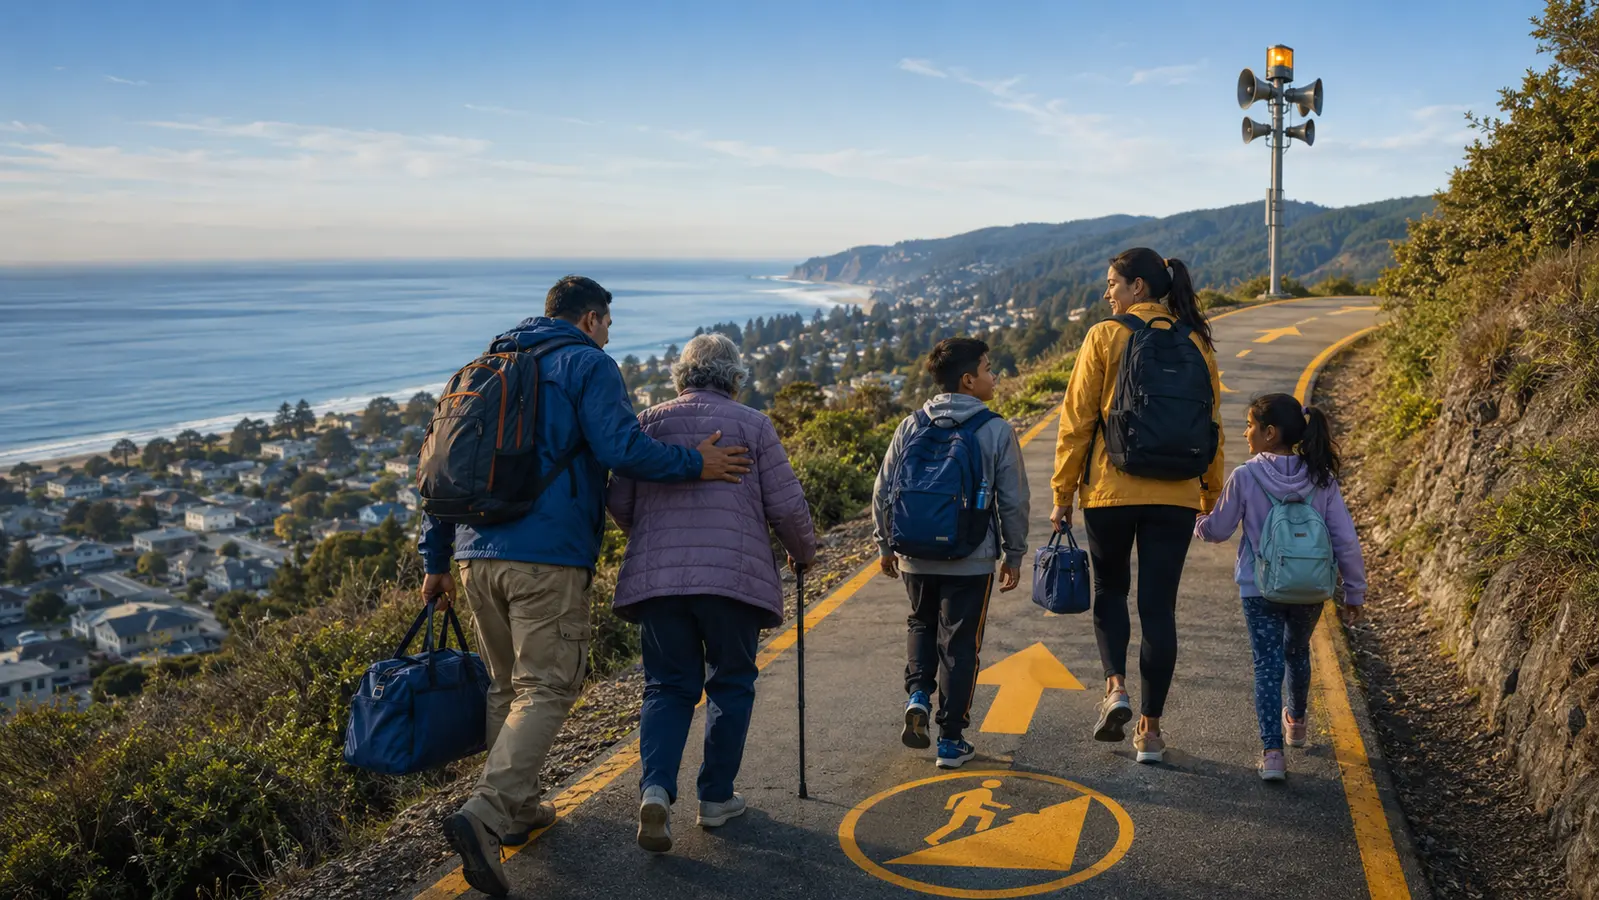
Quick answer. The most important tsunami item is not in the bag — it is the route. If you are near the coast and feel strong or long shaking, see the ocean suddenly rise or fall, or hear an unusual roar, move inland or to higher ground immediately. A nearby tsunami can arrive before any phone alert.
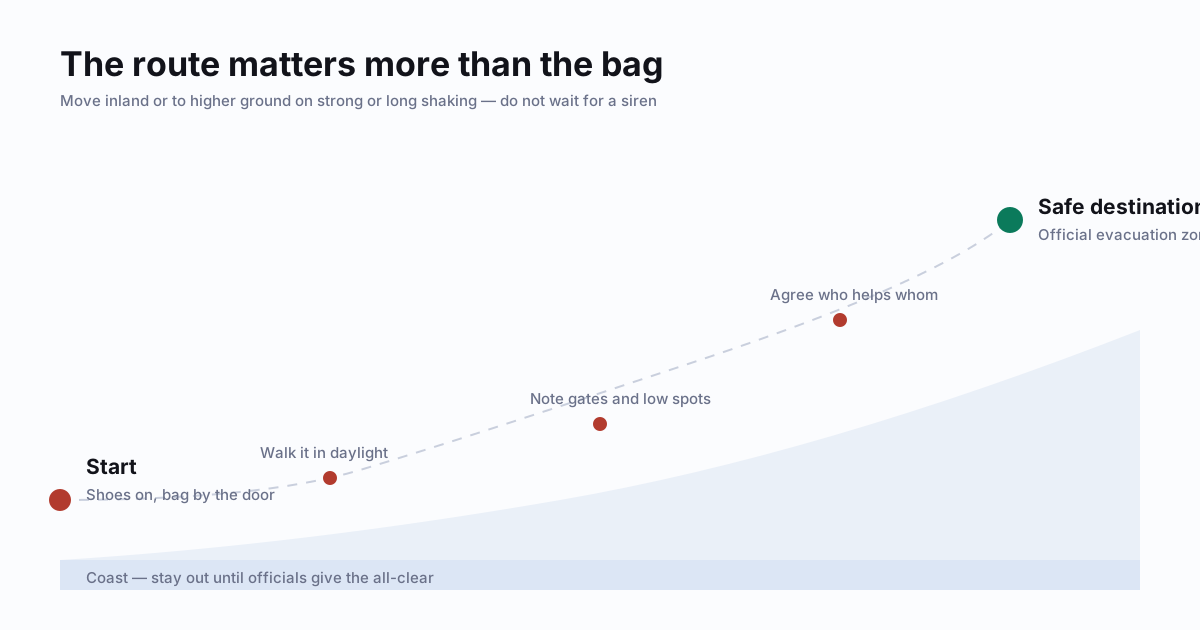
That opening changes the packing logic completely, so it is worth stating plainly before any list: a tsunami go-bag is a mobility tool, not a warehouse. Weight you cannot carry uphill at speed is weight working against you.
Build the route before the bag
- Find the official local tsunami evacuation map.
- Mark the closest safe destination, and an alternate.
- Walk the route in daylight.
- Note bridges, low areas, locked gates, steep grades and likely traffic bottlenecks.
- Decide who assists children, pets, older adults or people with disabilities.
- Choose a reunion point outside the hazard zone.
Do not invent a universal elevation number from the internet. Use your local evacuation zone and the official destination — the safe height in one town is not the safe height in another.
The carry test
Put the finished bag on and walk the route. If it slows you, hurts, unbalances you, or stops you carrying a child or a pet carrier, it is too heavy or badly fitted. This test fails more bags than any packing list.
Keep the bag near the exit, not buried in a closet.
What goes inside
1. Water you can carry
Enough for the initial evacuation, while the larger reserve stays at home. Sealed bottles or a leak-resistant container.
2. Essential medication and medical information
Medication, glasses, hearing supplies, inhalers, mobility accessories, and a paper medical summary. Plan temperature-sensitive medicines with a clinician.
3. Sturdy shoes and socks
There may be broken glass and debris on the route. If you normally spend time barefoot near the beach, the shoes must be attached to or inside the bag.
4. A headlamp
Night evacuations need hands-free light. Add spare batteries or a charged backup.
5. Phone power and cable
A charged power bank and the correct short cable. Download the local evacuation map for offline use — you may be moving through an area with no service.
6. A small radio
Official instructions and the all-clear continue after cell service fails.
7. Compact first aid and masks
Immediate cuts, dressings, gloves and particulate masks. A lightweight evacuation kit is not a field hospital and should not be packed like one.
8. Identification, contacts and small cash
Protected copies, paper contacts, policy numbers, and smaller denominations. Do not carry an unencrypted password list.
9. A weather layer
A light rain shell, a warm layer, sun protection or heat supplies — whichever your local climate and season actually demand.
10. The family-specific module
Infant feeding supplies, nappies, mobility equipment, sensory or communication aids. Every household’s bag should look different, and yours looking unusual is not a mistake.
11. The pet module
Carrier or secure harness, leash, water, collapsible bowl, medication, waste bags, identification and a recent photo. Practise loading the animal before you ever need to.
What stays out
- Heavy cookware and large tools.
- Days of bulky tinned food where lighter ready-to-eat options exist.
- Large water containers that destroy walking speed.
- Duplicate gadgets with no defined job.
- Irreplaceable originals that could be secured elsewhere.
- Anything that makes the pack unsafe for the person actually carrying it.
The evacuation sequence
- During shaking: Drop, Cover, and Hold On.
- When shaking stops: shoes on, grab the bag, start the official route.
- Do not go to the shore to confirm a tsunami.
- Act on natural warnings even if no alert has arrived.
- Stay out of beaches, harbours, waterways and low coastal areas.
- Remain at the safe location until local officials issue an all-clear.
Final verdict
Build the route, assign the people and the pets, then carry only what helps you move and wait safely. A bag that fails the carry test is not a safety measure — it is a delay you packed yourself.
| Do | Avoid |
|---|---|
| Treat strong or long shaking as the warning | Waiting for a siren or a phone alert |
| Walk the official route in daylight first | Guessing a safe elevation from the internet |
| Keep the bag light enough to carry uphill | Packing the home kit and calling it a go-bag |
| Keep it by the exit | Storing it at the back of a closet |
| Wait for the official all-clear | Returning to the shore to look |
Sources
- NOAA — Tsunami alerts
- NOAA — Natural tsunami warnings
- Ready.gov — Tsunamis
- American Red Cross — Survival kit supplies
This guide restates official preparedness guidance. It is not medical, structural, or emergency advice for your specific situation — follow the instructions of local authorities during an actual event.