Legit Buying Guide
Car Detailing at Home: The Essentials That Actually Work
Eight real, well-reviewed products that cover the actual steps of a proper at-home detail — not a drawer full of gadgets you'll use once.
The Short Version
- Detailing has an order: wash, decontaminate, protect, then maintain. Buying products out of that order is the most common way people waste money.
- A proper wash mitt and dedicated microfiber towels matter more than any single "miracle" spray — they're what actually prevents swirl marks.
- A clay bar step before any wax or ceramic coating is what most home detailers skip, and it's the step that determines how well everything after it bonds.
- A dual-action polisher is optional for most people — hand application gets you 90% of the result for a fraction of the cost and learning curve.
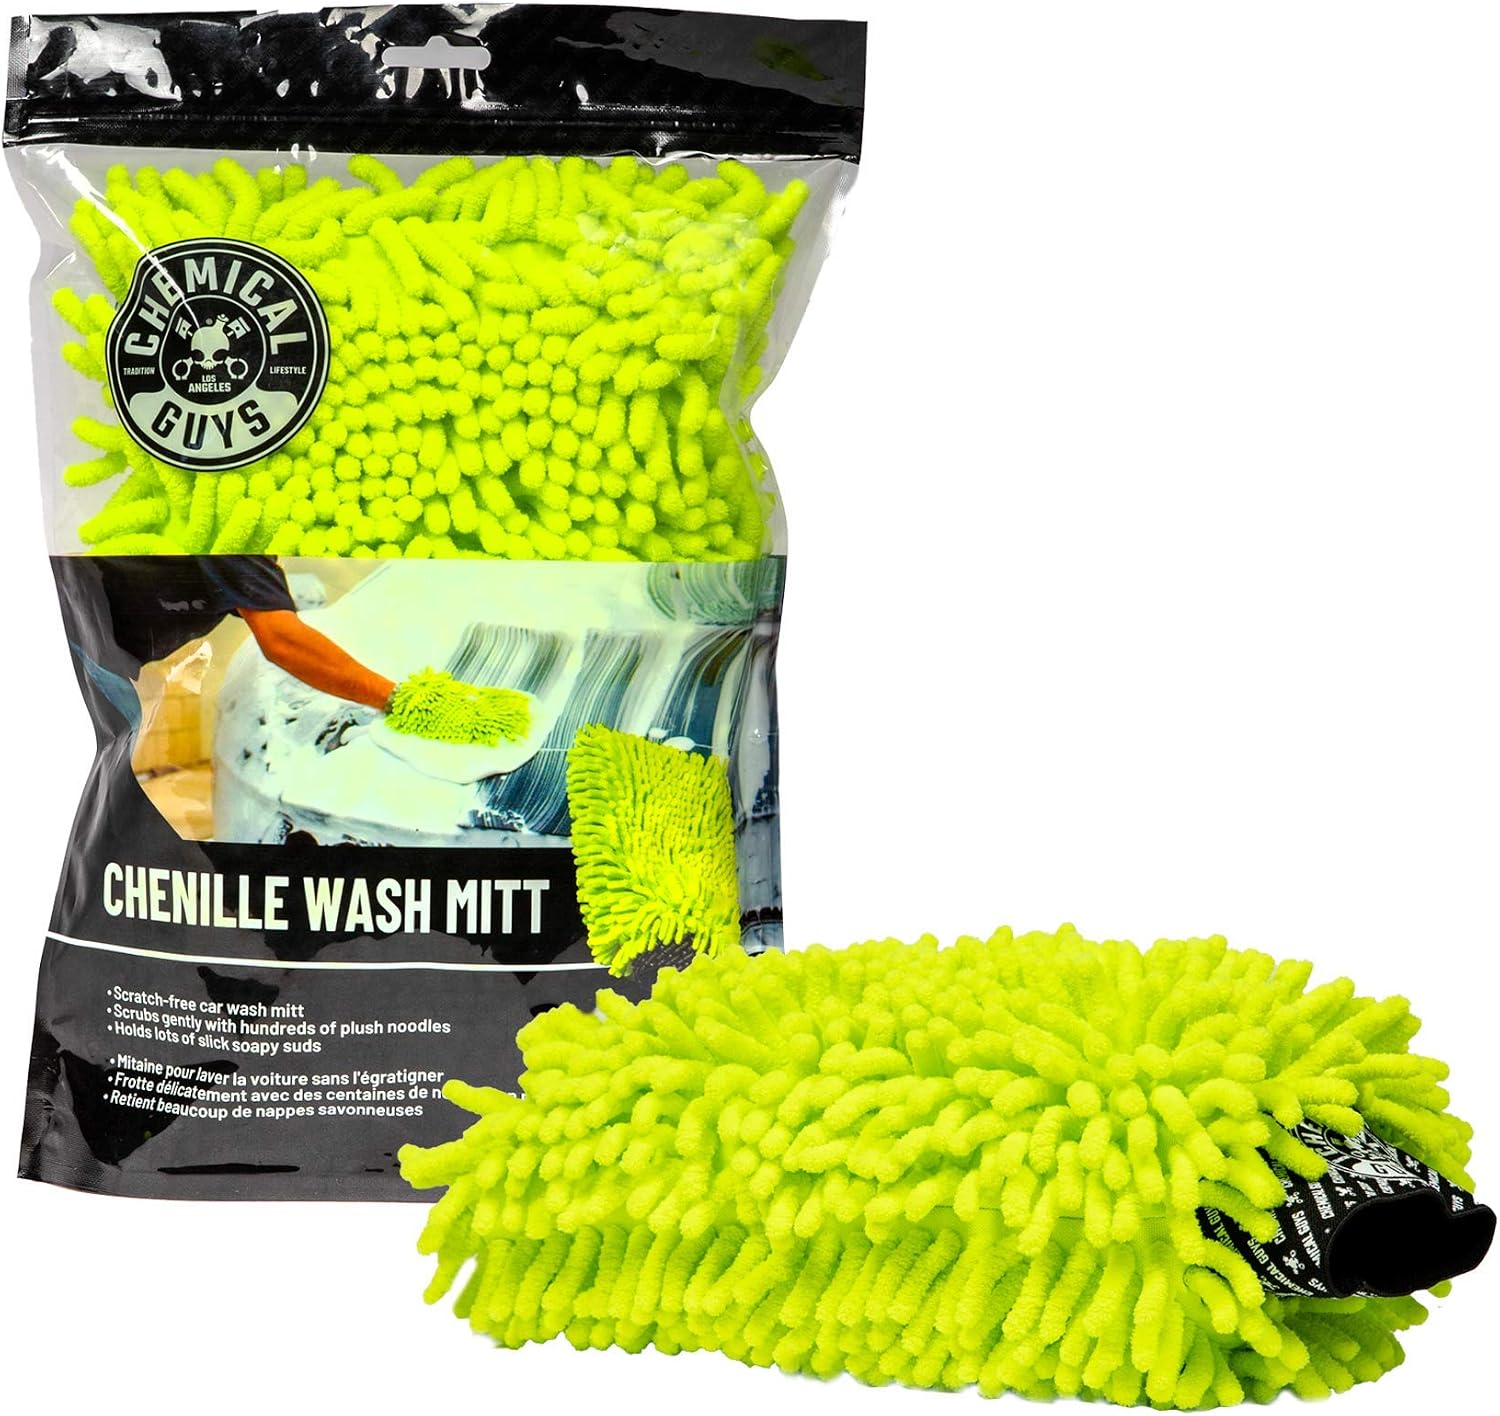
A Real Wash Mitt, Not a Sponge
A sponge traps grit against the paint and drags it across the surface — which is how most swirl marks actually get put there in the first place. A chenille microfiber mitt holds dirt away from the surface in its dense fibers instead of smearing it, and it holds far more soapy water than a sponge, which means fewer trips back to the bucket.
This one specifically: ultra-soft chenille noodles, machine washable, and gentle enough for paint, glass, and chrome alike.
Chemical Guys Chenille Wash Mitt →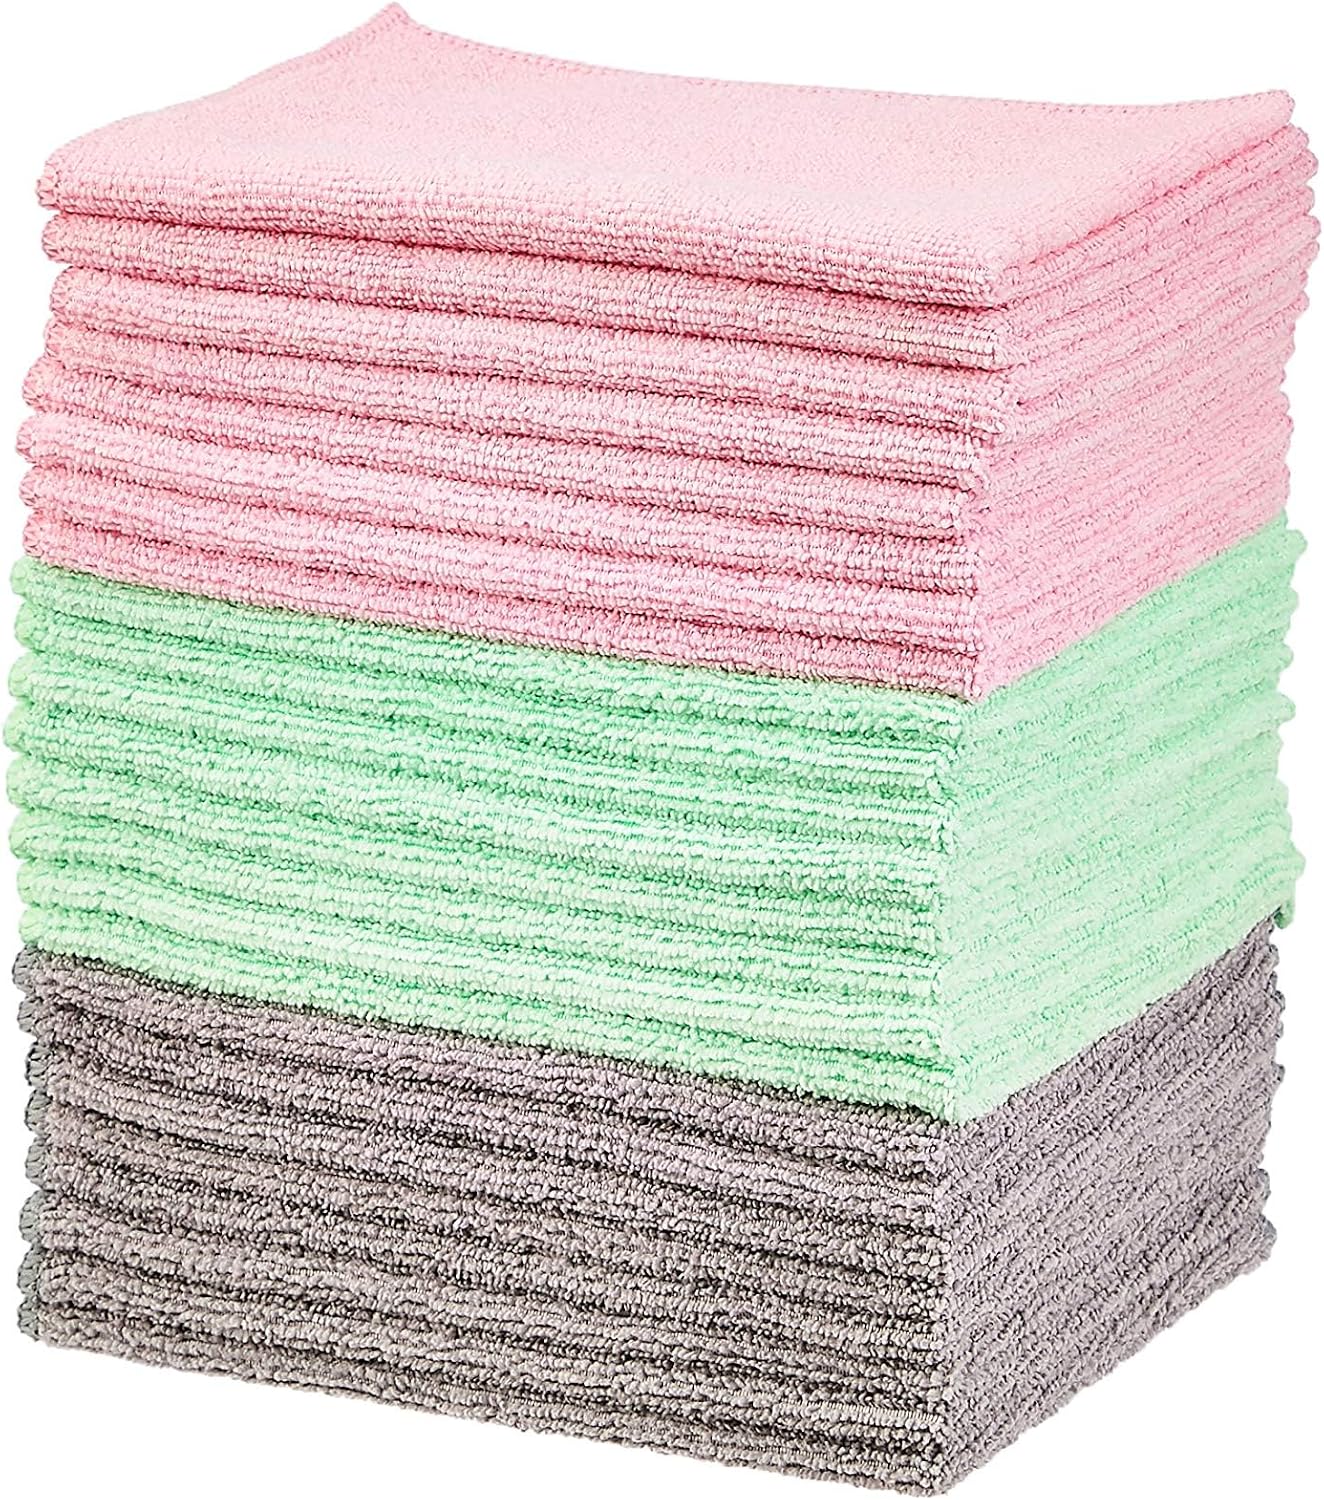
A Real Stack of Microfiber Towels
The single cheapest upgrade in this whole list. One towel for drying, a separate stack for interior wipe-downs, and a few dedicated ones for glass — mixing those jobs is how you end up smearing tire dressing residue across a windshield. Buying in bulk means you're never tempted to reach for a paper towel, which can scratch clear coat.
A 24-pack is enough to dedicate separate towels to separate jobs without doing laundry mid-detail.
Amazon Basics Microfiber Cloths (24-Pack) →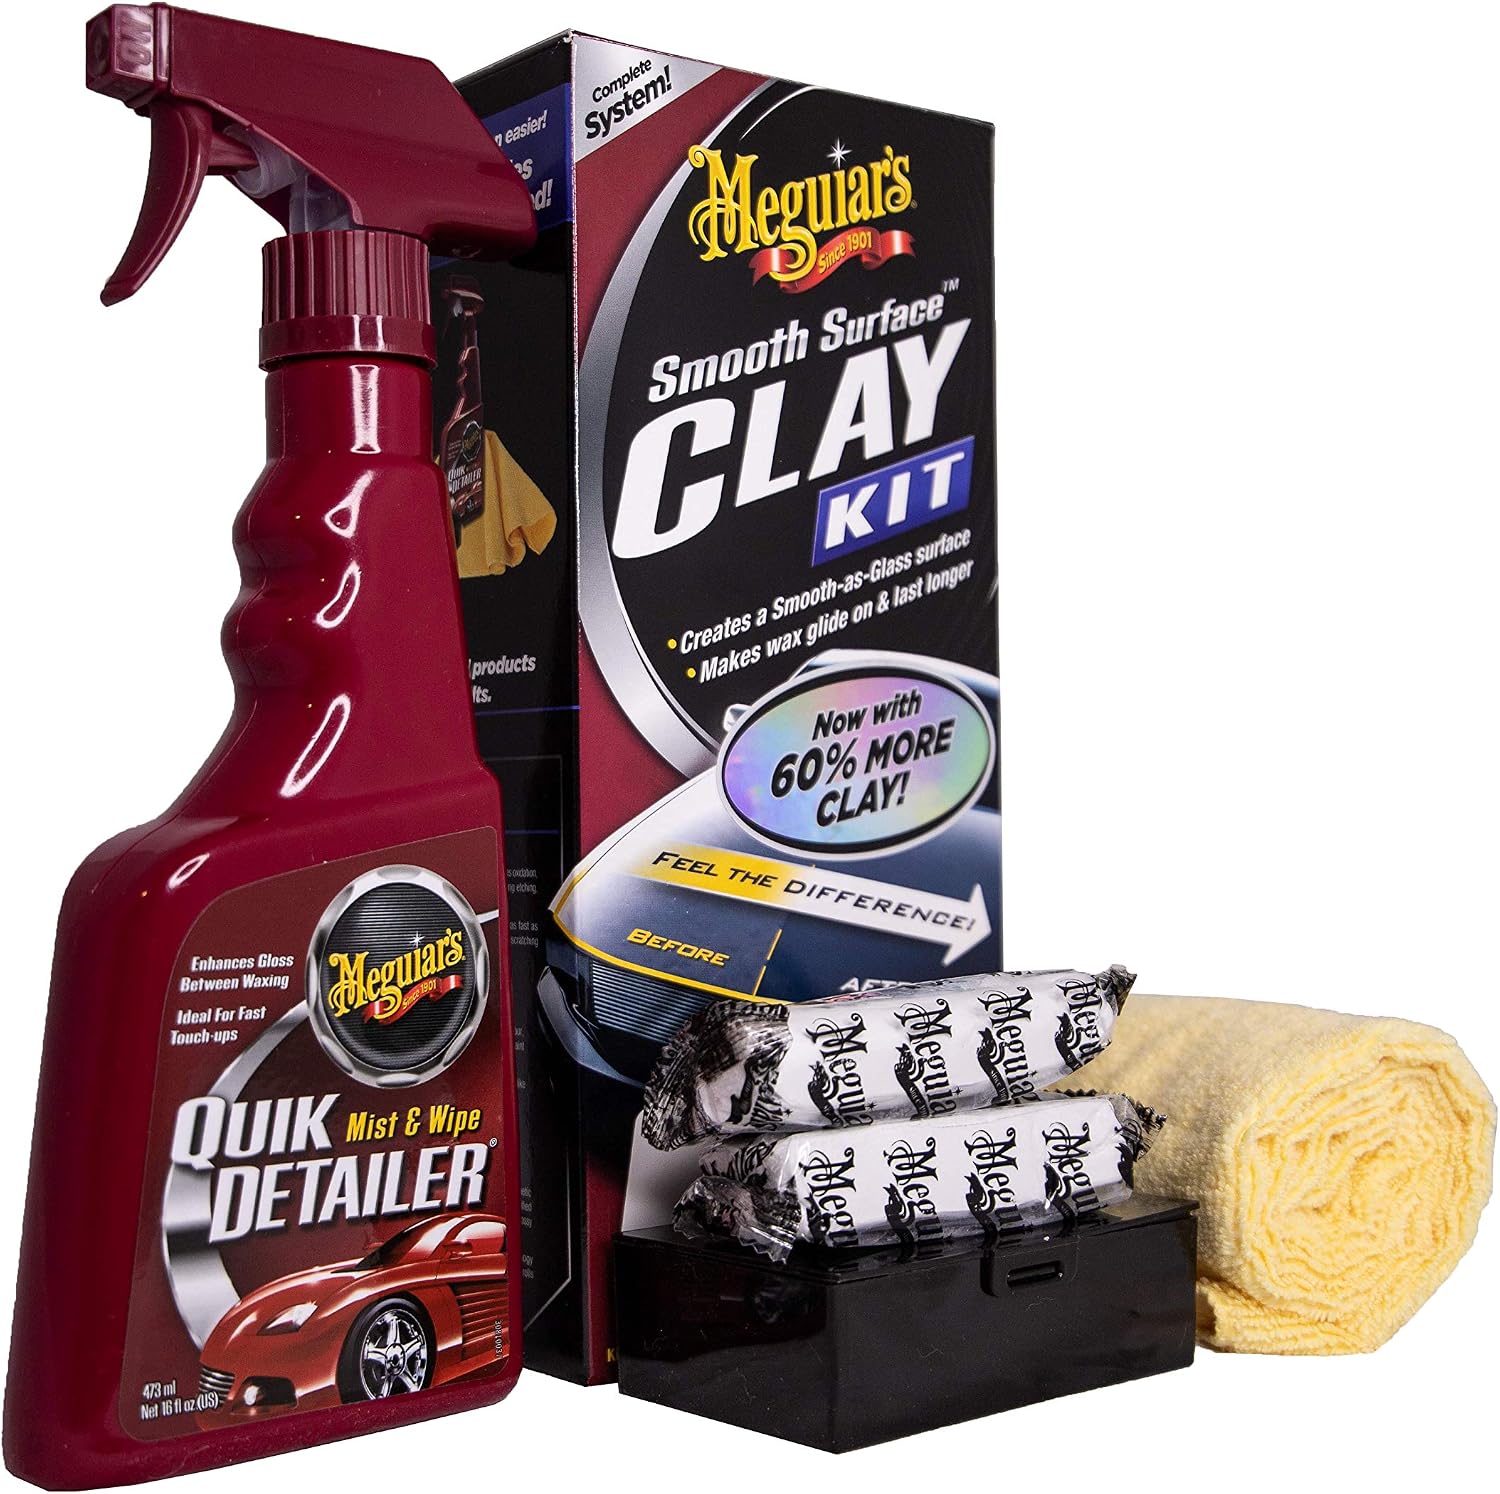
A Clay Bar Kit — The Step Most People Skip
Washing removes loose dirt. It does not remove bonded contaminants — tar specks, industrial fallout, tree sap mist — that sit embedded in the clear coat and feel like light sandpaper when you run a hand over the paint after washing. A clay bar physically lifts that layer off before anything else goes on, which is exactly why skipping it is the most common reason a wax or coating doesn't bond evenly.
This kit includes two clay bars, a detailer spray to use as lubricant, and a microfiber towel to finish — everything needed for the step in one box.
Meguiar's Smooth Surface Clay Kit →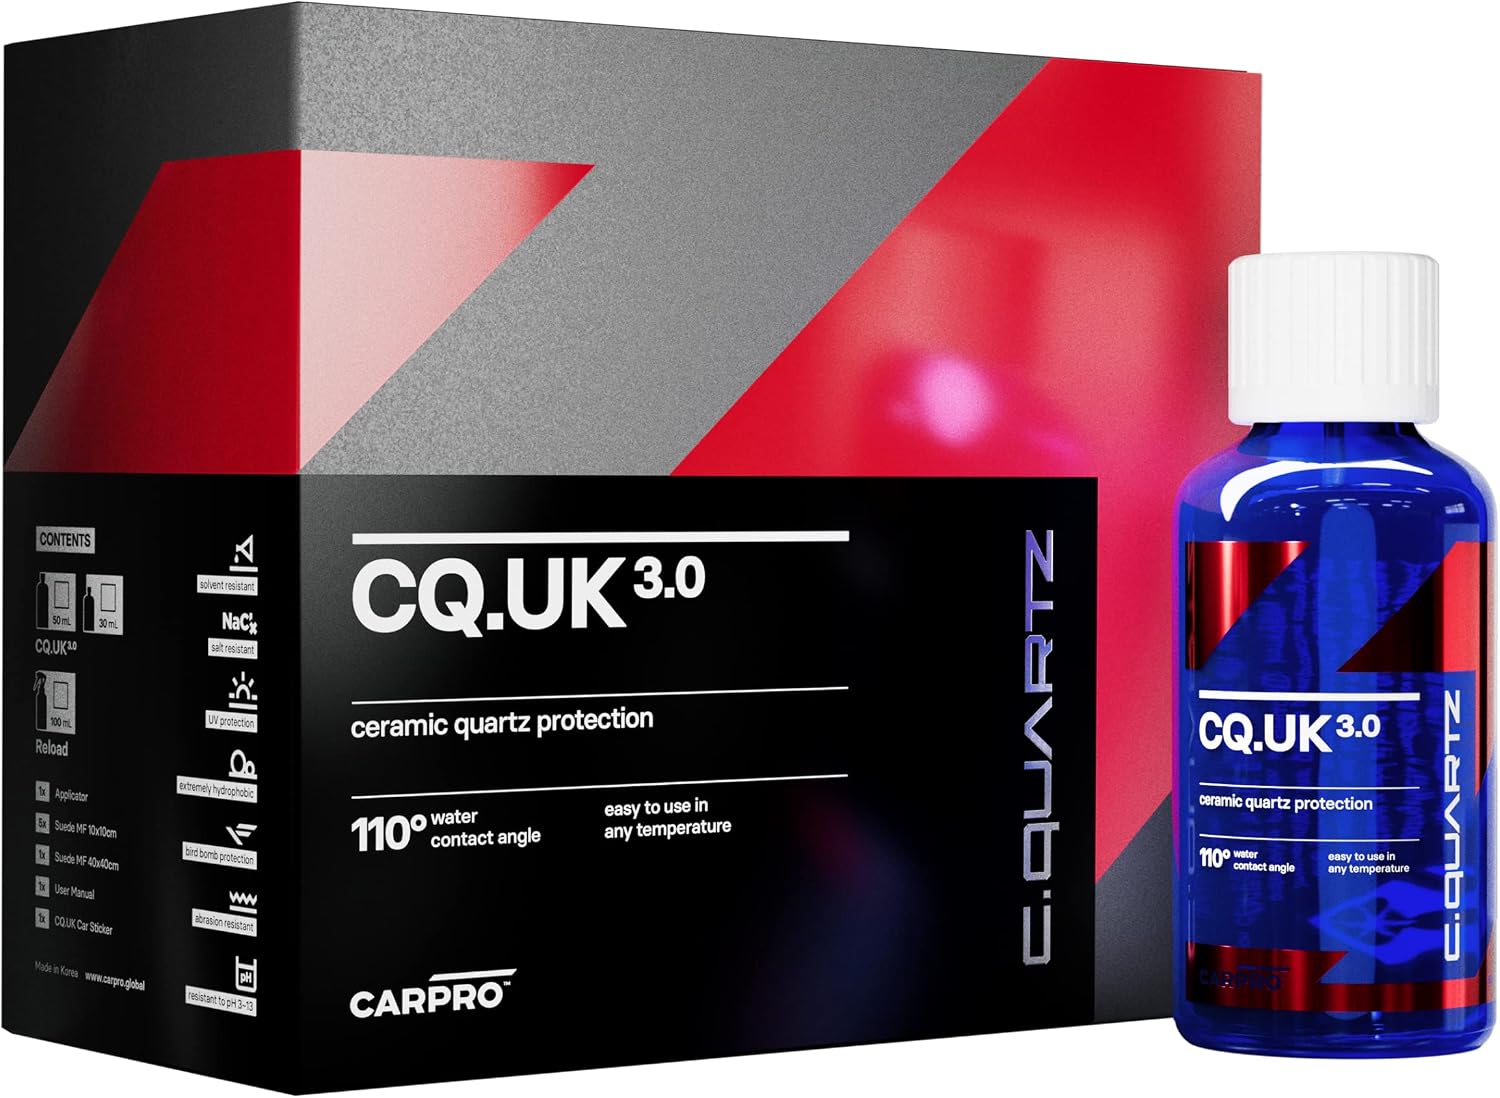
A Ceramic Coating, If You Want Longevity
A ceramic coating isn't required — traditional wax works and is far more forgiving to apply — but it lasts years instead of months and makes the next wash noticeably easier, since dirt and water bead off instead of clinging to the surface. It's less forgiving to apply than wax: uneven application can high-spot or streak, so this is a product worth reading the instructions for before starting, not just spraying on.
This kit includes the coating itself, applicator blocks, suede applicators, and a leveling towel — the full application kit, not just the bottle.
CarPro Cquartz UK 3.0 Ceramic Coating Kit →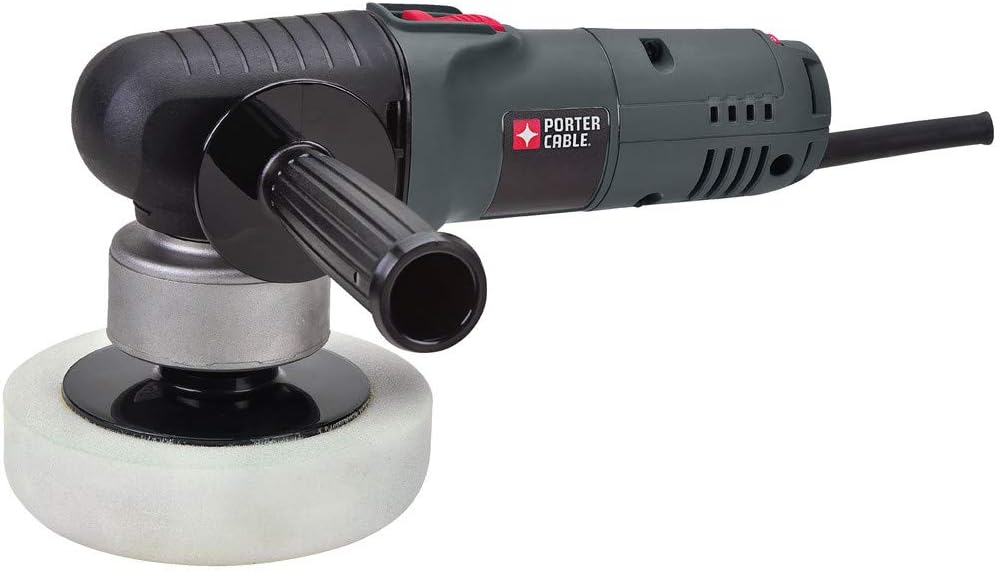
A Dual-Action Polisher — Only If Paint Correction Is the Goal
This is the one genuinely optional, higher-commitment item on this list. A dual-action polisher removes light swirl marks and oxidation before a wax or coating goes on, but it has a learning curve and isn't necessary for routine maintenance detailing. Skip it unless the paint has visible swirls or haze under direct sunlight that washing and claying alone won't fix.
The 7424XP specifically is a long-standing favorite in detailing communities for being forgiving to beginners — random-orbit action makes it much harder to burn through clear coat than a rotary buffer.
Porter-Cable 7424XP Dual-Action Polisher →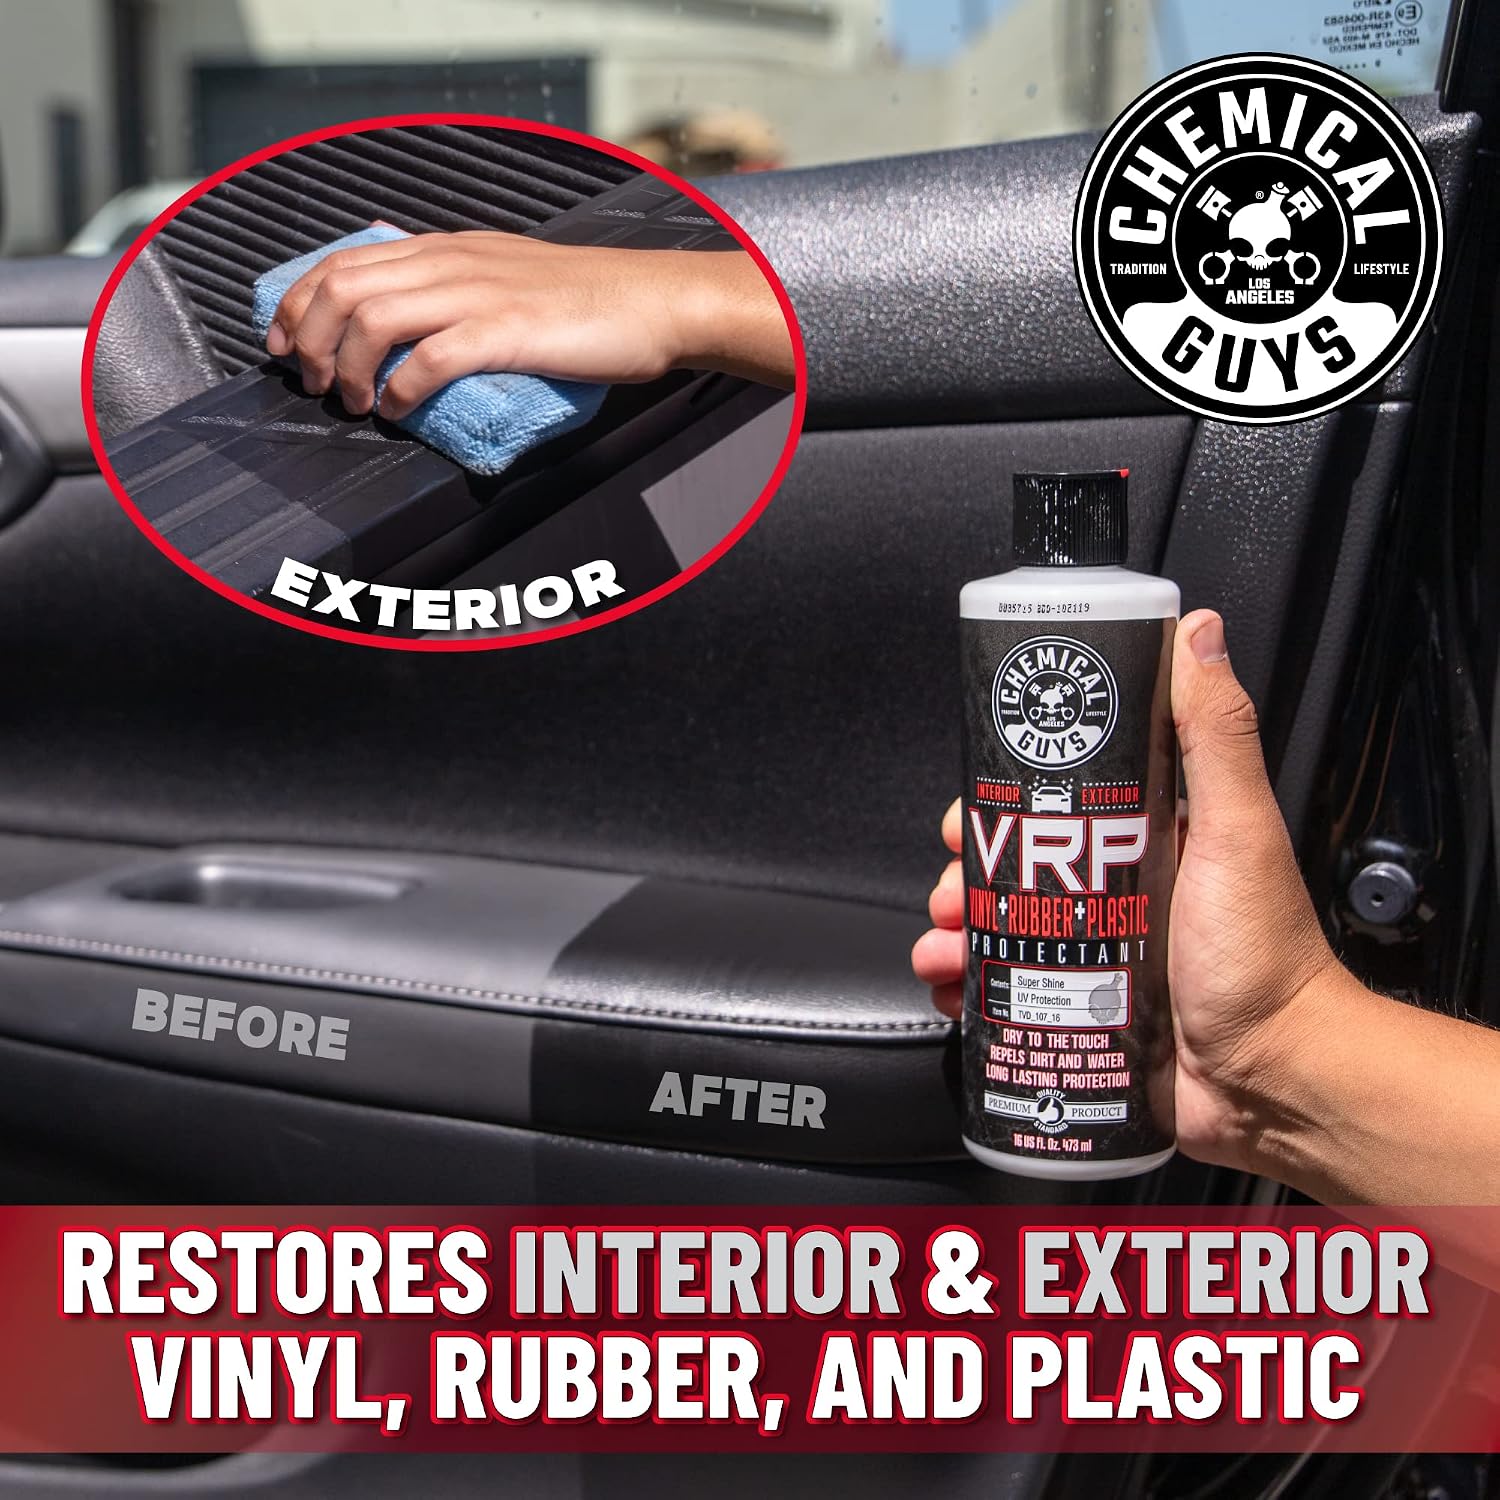
A Tire and Trim Dressing That Isn't Greasy
Old-style tire shine products sling off onto rocker panels and wheels within a day or two, partly because they're oil-based and never fully cure. A dry-to-the-touch dressing bonds instead of sitting wet on the surface, so it holds a satin (not glossy-wet) finish longer and doesn't attract as much road dust.
Works on more than tires — plastic trim, rubber weatherstripping, and interior vinyl all take it the same way.
Chemical Guys VRP Tire & Trim Dressing →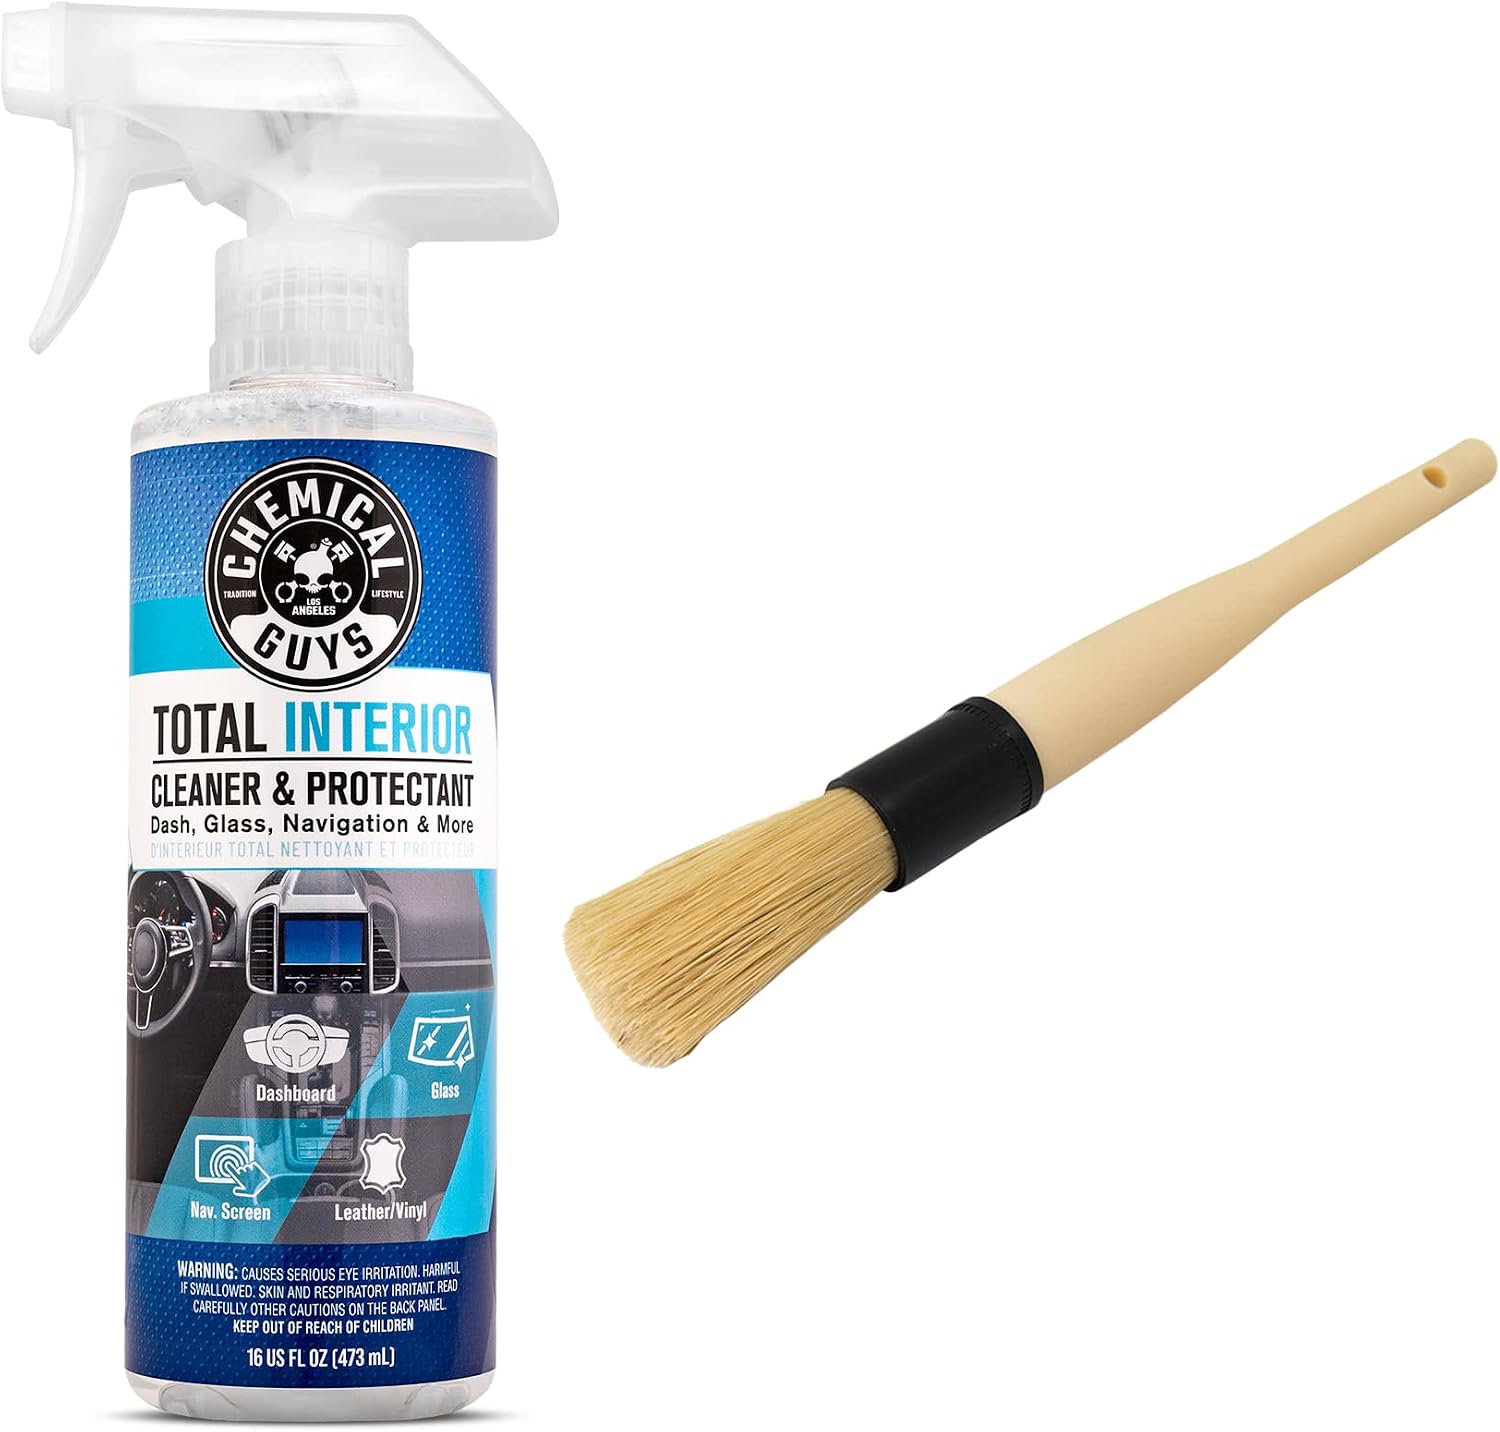
One Interior Cleaner Instead of Five
Leather, vinyl, plastic trim, and cloth seats traditionally each get their own dedicated cleaner, which is a lot of bottles for an occasional weekend detail. An all-surface interior cleaner that's genuinely safe across those materials cuts that down to one spray bottle, without leaving the greasy residue some multi-surface products do on touchscreens and glass.
Mist-on, wipe-off application — no scrubbing required for routine maintenance.
Chemical Guys Total Interior Cleaner & Protectant →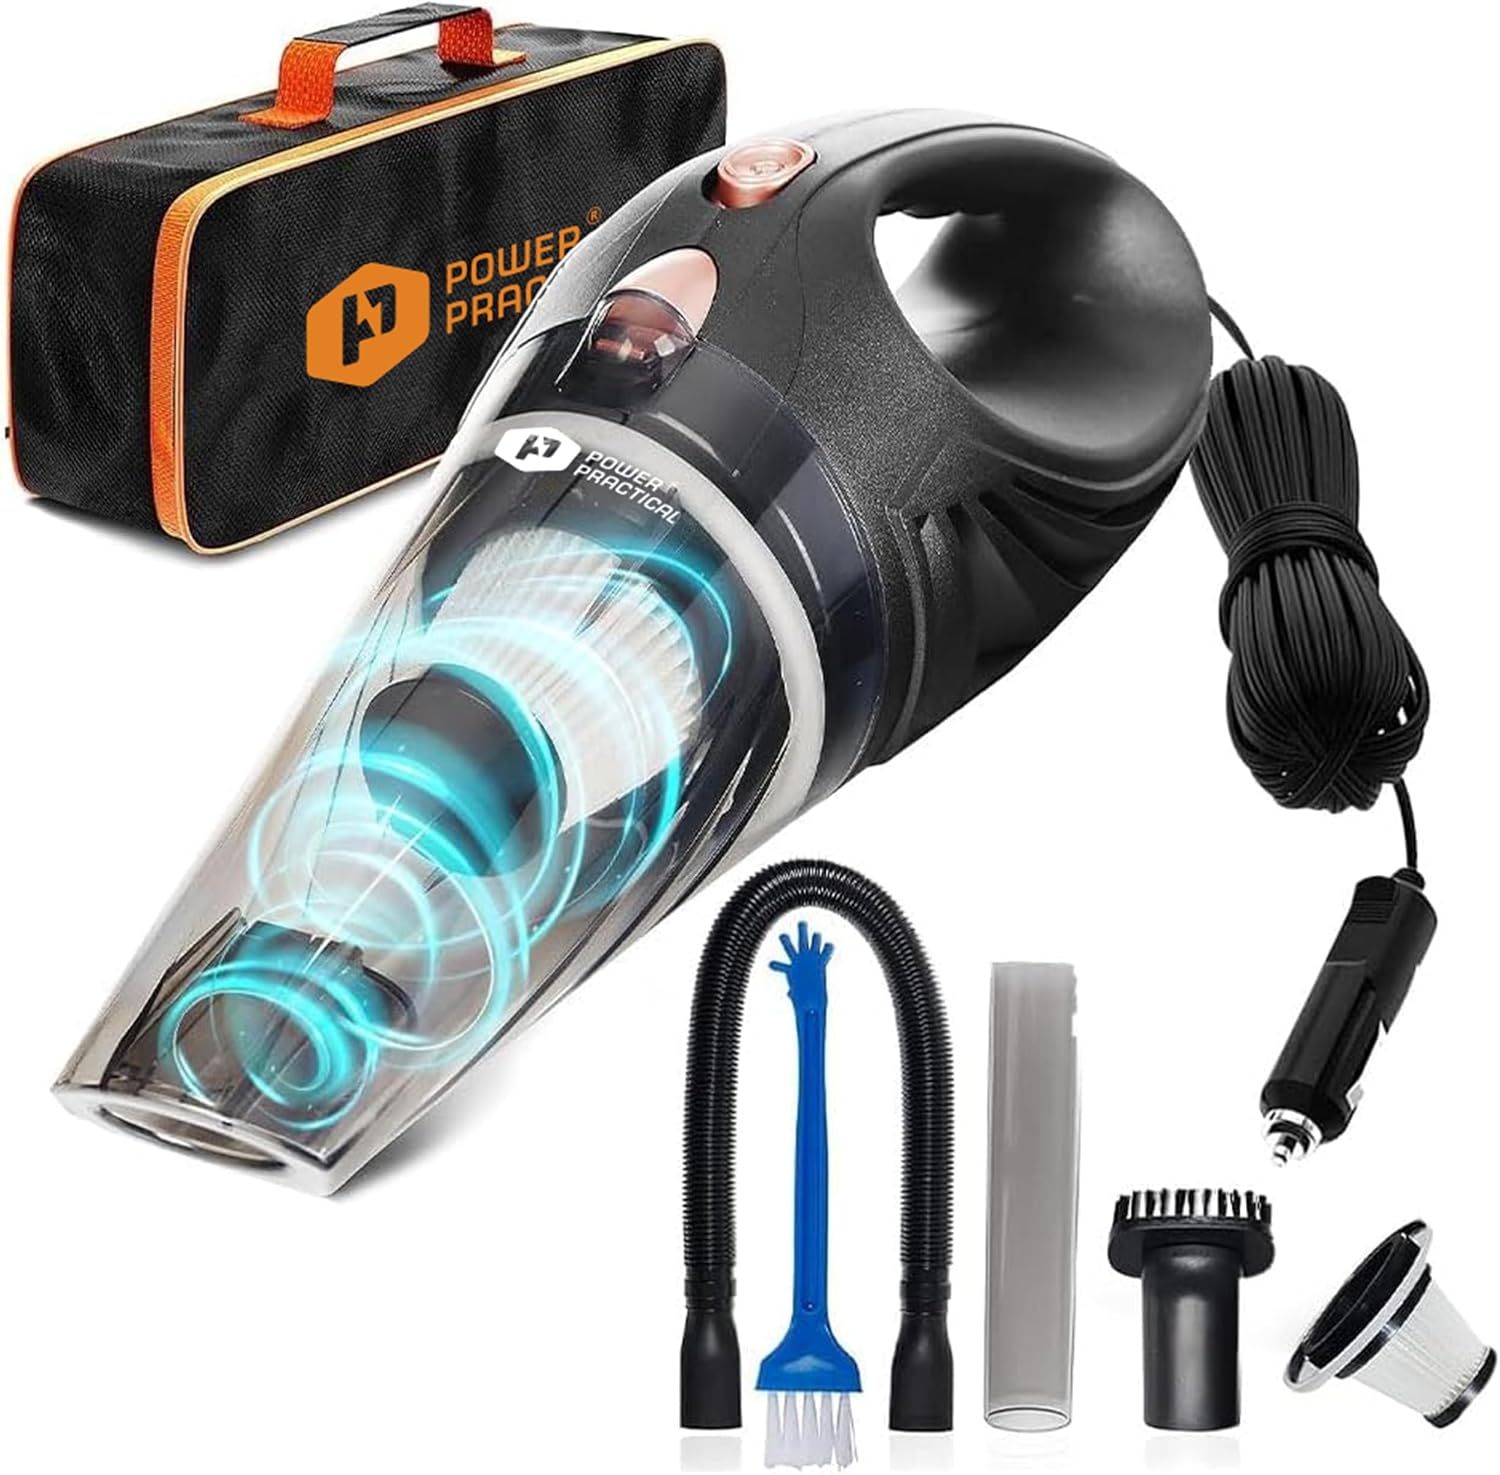
A Vacuum That Actually Fits Under a Seat
A household vacuum's hose is too wide and too rigid to get into footwells, seat tracks, and cupholders — the places that actually accumulate the most debris in a car. A compact 12V vacuum with narrow attachments reaches those spots and plugs directly into the car's outlet, so there's no cord length or battery charge to plan around.
Comes with three attachments and a washable HEPA filter, which matters if anyone in the car has allergies.
ThisWorx Portable Car Vacuum →Not sure how to actually use these?
See the full step-by-step process: How to Detail Your Car at Home Without Paying Big Bucks — the right order to use everything on this list, with safety notes.
Frequently Asked Questions
What order should these steps actually happen in?
Wash first, then clay (decontaminate), then protect (wax, coating, or polish if needed), then finish with tires, trim, and interior. Applying wax or coating before claying is the most common mistake — it locks bonded contaminants under the protective layer instead of removing them.
Do I need a ceramic coating, or is wax enough?
Wax is enough for most people and is far more forgiving to apply. A ceramic coating lasts years instead of months and makes maintenance washing easier, but it has a real learning curve — uneven application can leave visible high spots.
Is a dual-action polisher worth buying for occasional detailing?
Only if there's visible swirl or haze that washing and claying don't resolve. For routine maintenance detailing without paint correction needs, it's not necessary — hand-applied wax or coating still works well.
How often should each of these steps be repeated?
Washing is as often as needed for dirt buildup; claying is typically once or twice a year unless the car sits outside near heavy pollen, tar-heavy roads, or industrial fallout; wax needs reapplying every 1-3 months, while a proper ceramic coating can last 1-3 years depending on the product and climate.
This article contains Amazon affiliate links — DopamineKart may earn a commission on qualifying purchases at no extra cost to you. As an Amazon Associate I earn from qualifying purchases. Products were chosen based on real specifications, reviews, and detailing best practices, not on commission rate. No prices are listed here because they change frequently; check the current price on the product page before buying.