How to Detail Your Car at Home Without Paying Big Bucks
A full shop-quality detail costs real money and takes an afternoon out of someone else's schedule, not yours. Doing it yourself costs a fraction of that — but be honest with yourself: it's not hard, it is work. Budget the time and you'll get a result that holds up.
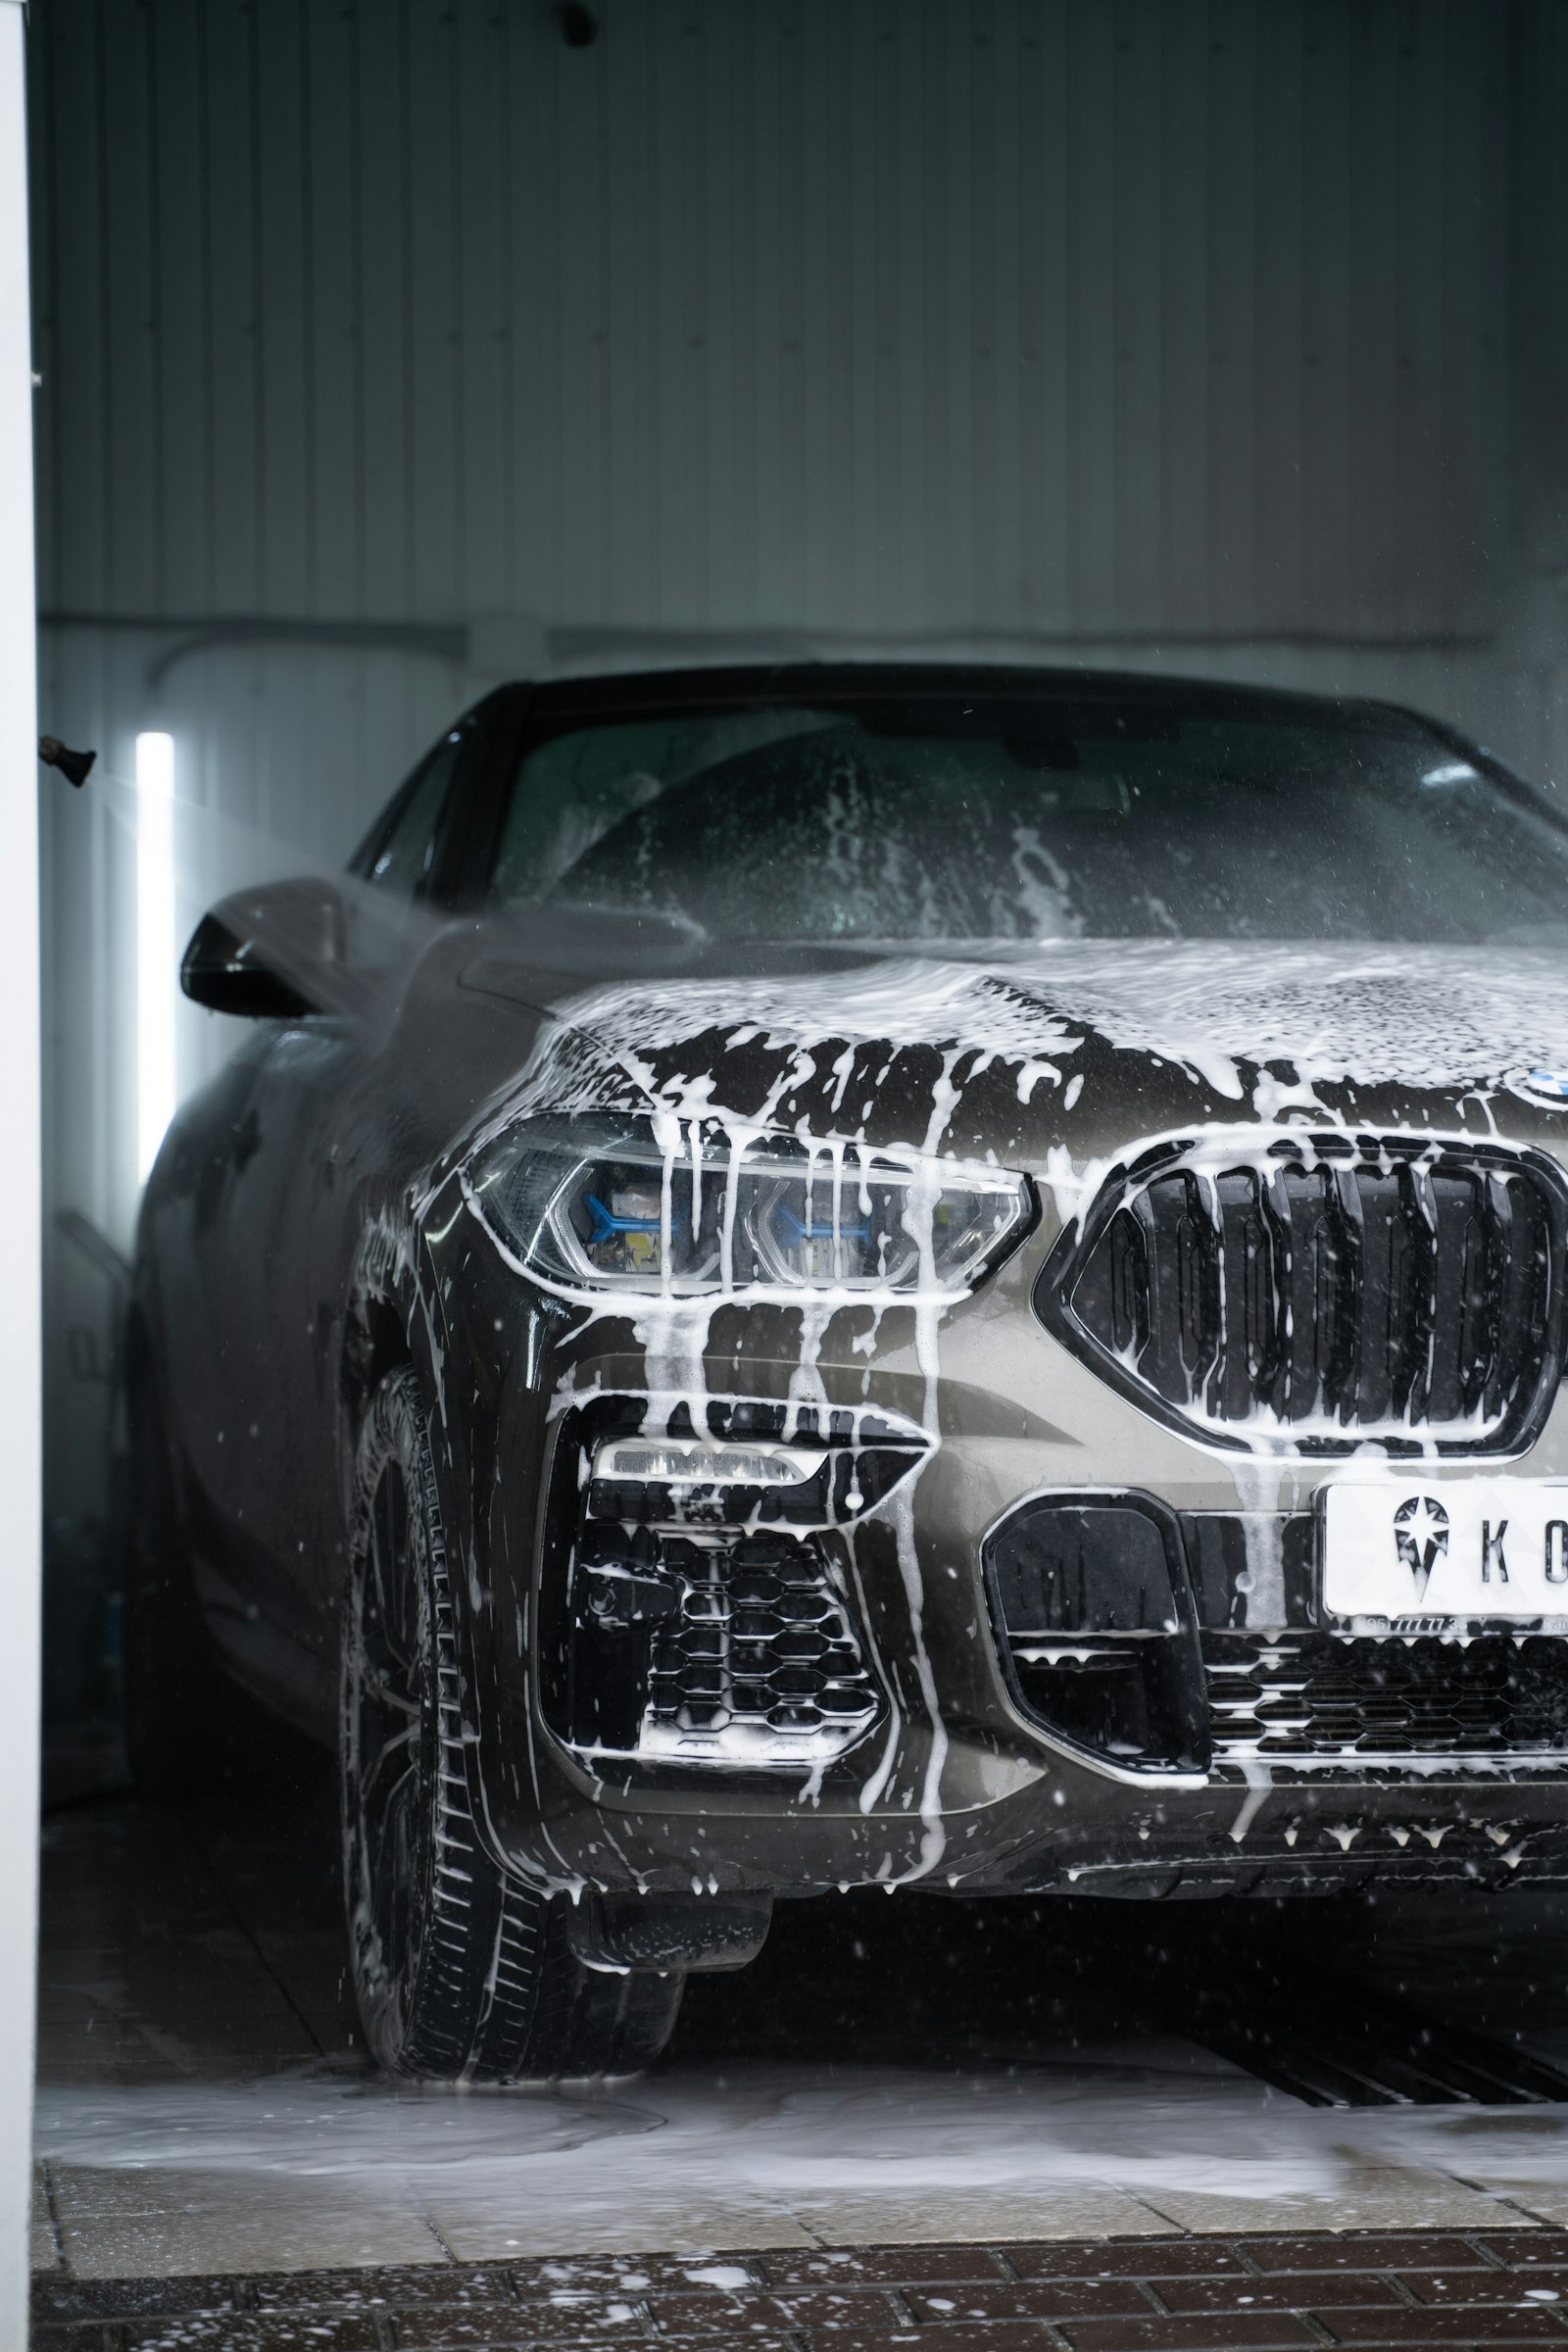
Quick answer. Wash properly with a real mitt and two-bucket method, decontaminate with a clay bar, protect the paint with wax or a ceramic coating, polish out swirls only if they're actually visible, dress the tires and trim, then finish the interior. Skipping steps — especially claying before protecting — is why a lot of DIY details don't hold up as long as they should.
What You'll Need
Core Kit
- Chenille wash mitt (not a sponge)
- Two buckets — one for soap, one for rinsing the mitt
- Dedicated microfiber towels, several
- Clay bar kit with detailer spray as lubricant
- Wax or ceramic coating, plus applicators
- Tire and trim dressing
- Interior all-surface cleaner
- A portable or shop vacuum with narrow attachments
Optional
- Dual-action polisher (only if visible swirls need correcting)
- Car-specific pH-neutral soap
- Wheel brush for tight spoke areas
- Rain gutter or window-track detailing brush
Time Estimate
- First time: budget a full afternoon
- Maintenance details after that: 1–2 hours
1 · Wash properly, not just rinse
Most of the swirl marks people blame on "just how paint looks after a while" actually come from the wash itself — dragging a dirty sponge or an old towel across the surface grinds grit into the clear coat. The fix is the two-bucket method: one bucket with soap, one with plain water for rinsing the mitt before it goes back into the soap. Rinse the mitt in the plain-water bucket after every panel, not just when it feels dirty.
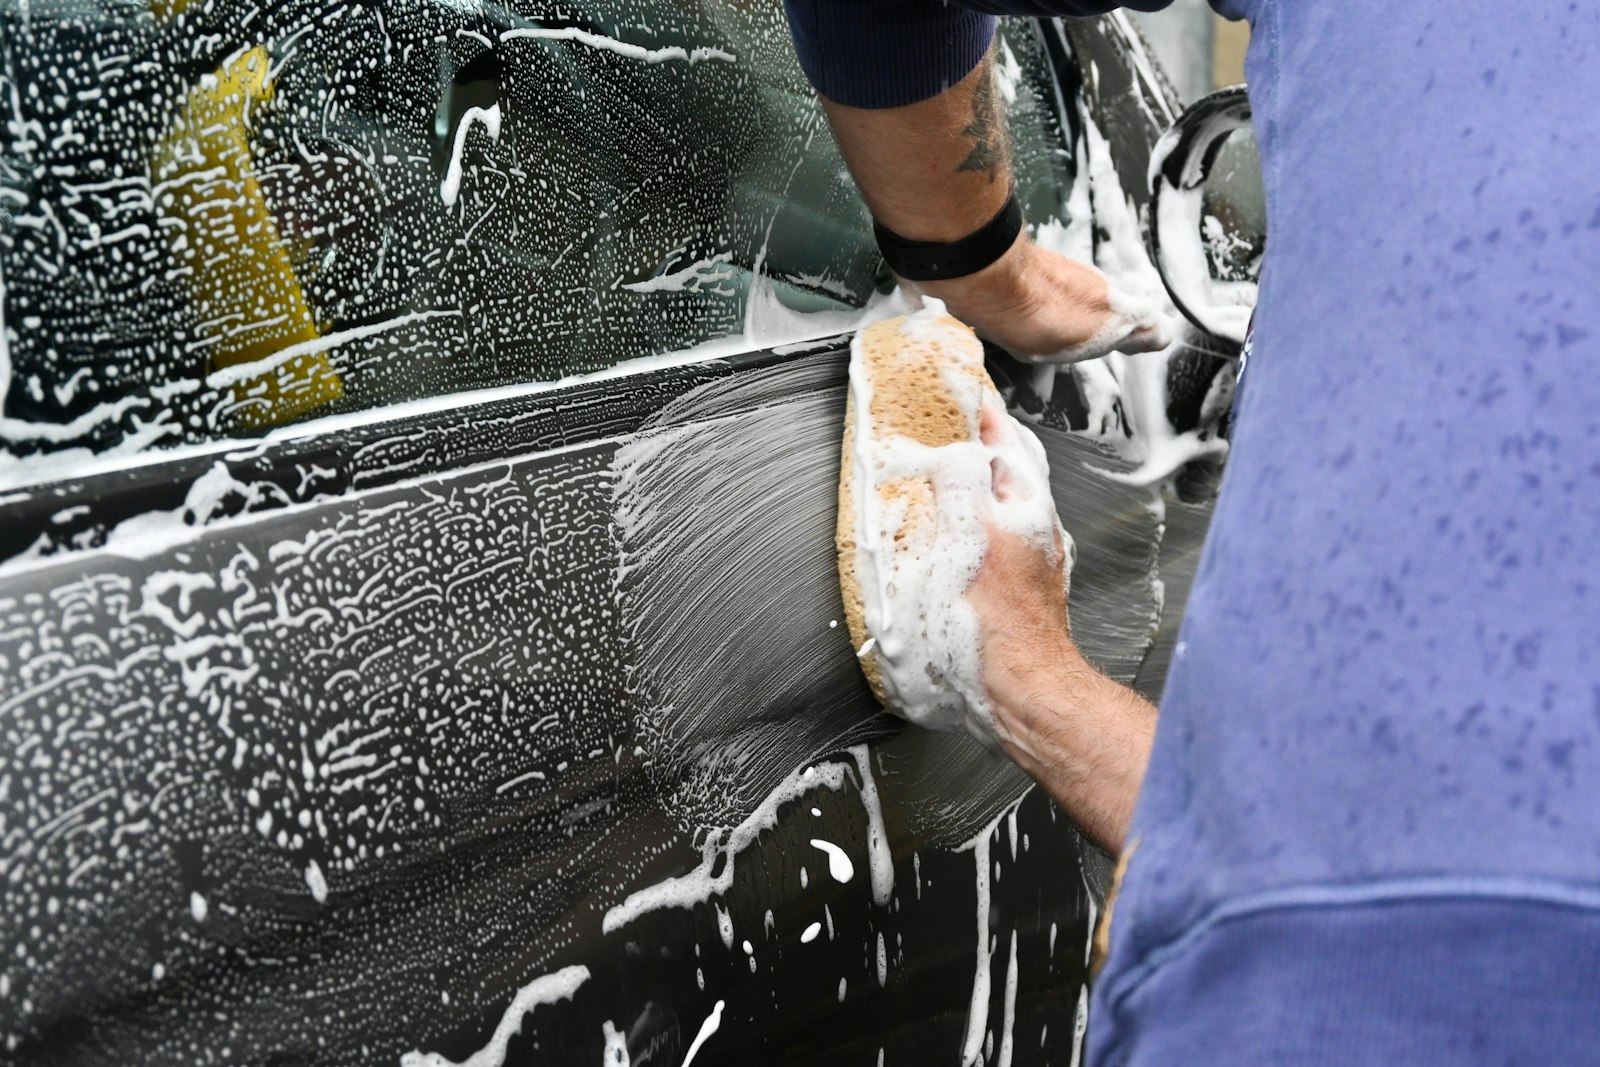
Work from the top down, since the lower panels and wheel wells carry the most grit. Wheels and tires get washed last, with a separate mitt or brush — road grime and brake dust on a wheel-specific tool is exactly what you don't want anywhere near your paint mitt.
2 · Decontaminate with a clay bar
After washing and drying, run a bare hand lightly over the hood. If it feels like fine sandpaper instead of glass-smooth, that's bonded contamination — tar specks, industrial fallout, tree sap mist — sitting on top of the clear coat that a wash alone never removes. This is the step most home detailers skip, and it's the reason a wax or coating applied afterward doesn't bond evenly or last as long as it should.
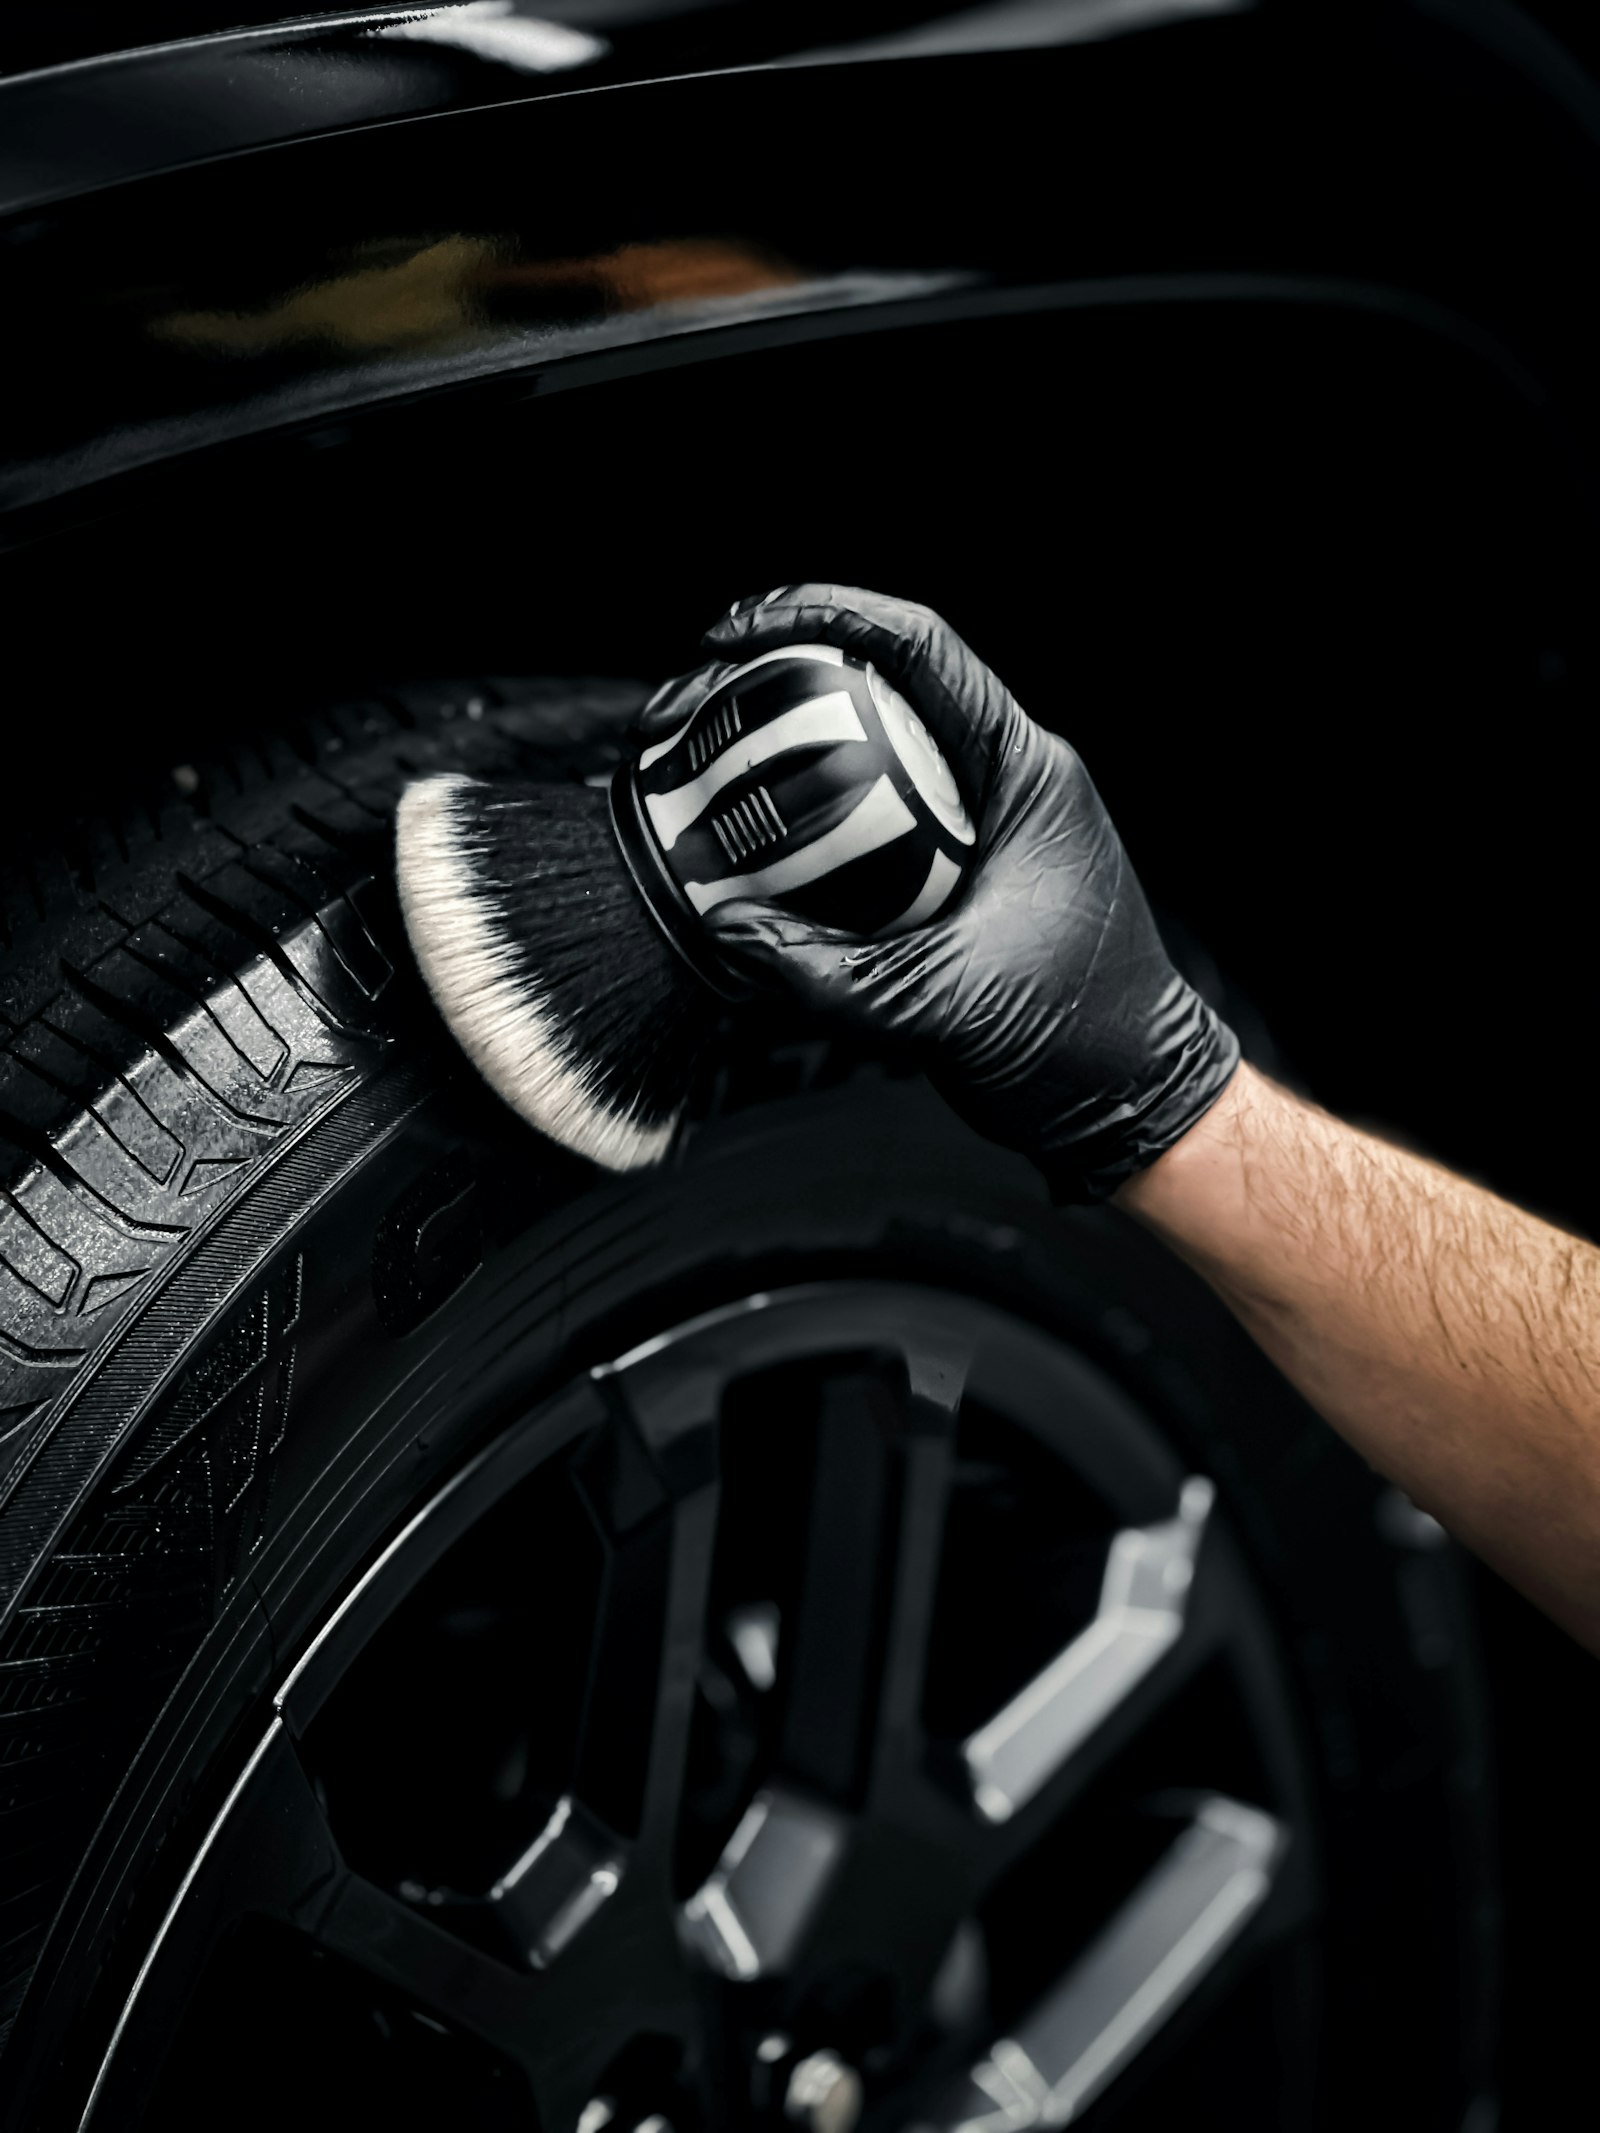
Spray the clay lubricant onto a small section, then glide the clay bar back and forth with light pressure — never scrub, and never let the clay touch a dry panel. Fold the clay over to a clean side once it starts picking up grit, and re-check that section afterward: it should feel genuinely smooth.
What this guide cannot tell you. How your specific paint has aged, or whether an older clear coat is thin enough that aggressive correction (polishing) would be risky. If the paint looks hazy or has deep scratches beyond light swirls, that's a case for a professional assessment before you reach for a polisher.
3 · Protect with wax or a ceramic coating
Wax is the forgiving option — easy to apply by hand, lasts 1 to 3 months, and mistakes are easy to buff out. A ceramic coating lasts years and makes the next wash noticeably easier since dirt beads off instead of clinging, but it's less forgiving: uneven application can leave visible high spots, and you generally don't get a second attempt on the same panel the same day.
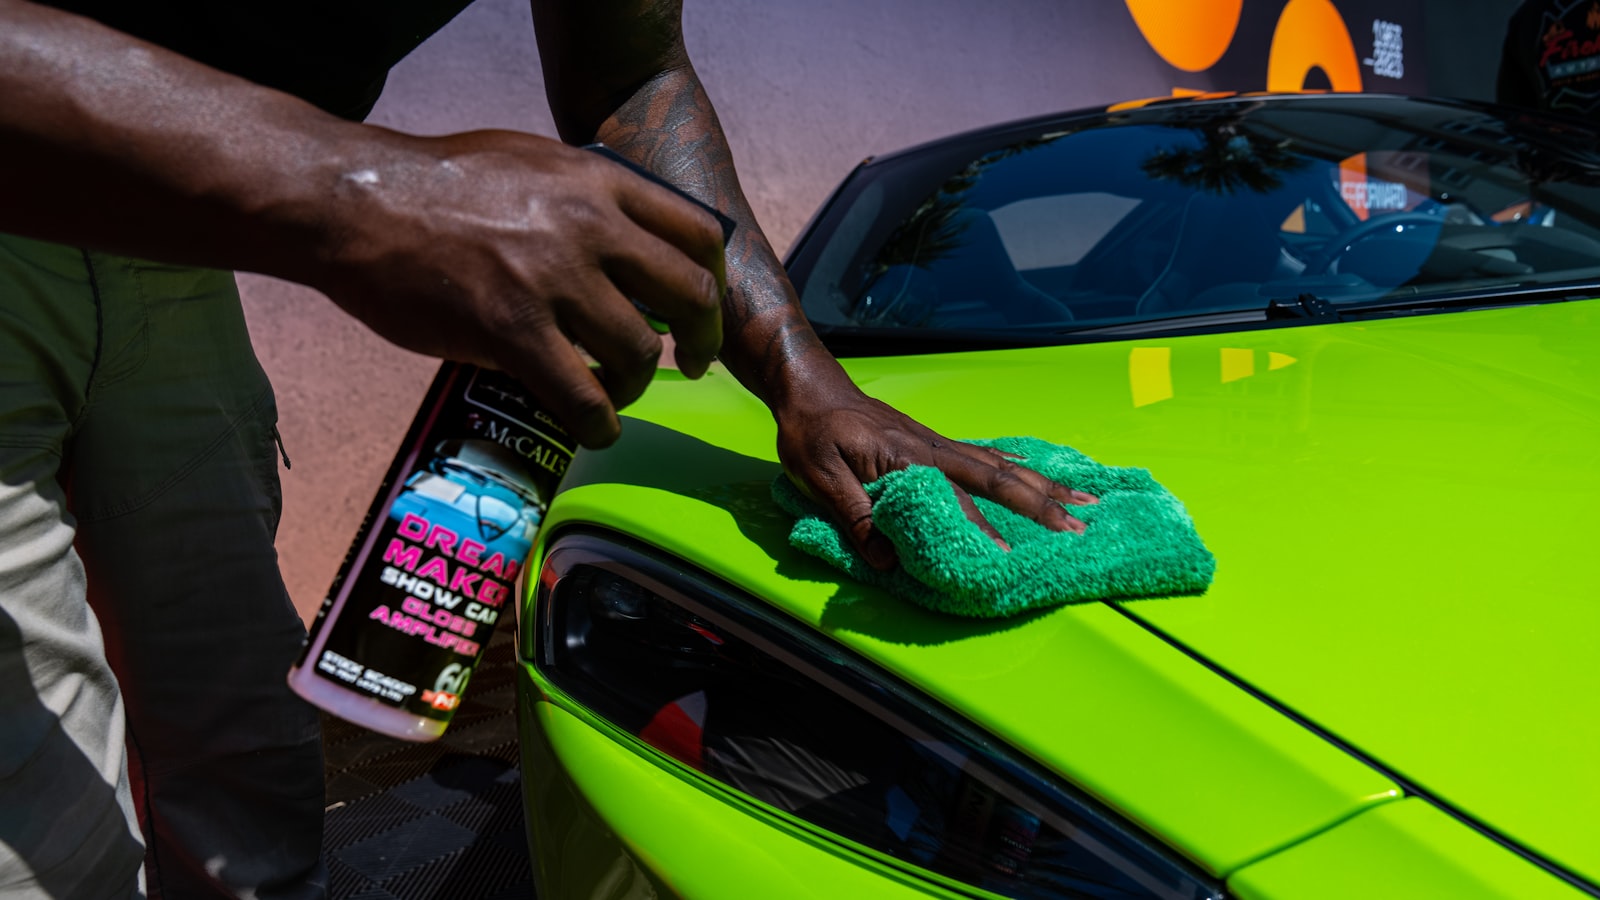
Whichever you choose, work in small sections — one panel at a time — and follow the specific product's dwell time before wiping off. Rushing this step, especially with a ceramic coating, is the most common reason people end up with visible streaking later.
4 · Polish out swirls, if needed
This step is optional and most people can skip it. If the paint looked genuinely hazy or swirled under direct sunlight after washing and claying, a dual-action polisher with a cutting or finishing pad can remove that before protecting the paint. If it doesn't, skip straight to step 3's protection step — polishing paint that doesn't need it just adds risk for no visible benefit.
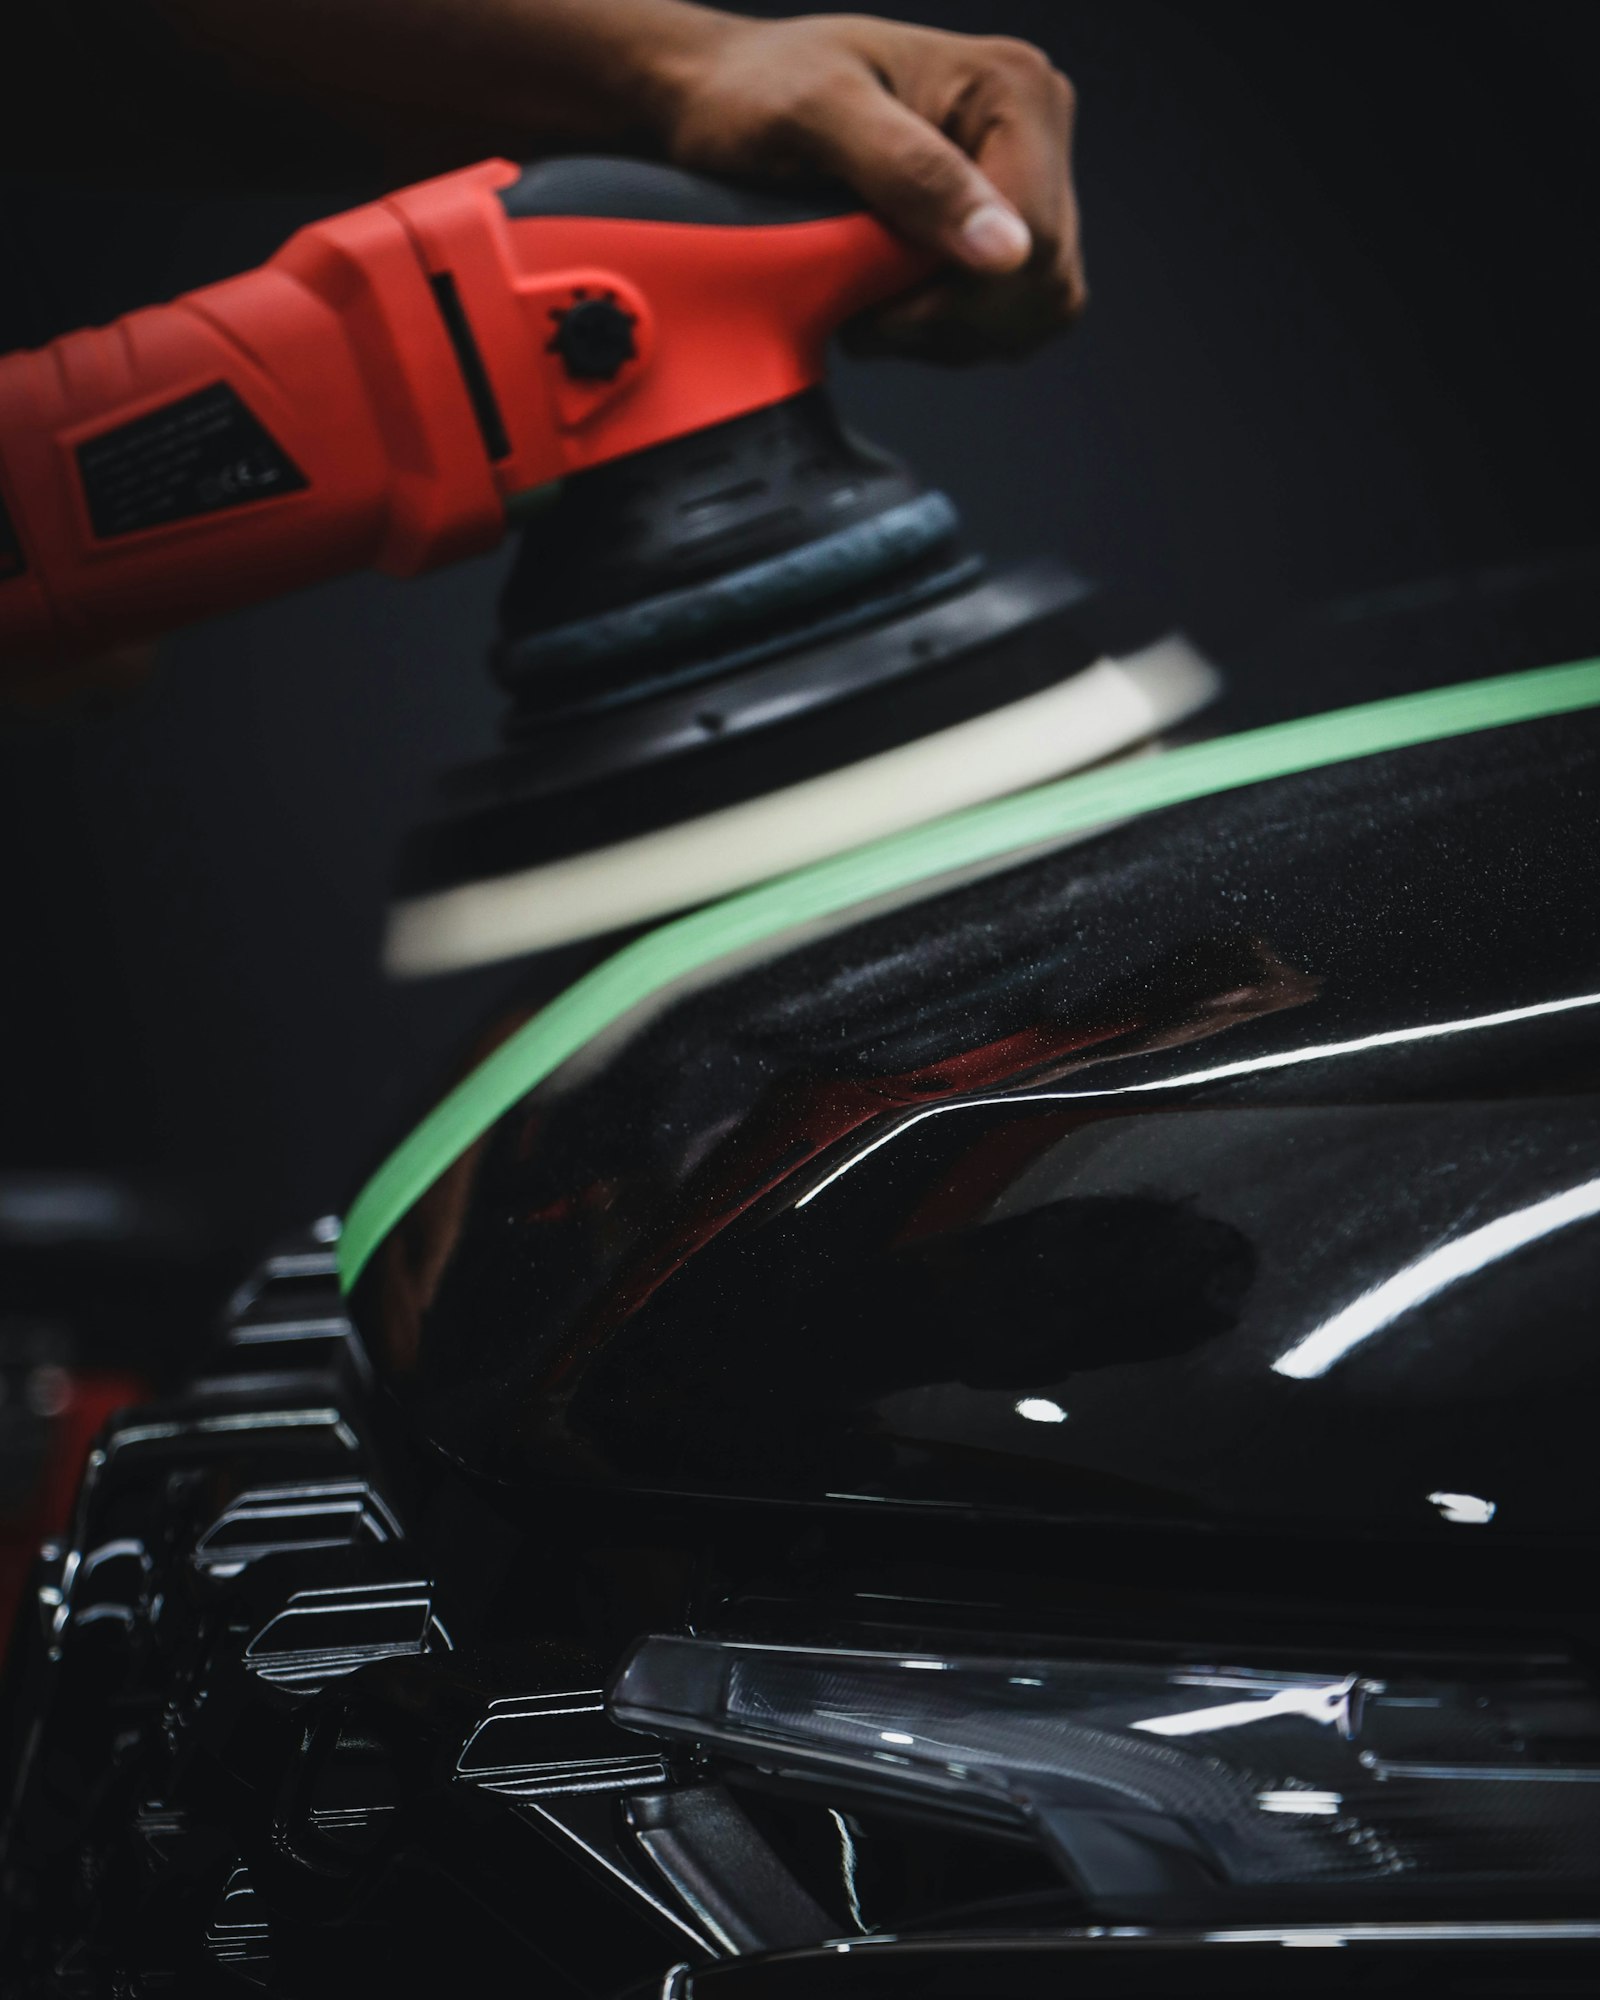
Safety note. A dual-action polisher is genuinely hard to hurt paint with compared to a rotary buffer, but it's still possible to burn through clear coat on edges and high points with too much dwell time or pressure. Keep the pad flat, keep it moving, and test on a small, low-visibility panel first if this is your first time using one.
5 · Dress the tires and trim
Tire and trim dressing is the step that makes the biggest visible difference for the least effort. Apply a dry-to-the-touch dressing (not an oily one that slings onto rocker panels) to clean, dry tires and plastic trim with an applicator or microfiber towel, then wipe off the excess so it doesn't drip or pool.
6 · Detail the interior
Vacuum first, working from the top down — headliner and dash before seats, seats before carpets — so debris falls into areas you're about to clean anyway rather than the reverse. Narrow attachments get into seat tracks and footwells that a standard household vacuum hose can't reach.
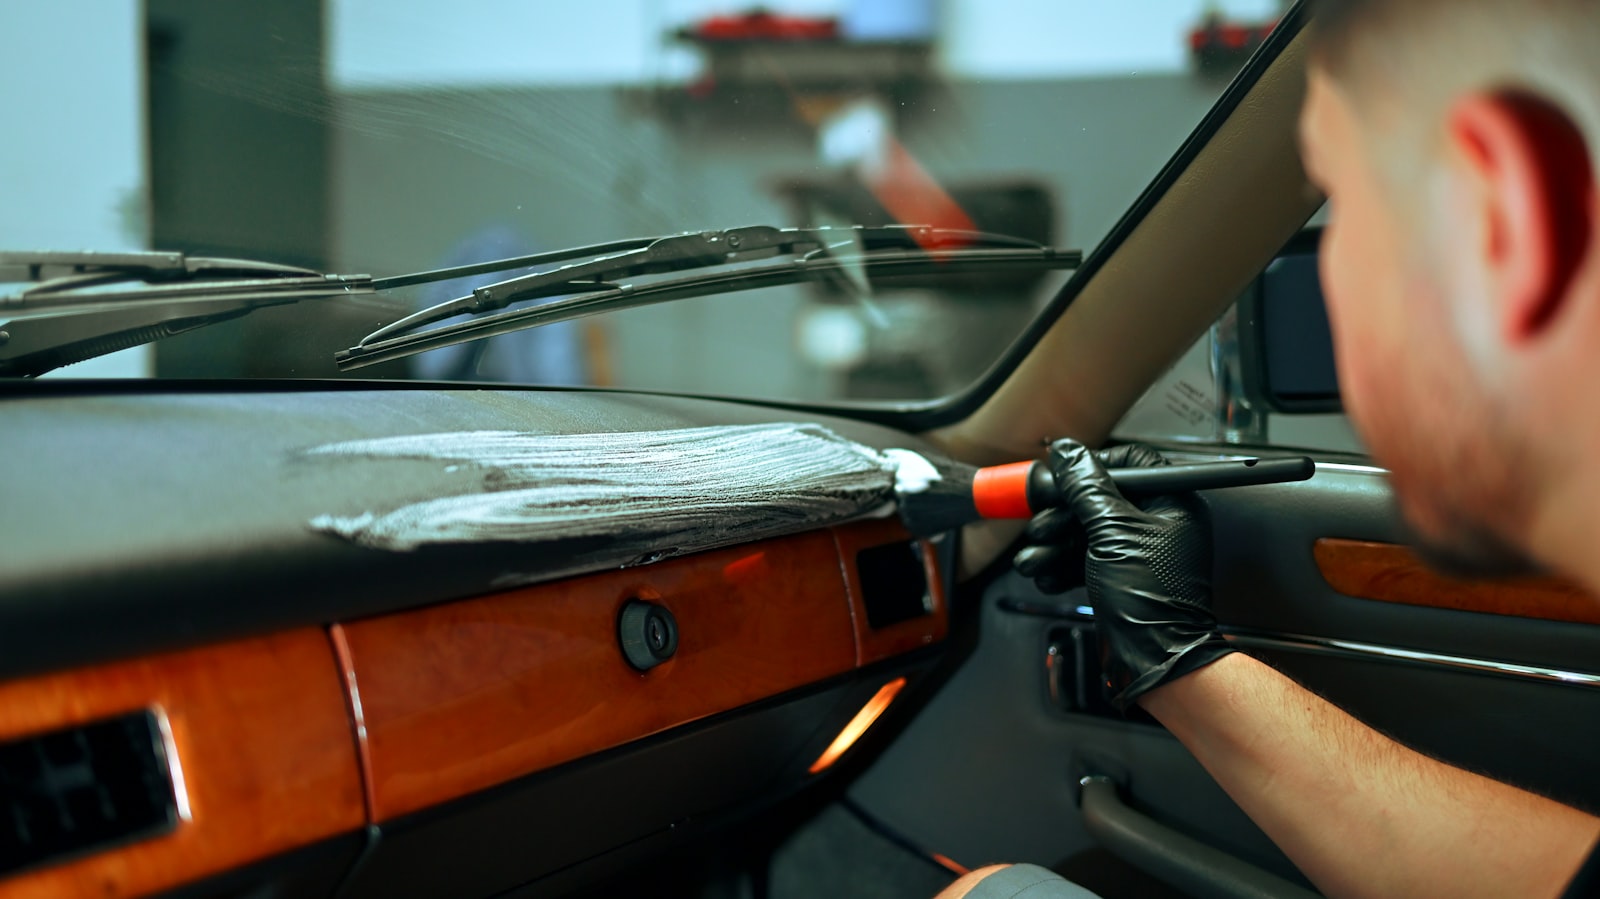
Finish with an all-surface interior cleaner on the dash, door panels, and console — mist on, wipe off, working in sections so the product doesn't dry before you wipe it. Glass gets its own separate microfiber towel; anything with residue from tire dressing or interior cleaner will streak a windshield instantly.
Want the actual product list?
- Every tool and product named in this guide, reviewed individually: Car Detailing at Home: The Essentials That Actually Work
On the process
- The two-bucket wash method and claying-before-protecting order are widely recommended detailing practices, not this guide's own invention — they show up consistently across professional detailing sources.
- Product dwell times, cure times, and compatibility (especially for ceramic coatings) vary by manufacturer — always check the specific product's instructions rather than a general timeline.
- Paint condition varies enough by vehicle and age that this guide can't assess your specific car's risk for polishing — when in doubt, skip correction and stick to wash, clay, and protect.
All photographs on this page are real photography, not AI-generated. This guide itself has no affiliate links; the linked product roundup does.
No affiliate links on this page. Nothing here is monetised.
No prices anywhere on this site — they move faster than an article can stay honest about them.
How we review · Corrections: email us · All Legit reviews