How to Install Tile: A Step-by-Step Guide
The real sequence, in the real order — prep, layout, thinset, setting, cutting, curing, grouting, sealing. Every step here is one that actually matters to whether the finished job holds up.
Quick answer. Prep and clean the surface, dry-fit your layout first, mix thinset to the manufacturer's ratio, comb it on with a notched trowel, set tiles with spacers (or a leveling clip system), check level constantly, cut tiles as you go, let it cure fully before grouting, then grout, seal if the tile or grout calls for it, and clean up while everything is still workable.
Tools & Materials
Tools
- Notched trowel (size matched to your tile per the manufacturer's spec)
- Tile spacers or a leveling clip system
- Manual tile cutter (straight cuts) and/or a wet tile saw (curves, notches, hard materials)
- Grout float
- Bucket, mixing paddle or drill attachment
- Level (at least 24")
- Rubber mallet
- Sponge and clean water
- Safety glasses and work gloves
Materials
- Tile — order 10% extra for cuts and breakage
- Thinset mortar rated for your tile type and location
- Grout (sanded or unsanded, matched to joint width)
- Tile sealer, if your tile or grout requires it
- Waterproof membrane (wet areas only — showers, tub surrounds)
- Painter's tape and rosin paper or cardboard for floor protection
1 · Prep the substrate
The surface underneath matters more than the tile on top of it. It needs to be clean, dry, structurally sound, and flat — high spots and low spots both cause problems, either preventing full mortar contact or creating lippage where tile edges sit at different heights.
For floors, that usually means removing old flooring down to a suitable substrate (cement backer board is standard for wet areas; some floors can go over sound existing tile with the right prep). For walls in wet areas — shower surrounds especially — a waterproof membrane goes on before any tile touches the wall. This is the step where corners cut now become drywall repairs later, so it is worth doing properly even though none of it is visible in the finished job.
2 · Plan the layout and dry-fit
Before any thinset goes down, lay tiles out dry — no adhesive — to see how the pattern actually falls across the space. Find the center of the wall or floor and work outward, rather than starting at one edge and hoping it ends evenly at the other. This is also when you decide how cut tiles at the edges will look; nobody wants a sliver of tile at the most visible edge of a room.
Mark reference lines with a chalk line or a level, so you have a straight, checked starting point once the actual mortar goes down and things are less forgiving to adjust.
3 · Mix the thinset mortar
Thinset is mixed to a specific water-to-powder ratio printed on the bag — follow it rather than eyeballing it. Too much water weakens the bond; too little makes it hard to spread and comb properly. Mix to a consistency similar to peanut butter: it should hold a ridge shape when combed, not slump flat.
Most thinset has a working time (often 30 minutes to a few hours depending on the product and conditions) before it starts to set up in the bucket. Mix only as much as you can realistically apply and set tile into within that window.
4 · Comb and apply the thinset
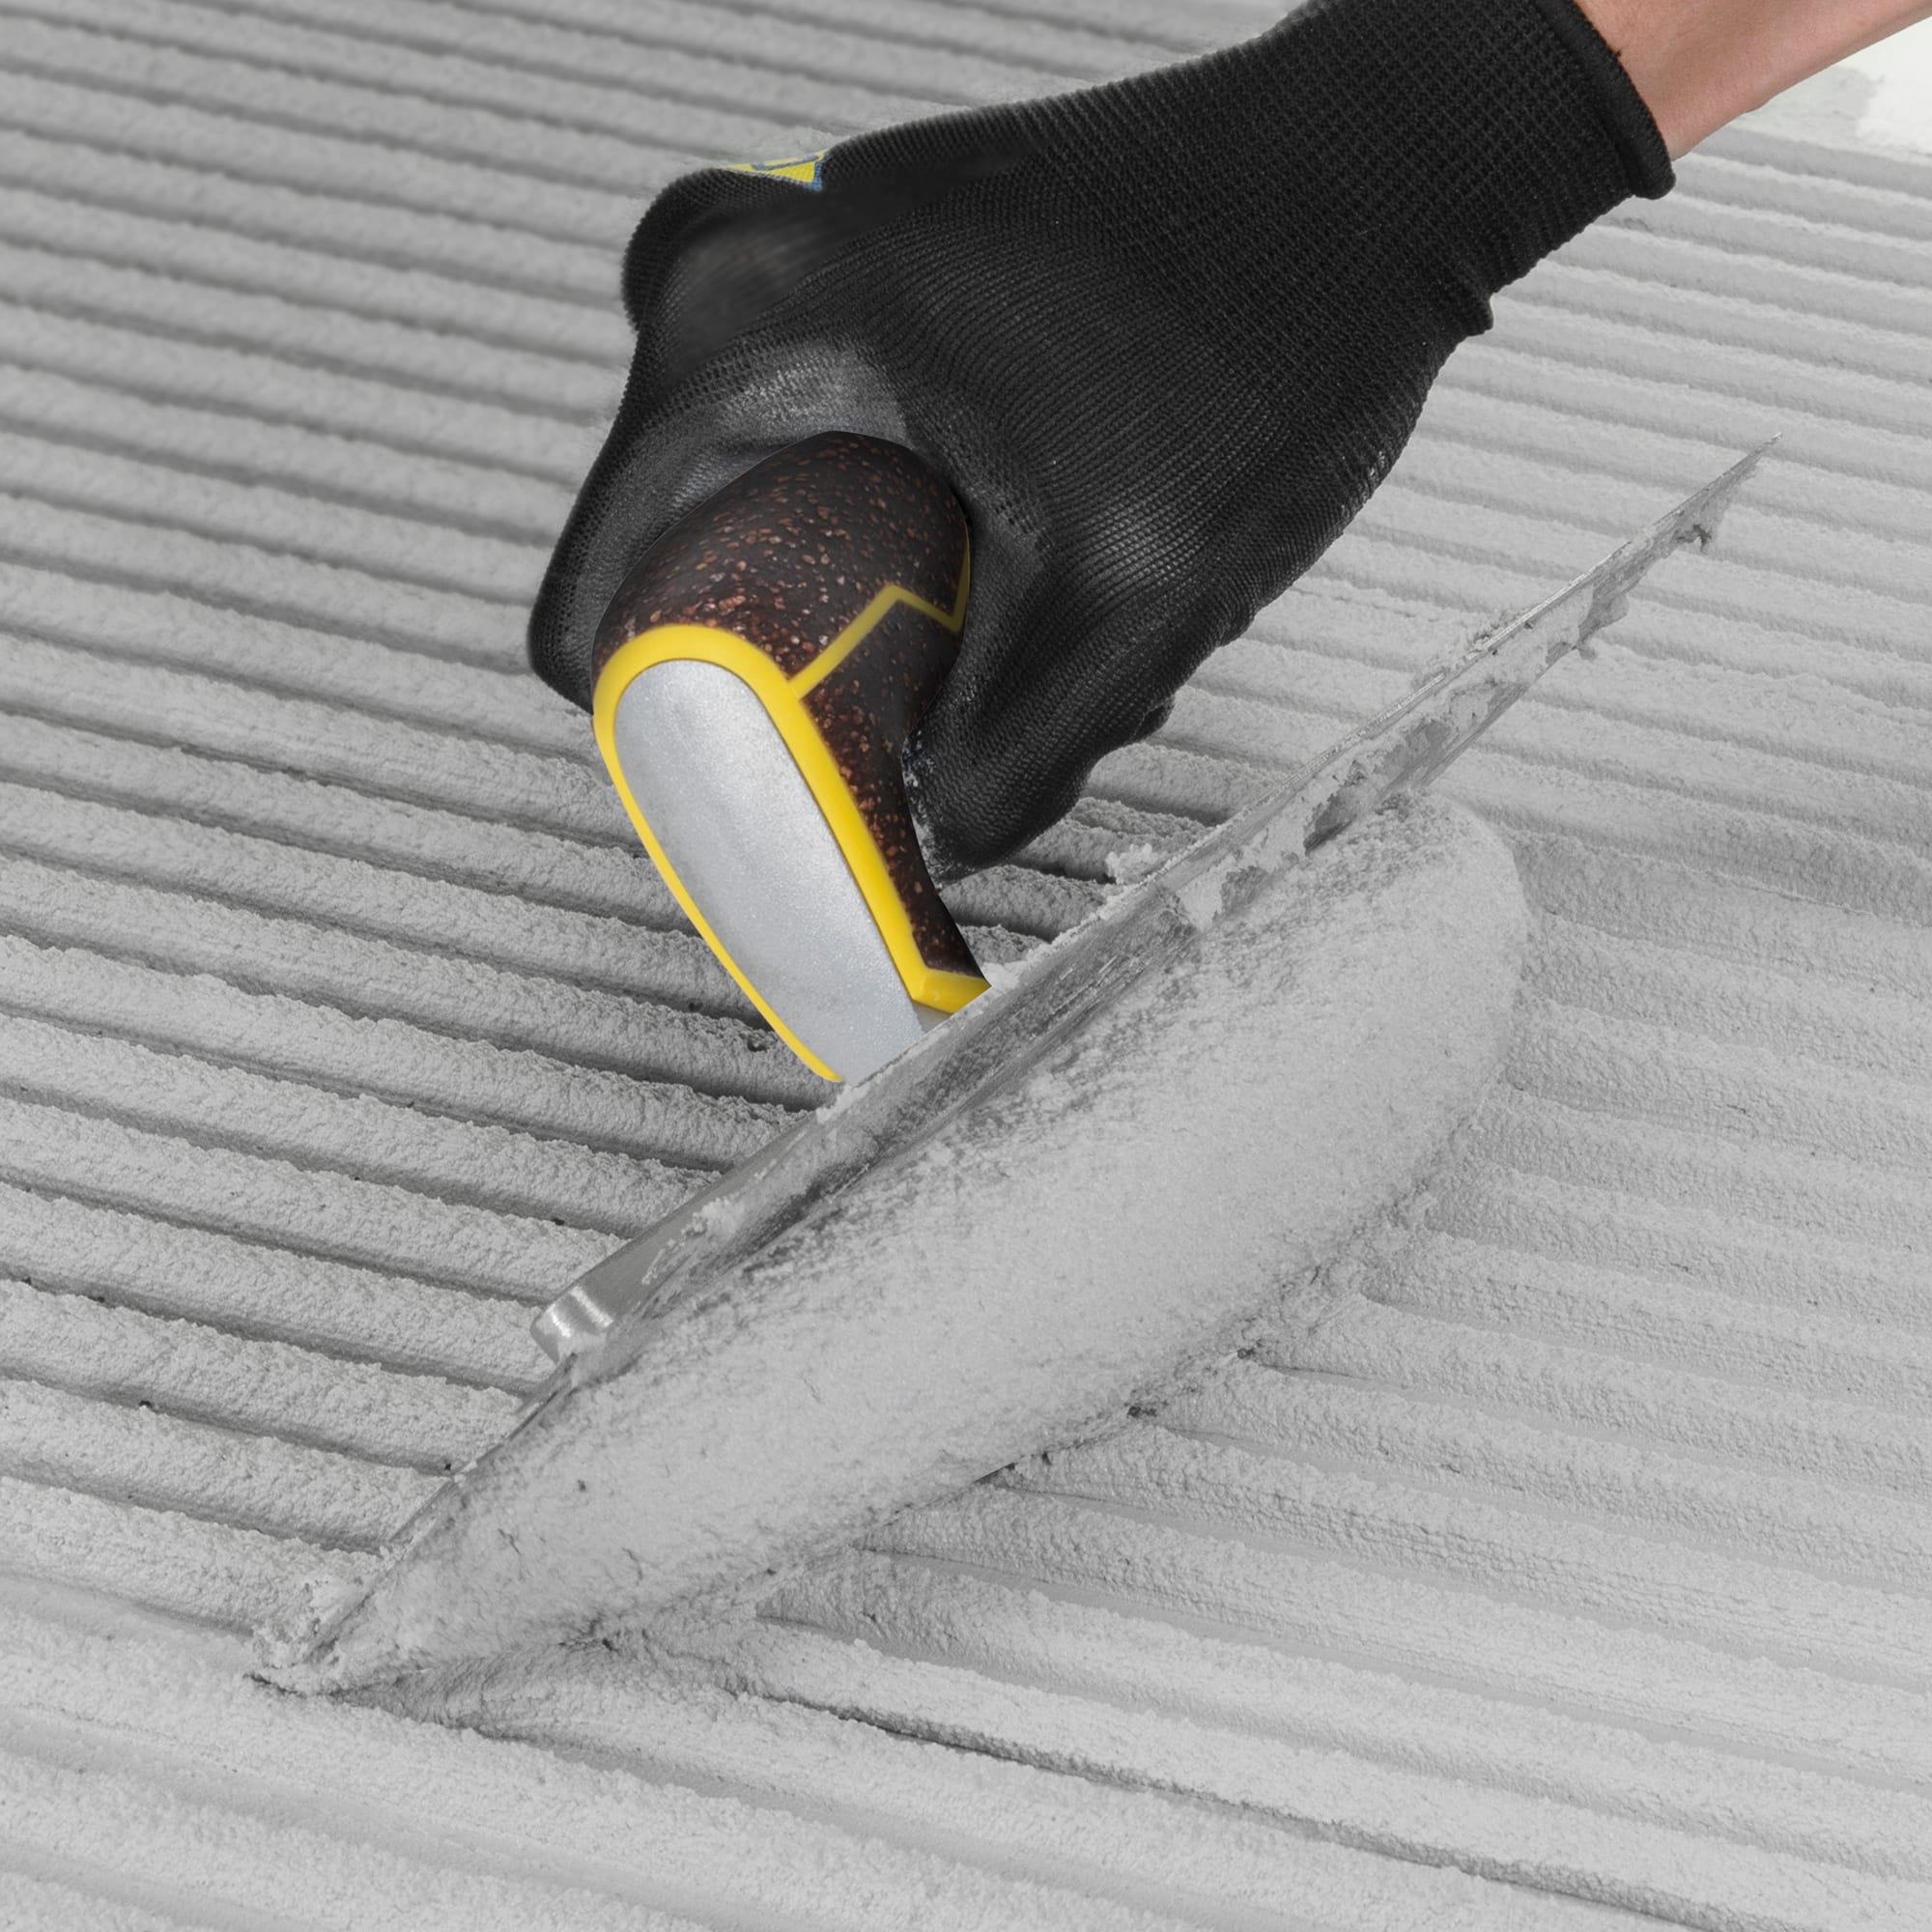
Spread thinset onto the surface with the flat side of the trowel first, then comb it into even ridges with the notched side held at a consistent angle. The notch size on your trowel should match your tile size per the manufacturer's coverage spec — too small a notch under large tile leaves hollow spots (voids) that weaken the bond and can crack under weight.
- Apply only as much thinset as you can tile over before it skins — usually a few square feet at a time for a first attempt.
- Comb in one consistent direction; straight ridges collapse evenly when tile presses into them, which is what actually fills the gaps and bonds the tile.
- For large-format tile, many installers also back-butter the tile itself — a thin layer of thinset on the tile's back — for full coverage.
5 · Set the tiles with spacers
Press each tile into the thinset with a slight twisting motion, then a firm, level push — not a slam. A rubber mallet with light taps helps seat a tile evenly without cracking it. Insert spacers at each corner as you go to keep grout lines consistent.
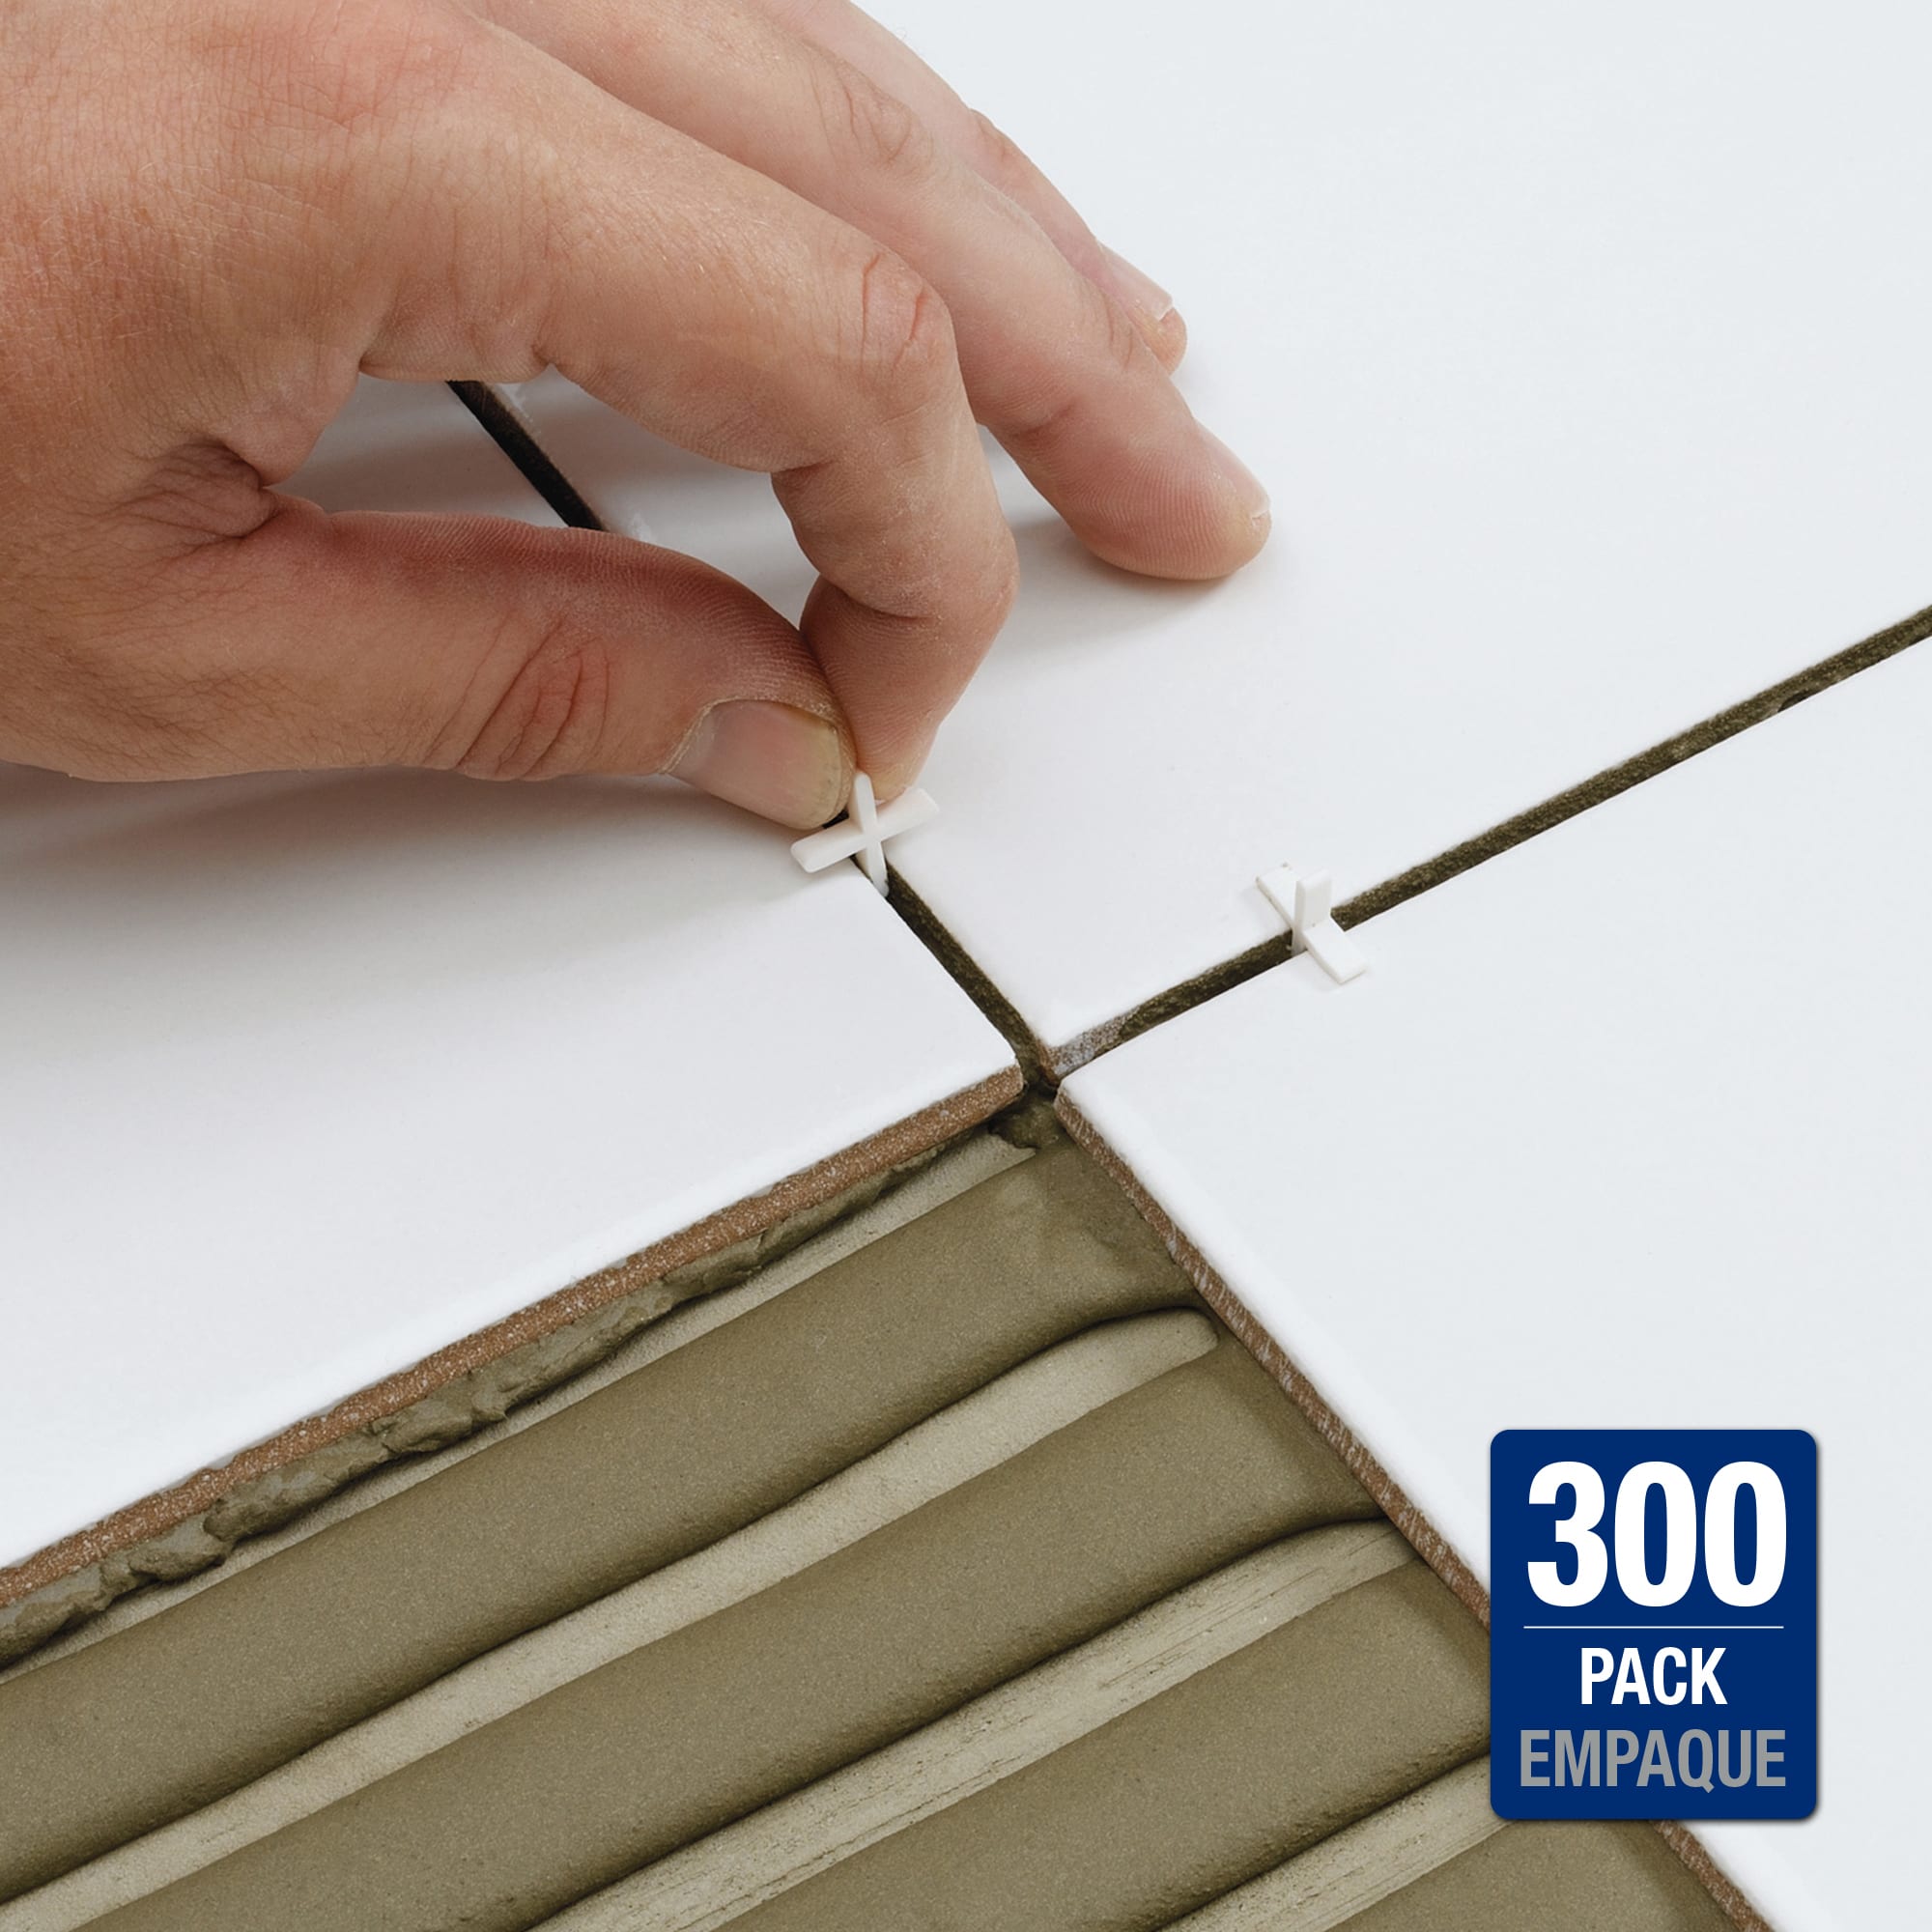
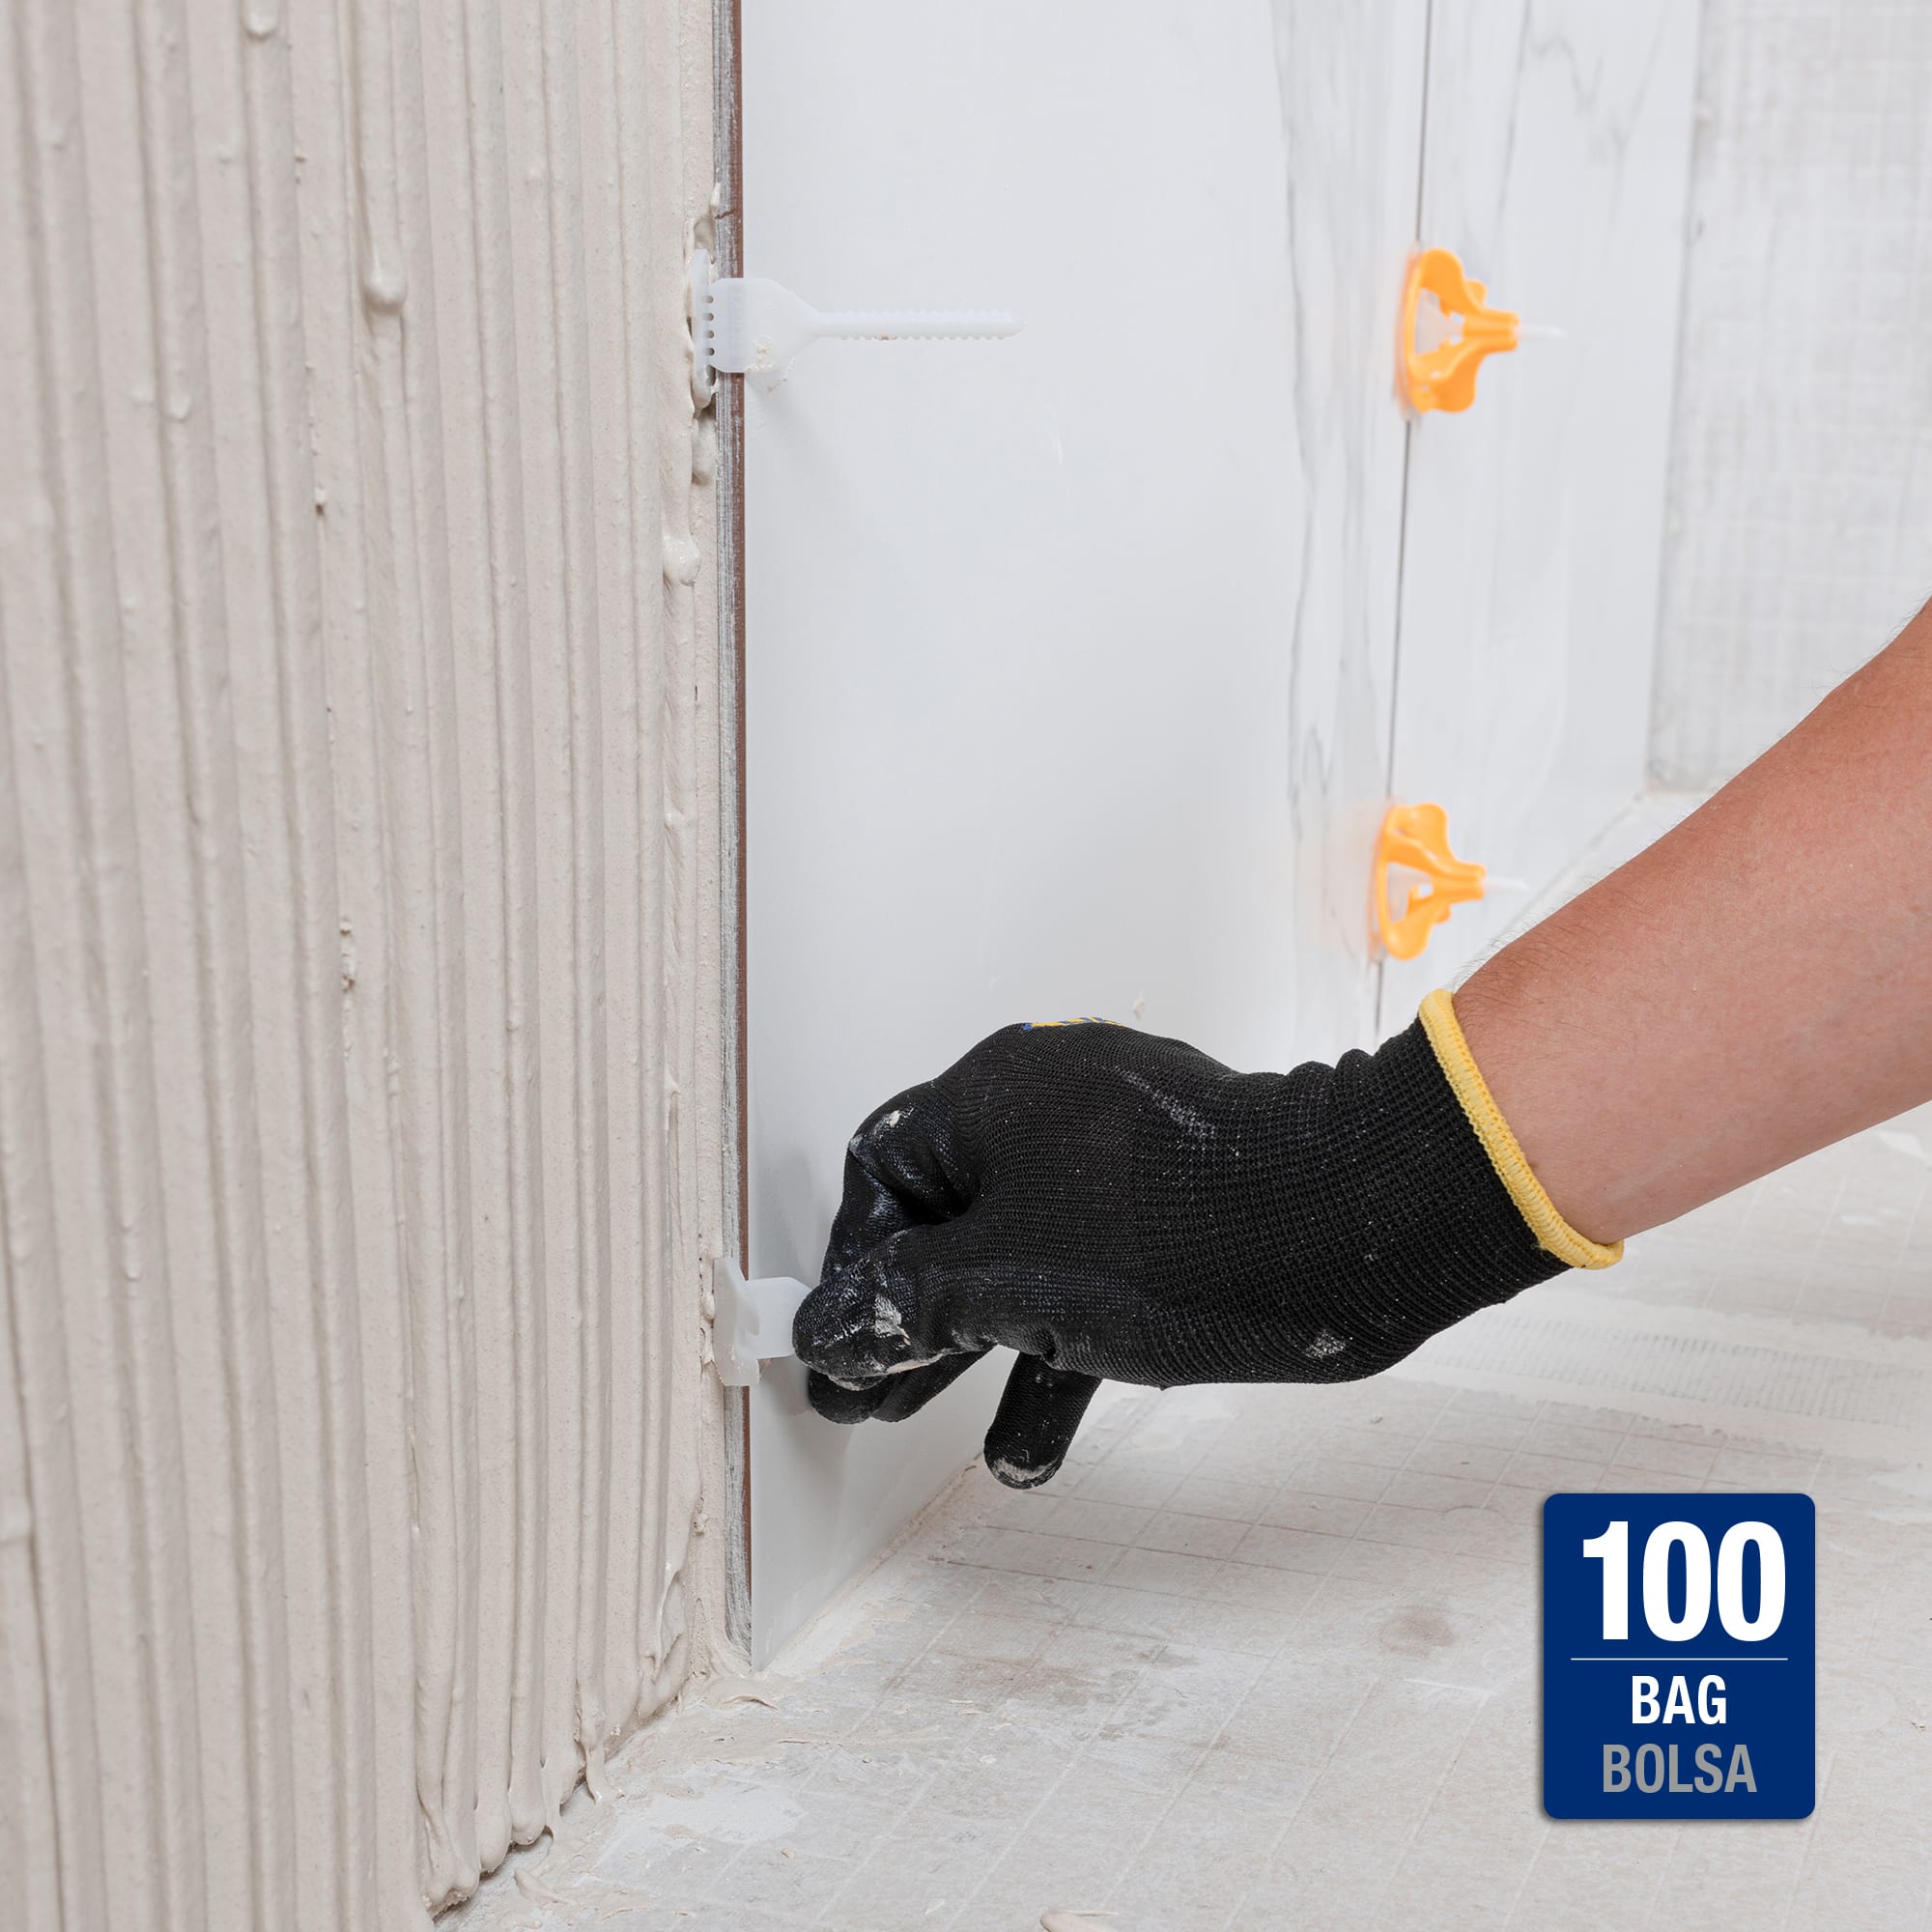
For large-format tile or floors where lippage (uneven edges between adjacent tiles) is a real risk, a leveling clip system does more than spacers alone — it physically pulls adjacent tile edges into the same plane as the thinset sets.
6 · Check level as you go
Check every few tiles with a level, not just at the end. Thinset is forgiving for a short window after a tile is set — you can lift and reseat a tile that's sitting proud or low — but once it starts to set, adjustments get much harder and can compromise the bond. Checking constantly rather than at the end is what actually prevents the "step down" feeling across a finished floor.
What this guide cannot tell you. Whether your specific substrate, tile, and thinset combination is compatible, or whether your wet-area waterproofing meets local code. Manufacturers publish compatibility and coverage specs per product — read them for the exact materials you're using rather than assuming a general guide covers every combination.
7 · Cut tiles as needed
Straight cuts on most ceramic and porcelain tile can be made with a manual tile cutter — a scoring wheel followed by a snap along the score line. It's fast, dust-free, and sufficient for the majority of straight edge cuts in a typical install.

For curved cuts, notches around outlets or pipes, natural stone, or tile that's prone to chipping under a manual snap, a wet tile saw is the more reliable tool — the water stream keeps the blade cool and controls dust while cutting.

Safety note. Both manual cutters and wet saws produce sharp tile edges and, with a wet saw, airborne mist. Wear safety glasses whenever cutting tile, and gloves when handling freshly cut pieces — the cut edge is noticeably sharper than the factory edge. Follow the saw manufacturer's specific guard and blade-guidance instructions; do not remove safety guards to make an awkward cut easier.
8 · Let the thinset cure
Before grouting, thinset needs to cure — typically 24 to 48 hours, though this varies by product and conditions (humidity and temperature both affect cure time; check your specific product's data sheet). Grouting too early traps moisture against the thinset and can weaken the whole assembly. Avoid walking on a newly tiled floor or running water in a newly tiled shower until the manufacturer's cure time has fully passed.
9 · Grout the joints
Remove spacers before grouting (unless they're a leave-in style rated to stay). Load the grout float diagonally across the joints — working at an angle, rather than straight along a grout line, packs grout into the joint instead of just dragging it across the tile surface.
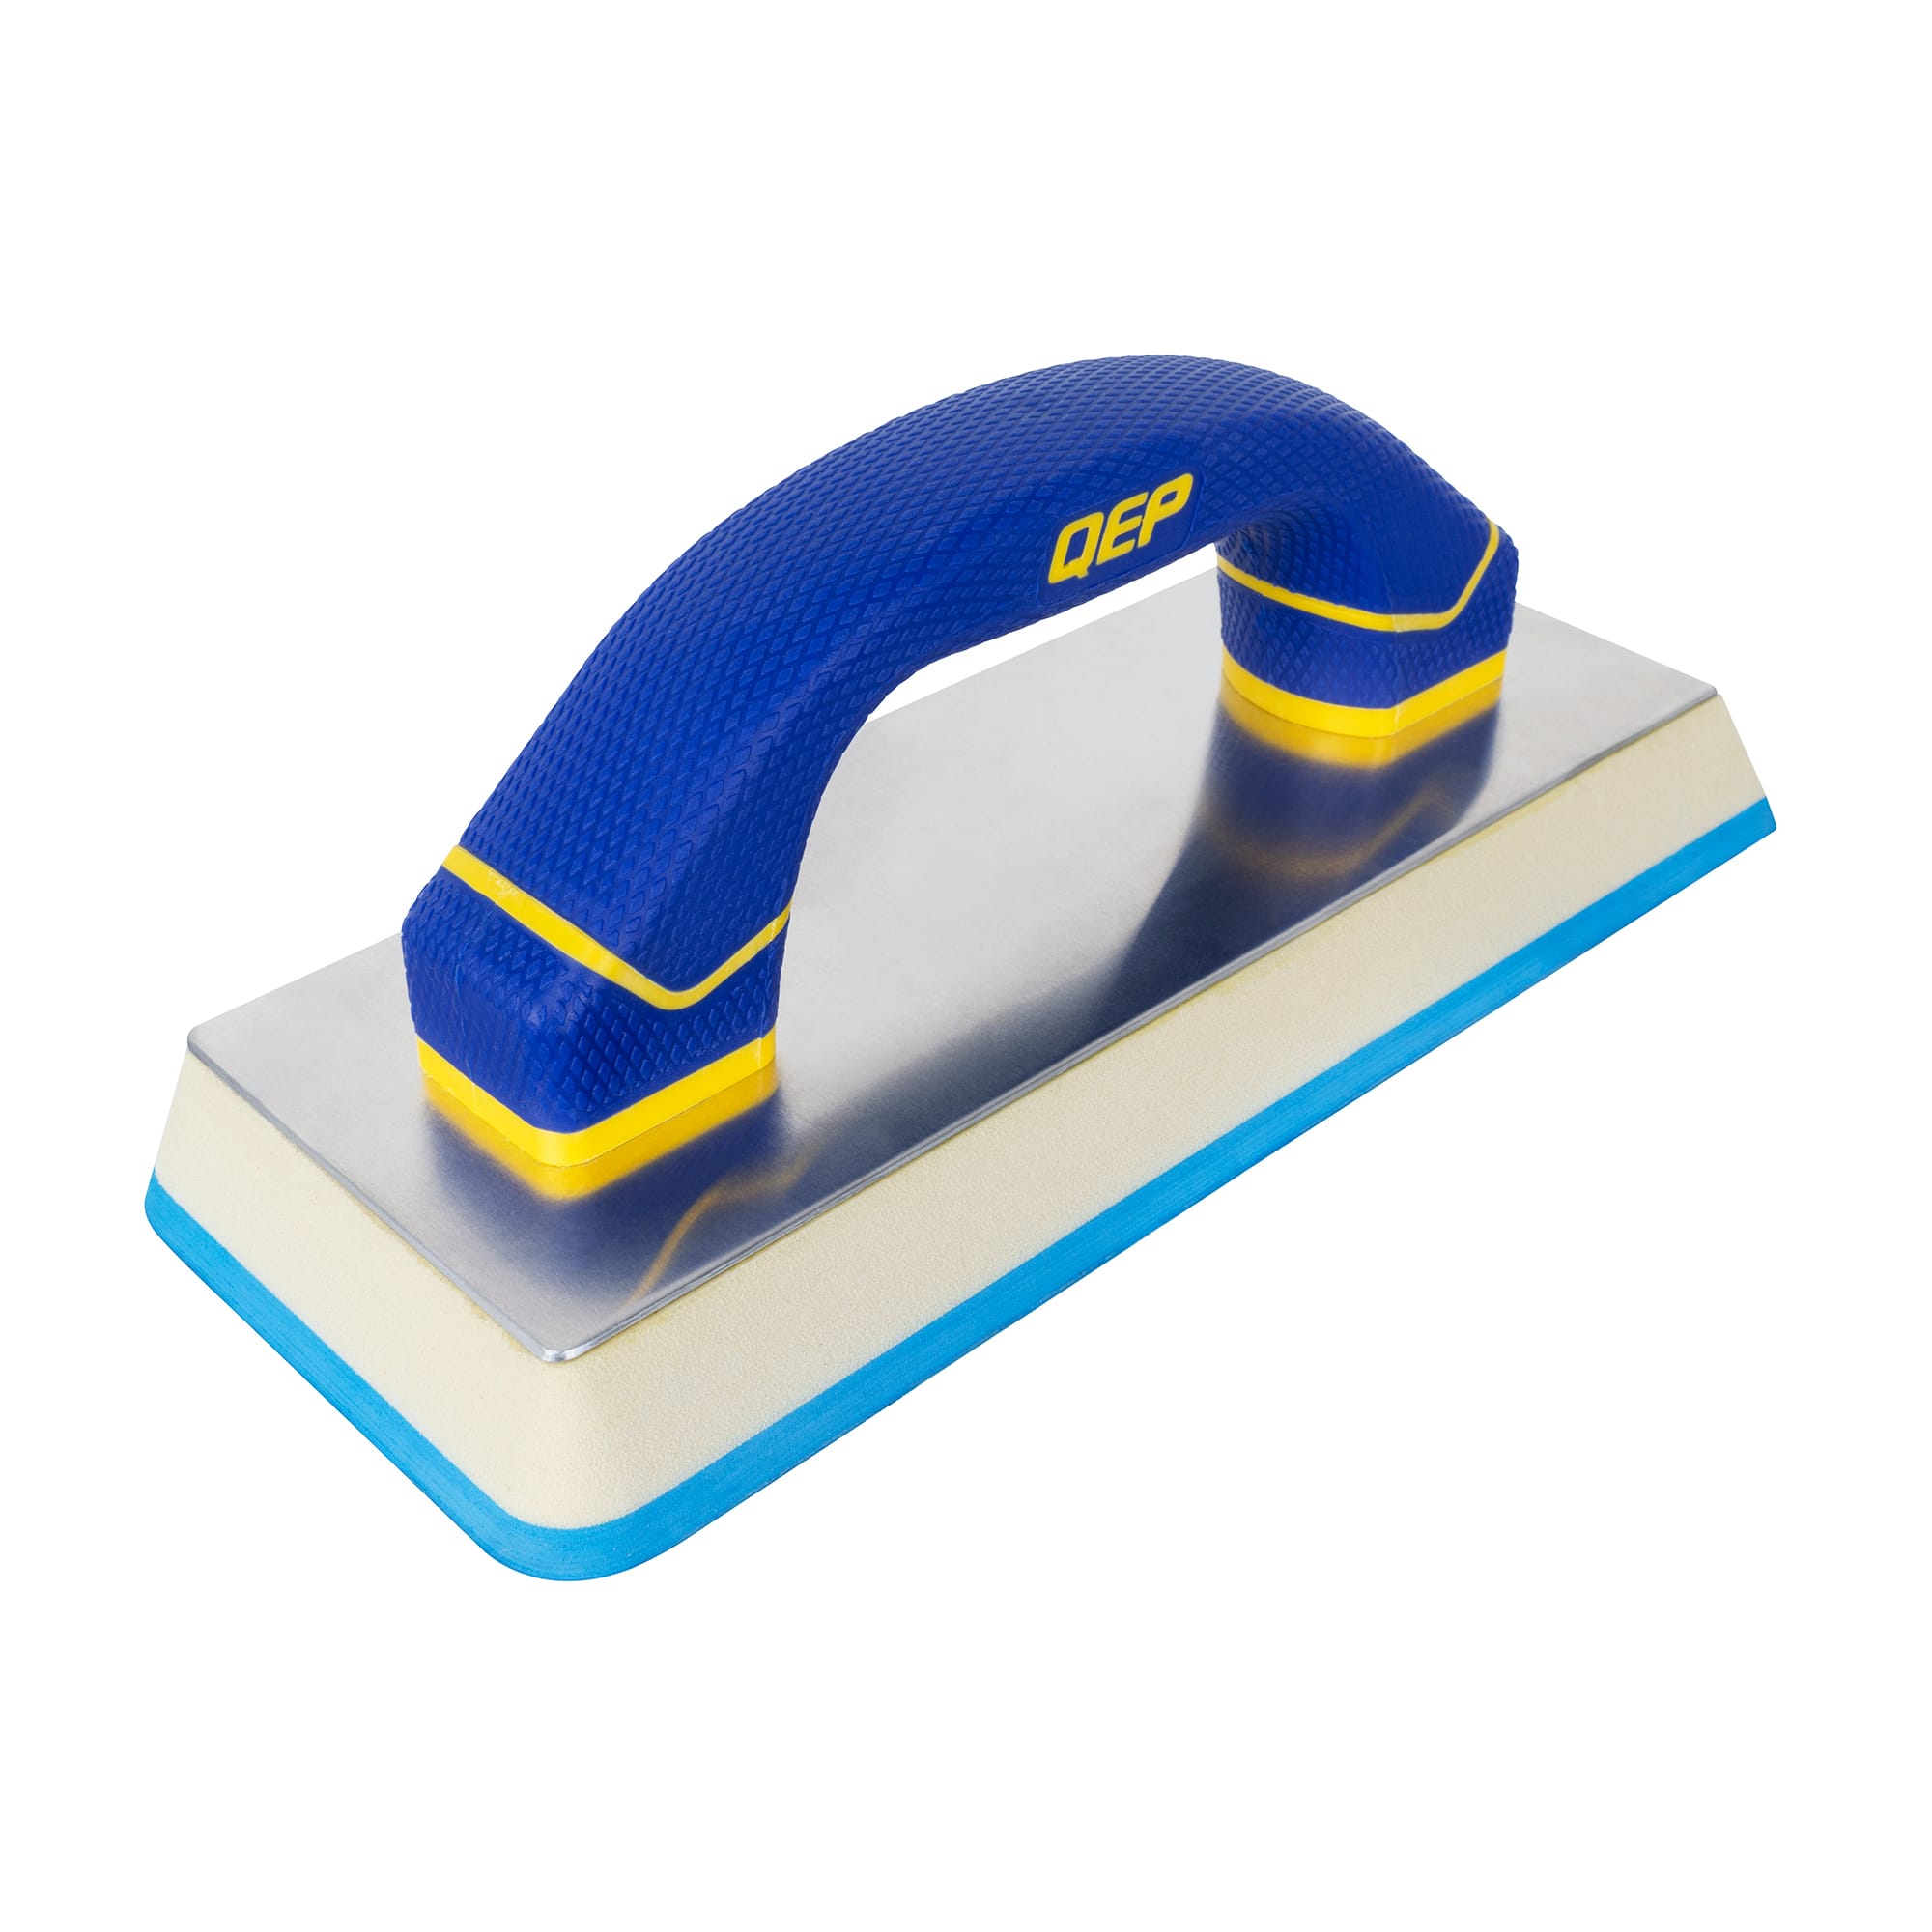
After grouting a section, let the grout firm up slightly (a few minutes, varies by product), then wipe the tile surface diagonally with a damp — not wet — sponge, rinsing frequently. Too much water at this stage weakens the grout and can wash pigment out unevenly, leaving blotchy color across the finished job.
10 · Seal if required
Some grout (particularly cement-based grout) and some porous natural stone tile need a sealer once fully cured, to resist staining and moisture absorption. Many newer grout formulations are sold pre-sealed or stain-resistant, so check your specific product rather than assuming sealing is always necessary. If sealing is required, it happens after the grout has fully cured — sealing too early traps moisture in the same way grouting too early does.
11 · Clean up
A light haze often remains on tile surfaces after grouting dries fully — this is normal and is typically removed with a grout haze remover or a diluted vinegar-water solution once the grout has cured enough per the manufacturer's timeline (attempting to remove haze too early can pull grout back out of the joints). Clean tools immediately after use; cured thinset and grout are far harder to remove from a trowel or float than wet material.
Picked your tile yet?
- See what's actually trending for kitchens: Kitchen Backsplash Trends 2026
- See what's actually trending for showers: Bathroom Shower Tile Trends 2026
On the process
- Thinset water ratios, working time, and cure time vary by product — always follow the specific manufacturer's data sheet for the thinset you're using rather than a general rule.
- Trowel notch size should match your tile size per the manufacturer's coverage chart; undersized notching is a common cause of hollow-sounding tile and cracked grout later.
- Wet-area waterproofing (showers, tub surrounds) is often governed by local building code — check requirements for your area before tiling a wet wall.
All photographs on this page are real product and installation photography, not AI-generated. This guide has no affiliate links.
No affiliate links on this page. Nothing here is monetised.
No prices anywhere on this site — they move faster than an article can stay honest about them.
How we review · Corrections: email us · All Legit reviews